Results 1 to 10 of 16
Thread: Horn scale making tutorial
-
02-24-2016, 02:10 PM #1Senior Member


- Join Date
- Dec 2013
- Location
- Virginia
- Posts
- 1,516
Thanked: 237 Horn scale making tutorial
I realize there are some good tutorials out there, but this is how I make mine. Ive made quite a few sets now using both honey and dark horn and my results get better each time. For this tutorial I have a 8/8+ Wade and Butcher For Barbers Use that I picked up with destroyed scales. I had another set of scales that I was going to use, but the blade contacted the wedge and I didnt want to alter those scales to make them fit this blade. So I already have the horn, from a seller on ebay. He stated that one slab was wide enough for a set of scales. I was skeptical of this statement, but after drawing my scale design on the blank, it was a true statement. This is the single slab of horn split in half, soaking in neatsfoot. I used a bandsaw to cut the blank. The original blank is pictured as a reference.
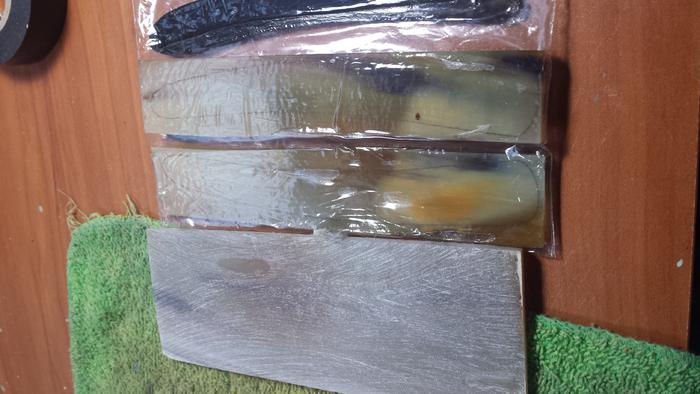
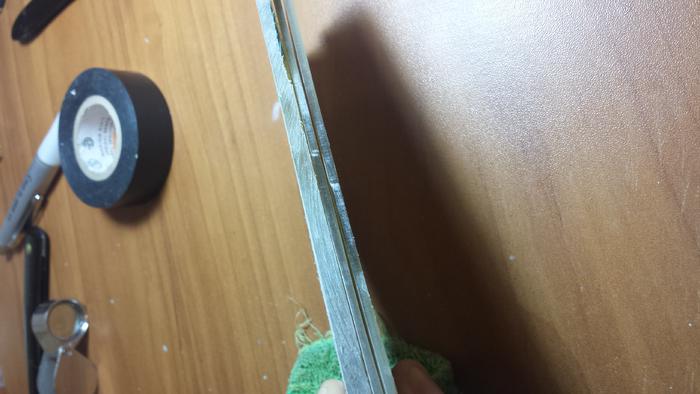
After they have soaked for several days, I thin the material. The original is 5+mm thick, which is about twice as thick as I want them to be. I have a rikon 1" x 30" belt and 5" disc sander that I bought on sale for around $100. It is not necessary but saves a lot of time! I mostly use the disc sander for the sanding process because i find it is easier to control. Here they are thinned out.
Once thinned, I use double sided carpet tape to hold them together for rough shaping. I dont use one long piece because this stuff is really strong and it is very hard to get them apart later, so i use a small piece on each end and one in the middle.
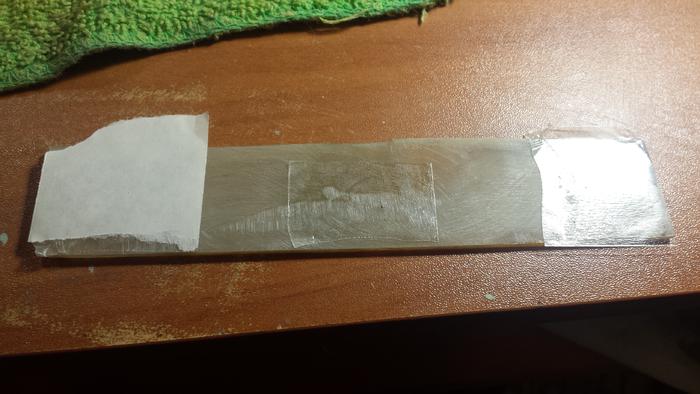
now I reapply the scale template and head to the belt sander for rough shaping. The curved part of the belt allows you to match the curves. Its very easy to remove too much material very quickly, so a steady hand and light touch is crucial.
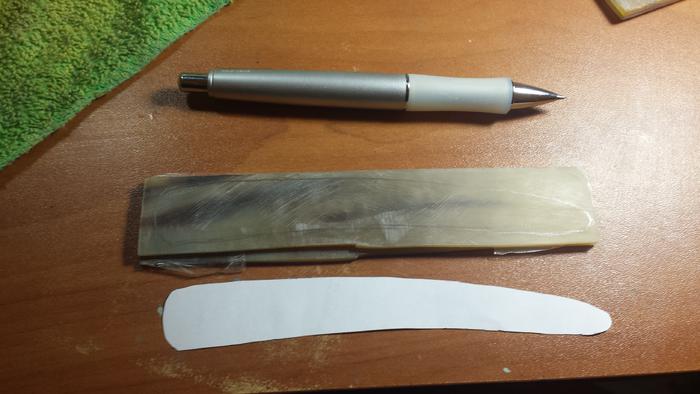
Here the scales have been roughed to the proper shape. I put a 45 degree bevel around the entire perimeter of the scales.
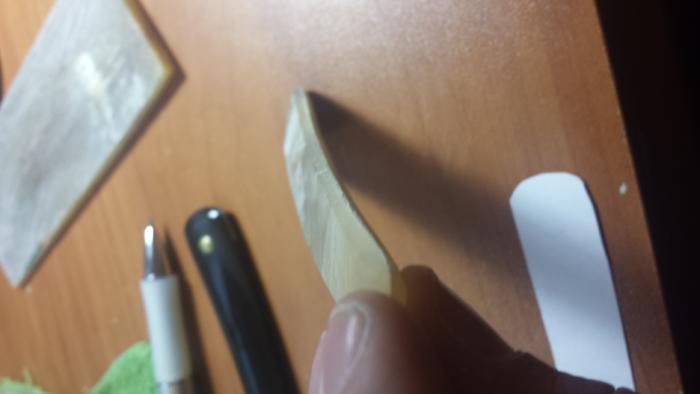
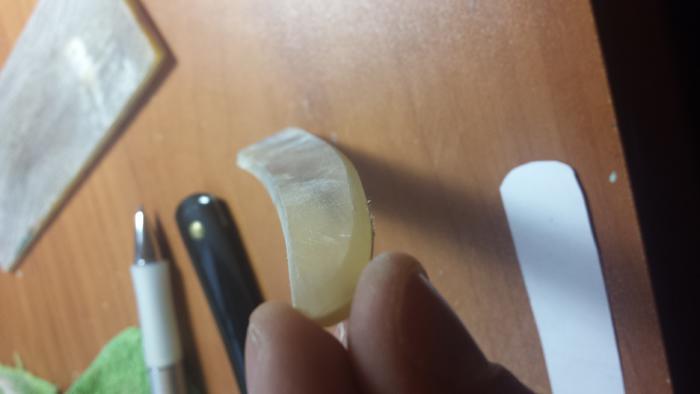
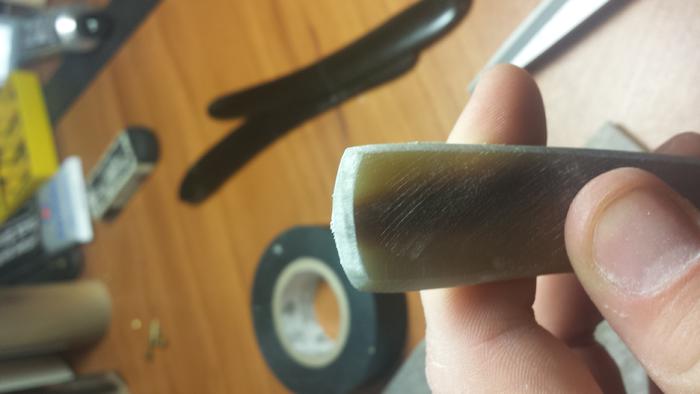
Now the hand sanding. It is very important to make sure all the previous grit scratch marks are gone before moving on. Otherwise, you will have to go back and do each transition over again. Horn can also be finicky with layers that want to split. If you encounter them, sand through them entirely, or fill them with thin CA glue. I round off the bevel made during rough shaping. I start with 150 and progress through 220, 400, 600, 800, 1000, 1200, and 2000 grit for this set. Here they are after final sanding.
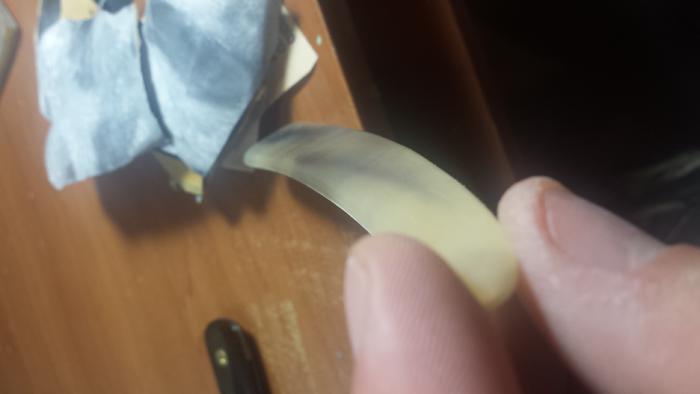
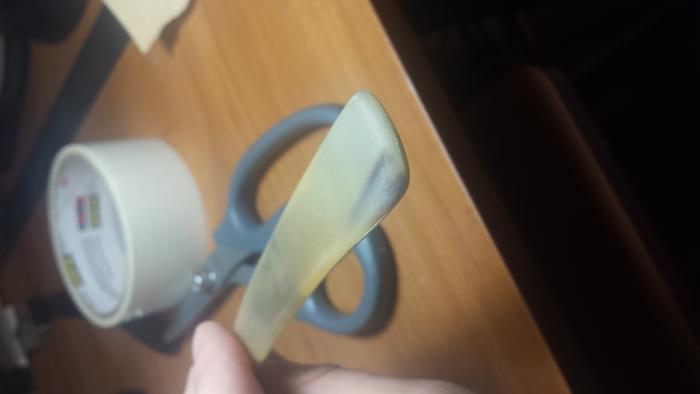
Now i move to the buffer with flitz polish on a 6 in loose wheel. I usually do two passes to make sure all the scratch marks are glass smooth. Here they are after buffing.
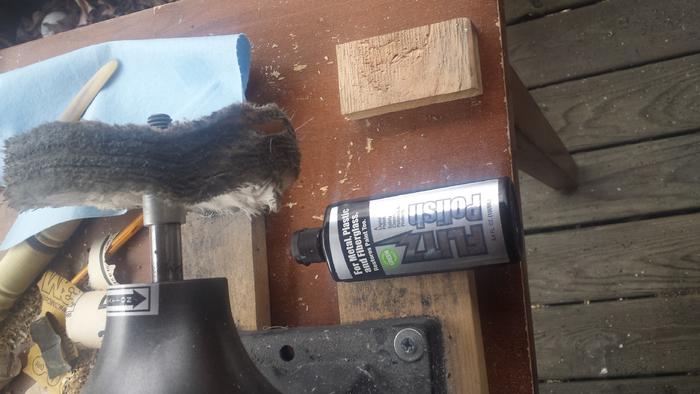
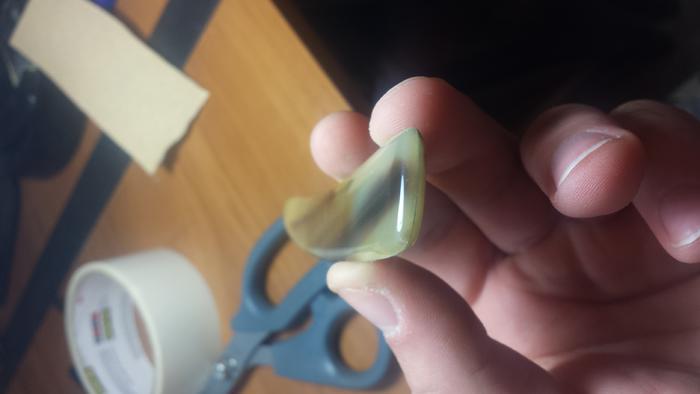
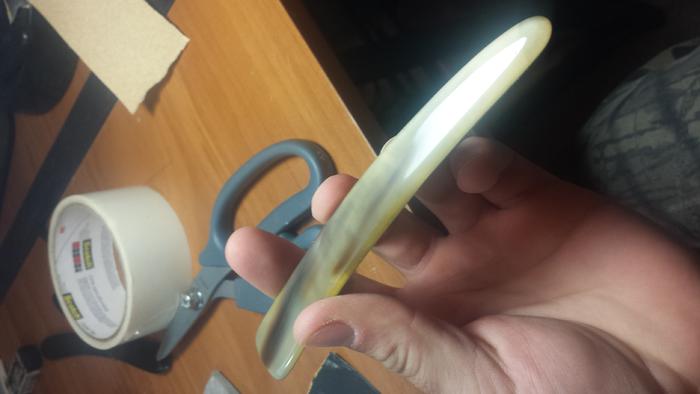
Now I separate the two halves and start the sanding progression over again on the inside of the scales. This part never really gets seen, so i only go to 600 grit before going to the buffer. now they are ready for drilling pin holes and making a wedge. I usually just use packing tape to hold the two parts together and use a drill press for the holes. It is important to carefully see where your blade is going to fall on the wedge end. Dont drill your holes in the wrong spot or you will have to find a different blade to use. Here mine are all finished before pin hole drilling.
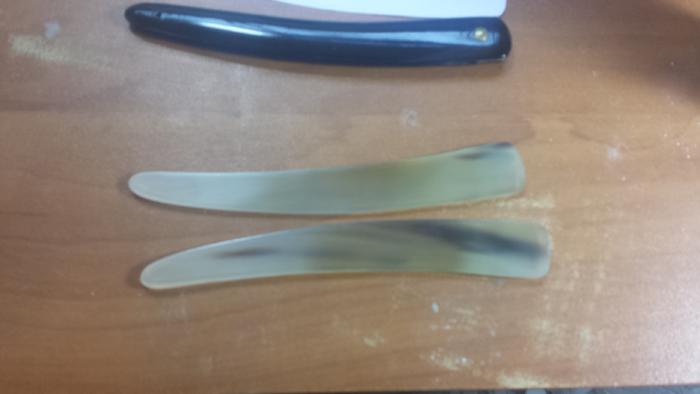
There are many ways to make scales, this is my way. It has worked very well every time. The process can be done with no power tools, it just takes a lot longer to rough shape by hand. If that's how you want to do it, I recommend using double sided tape to attach a piece of sand paper to a round object(i used a spray paint can before I had the belt sander).
-
The Following 12 Users Say Thank You to prodigy For This Useful Post:
criswilson10 (02-26-2016), dinnermint (02-25-2016), Euclid440 (02-24-2016), Geezer (02-25-2016), Hirlau (02-25-2016), Matheus (02-25-2016), MattCB (02-24-2016), MW76 (02-25-2016), NewellVW (02-26-2016), nipper (02-25-2016), Substance (02-26-2016), Walterbowens (02-24-2016)
-
02-25-2016, 11:53 AM #2

Hi Prodigy - that's pretty much what I do except that I drill both pin holes after I have the outline shape but before starting to sand and round the faces. Starting with the pivot end hole, I then use a piece of rod, slip the blade over it and then mark exactly where I want the wedge pin to be. I even go so far as to check the hole will be equidistant either side with calipers.
One tip to make separating the two halves easier - before applying the double sided tape, cover the inside faces with decorators tape. It's much easier to remove that from the inside scale than carpet tape.My service is good, fast and cheap. Select any two and discount the third.
-
02-25-2016, 01:40 PM #3

Nice tutorial. Everyone has there own way of doing things. All that sanding is the long way around the barn IMHO. After shaping and rough contouring on a 1"x42" 80 grit belt sander I use a scraper to smooth the contours. No need for 150, 220 and 2000 grit. After 1200 it goes on the buffer and comes out like glass. Just making a 45 on the edges and rolling them over with the sand paper makes the scales still look fat. Look at the originals and see how they are thinned to the edges. Can't tell how thick you made the finished scales but keep them thin. .110 to .120 is about right for a big blade. Honey horn is pretty stuff but frequently has delamination. If I can't work around it in laying out the scales I don't use it. I don't like to see the delamination streaks in the scales.
Use double sided scotch tape to hold the scales together. Much easier to separate and plenty strong. I just run a small box cutter blade between them to separate. I use carpet tape if I have to flatten a blank. I simply stick it to a 2x4 and hold it against a 9 inch disc sander.I've never found the need to use neatsfoot oil on new scale material. If it's really warped I use a heat gun to heat the material and bend it buy hand until it's close to flat and then on to the disc sander. Careful with the heat gun. Too much heat is not good for the horn.
You'll have a devil of a time seeing your pattern drawn on black horn. Just get a glue stick and glue the pattern to the scale material.
UKRob's tip to drill the scales while they are flat and paired up makes life easier. No worries about a wandering drill or the scales squiring around while trying to drill them. The holes always come out straight and true.
Thanks for sharing and taking the time to make the tutorial. I enjoy seeing how other folks do things.
Regards,
KarlLast edited by karlej; 02-25-2016 at 01:47 PM.
-
02-25-2016, 05:26 PM #4

I do like to see how people make scales as I always manage to learn something. I was wondering what the advantage of soaking in neatsfoot oil is and does it really need to be for days?
Thanks.
-
02-25-2016, 09:26 PM #5
-
02-25-2016, 09:39 PM #6
-
02-26-2016, 04:07 AM #7

I will tape them up like you did then lay a wide piece of painters tape over one side and trace my pattern on it. Easier to see, then cut the profile. I leave them taped together for everything. I drill the pin/wedge holes before I profile them in the drill press. That assures the holes are straight and perfectly aligned then sand to final profile and shape then separate the 2 halves. I find it easier to get a symmetrical profile if they are still taped together. Easier to get a nice even roll from one side to the other and drilling before sanding while the slabs are still perfectly flat makes life easy.
-
02-26-2016, 07:47 AM #8

Why do you soak the horn in neatsfoot?
Thanks.
-
02-26-2016, 09:02 AM #9

Great work mate
The soaking in neatsfoot oil gets the horn nice and translucent and helps it polish up wellLast edited by Substance; 02-26-2016 at 09:06 AM.
Saved,
to shave another day.
-
02-26-2016, 10:04 AM #10


 32Likes
 LinkBack URL
 About LinkBacks


 Reply With Quote


