
Results 1 to 10 of 14
 26Likes
Thread: Experimental restoration
 LinkBack URL
 About LinkBacks
-
09-10-2016, 03:40 AM #1Senior Member


- Join Date
- Apr 2015
- Location
- paris
- Posts
- 449
Thanked: 13 Experimental restoration
Hi everyone
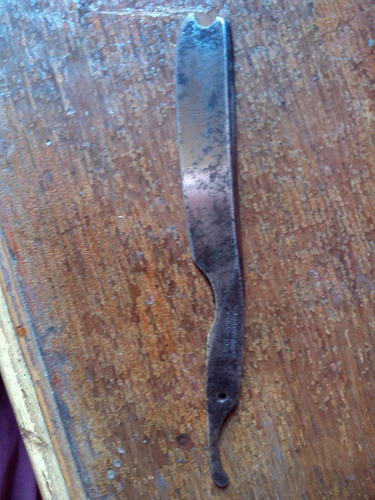
This week I have been with a friend in his workshop. I give a try to his buffing machine with cloth wheels to restore some of my razors.
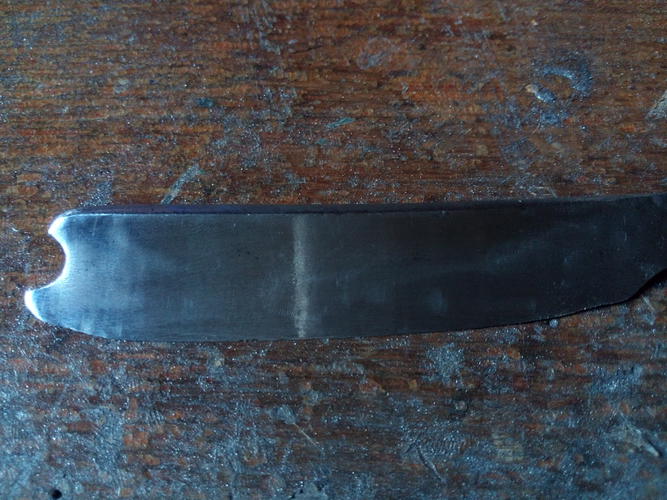
I did only two one did (the first one) not get very well. This is the first time I used this machine so my hands were shaking a little with the force of wheels. This is the one I finished with sandpapers but still I need to polish it more, so it's not completed.
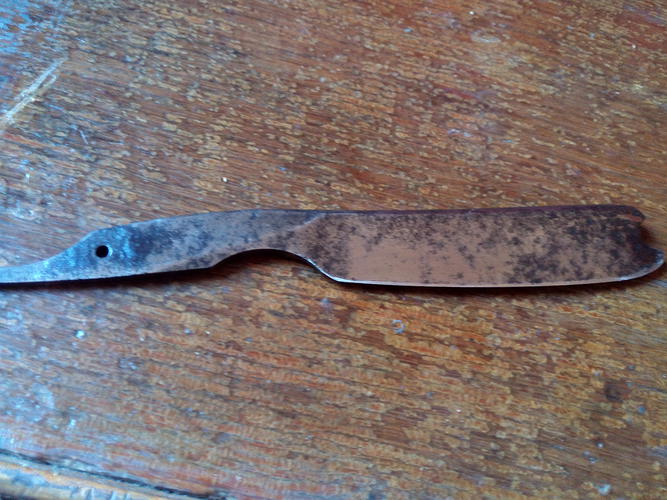
The second one was better which i did today, for now I just cleaned to rust in the spots (it was unbelievable, the rust came out in the tiny spots, I didn't expected this much). Happily I did it. So the second still needs sand paper.
I'm sorry but I don't have any picture of the first one before I started but I can say it was worst than the second one.
I'd like to have some of your advices...
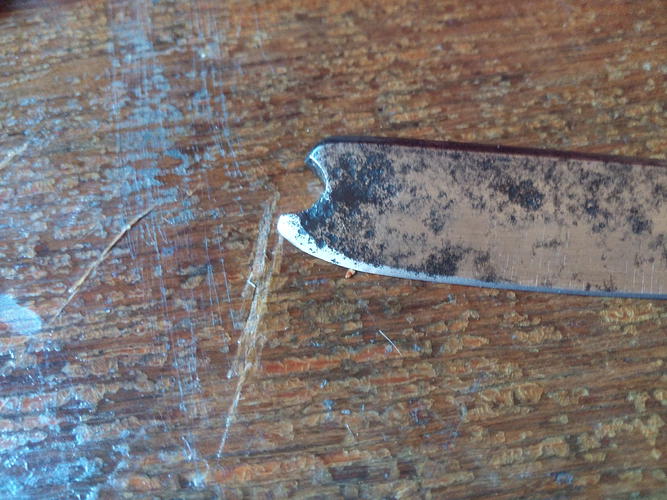
The white trace is my fingers mark
I'm sorry but for the first one I did not find pictures on my phone. I'll see it tomorrow. So the pictures here are for the second one...
-
09-10-2016, 02:39 PM #2Senior Member


- Join Date
- Feb 2013
- Location
- Haida Gwaii, British Columbia, Canada
- Posts
- 14,457
Thanked: 4830
There are some subtle lines on the razor that are easy to round and easy to loose, to start with, that blade is an extreme example and that is a lot of buffing and sanding.
There is a very soft transition on that blade where the heel transitions into the tang. The other line that is east to round is just above the notch on the bottom of the tang. It is the line that runs at an angle and is part of reducing the tang so it sits nicely in the scales. That one is super easy to loose.
You removed a lot of very deep pitting on that blade.
I find it to be a very good practice when learning new tool, especially my buffer, to alway use blades that are otherwise dead. If I learn form those, and the lesson winds up in the dust bin, I have not lost a blade only gained knowledge. Sometimes it is knowledge about what not to do, but I still take it as a gain.It's not what you know, it's who you take fishing!
-
09-10-2016, 03:33 PM #3Senior Member

- Join Date
- Aug 2009
- Location
- Duffel, Belgium
- Posts
- 678
Thanked: 101
Yes !!!! I have seen far too many restored razors with all lines and angles rounded, it's such a shame! Originally Posted by RezDog
 ScoutHikerDad likes this.
-
09-10-2016, 07:10 PM #4Senior Member
- Join Date
- Apr 2015
- Location
- paris
- Posts
- 449
Thanked: 13
well actually i give a try with a knife to see what can be done if i do something wrong. after that i was carefull to keep the lines at tang and the spine. i was thinking to do polishing today but i'm kind of lazy today so maybe tomorrow. but actually i'm pretty happy to save this blade. and it was unblievable to see how much rust came out from these pitchs.
ScoutHikerDad and RezDog like this.
-
09-11-2016, 05:35 PM #5Senior Member
- Join Date
- Jul 2016
- Location
- Addison Michigan
- Posts
- 627
Thanked: 115
Nice Job Your Coming Along Good!!!!!!!!!!!!!!!!!!!!!!!Ty
Geezer likes this.
-
09-19-2016, 01:00 AM #6Senior Member
- Join Date
- Apr 2015
- Location
- paris
- Posts
- 449
Thanked: 13
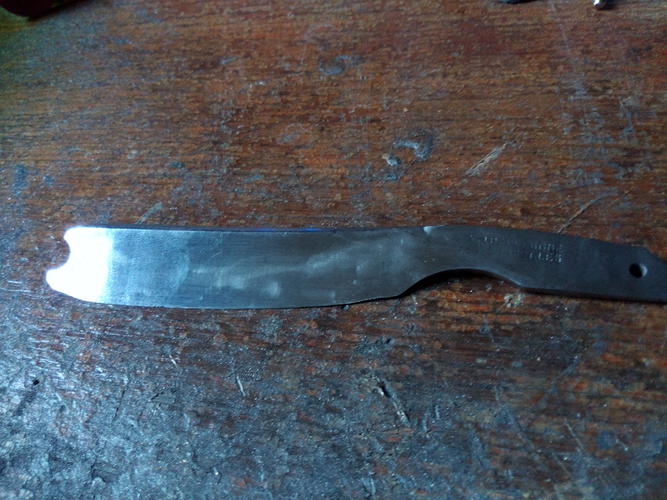
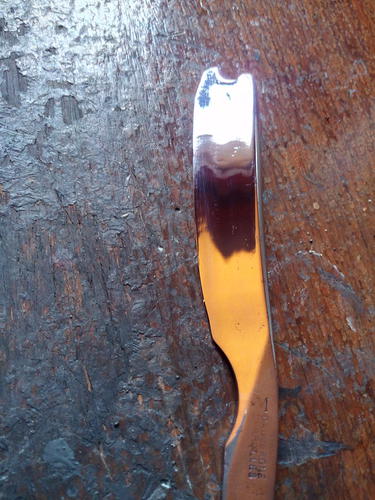
Not all finished but just worked on today, I need to polish and final polish on it then hone.
Here latest pics;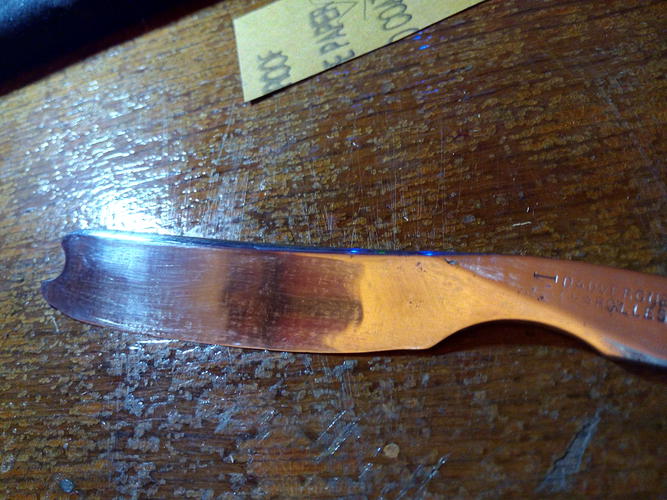
-
The Following User Says Thank You to Oustoura For This Useful Post:
Euclid440 (09-19-2016)
-
10-04-2016, 06:24 PM #7Senior Member
- Join Date
- Apr 2015
- Location
- paris
- Posts
- 449
Thanked: 13
Well just worked on today
 1oldDago likes this.
-
10-06-2016, 12:56 AM #8Senior Member
- Join Date
- Apr 2015
- Location
- paris
- Posts
- 449
Thanked: 13
Bonus:
-
10-06-2016, 08:50 AM #9Senior Member


- Join Date
- Jan 2013
- Location
- Communist State of California
- Posts
- 1,461
Thanked: 463
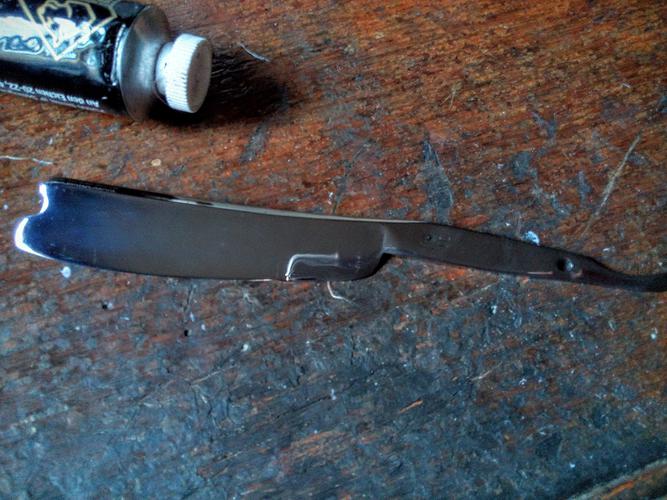
I assume your using greaseless compound on the polisher. Looks like you are getting good results too. One thing to be careful about is grinding into the bevel. It can be especially touchy near the heel on these older smilers. It looks like you lost a bit here but it's not too bad. You should be able to fix that on the stones. That IC Vincent looks very familiar
 . Looks like you've got a nice mirror finish on it.
 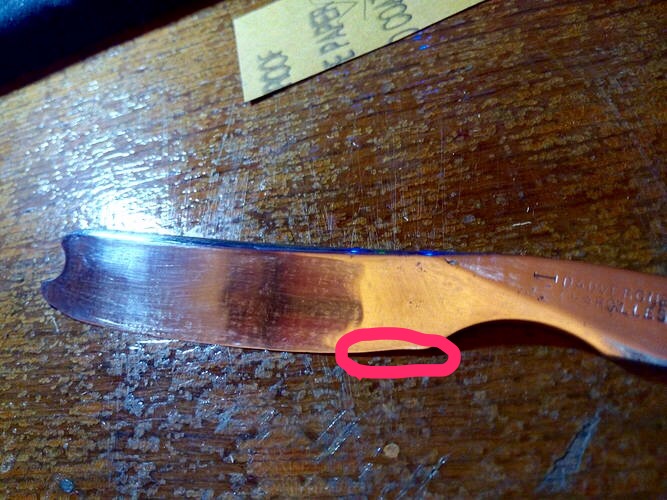 Geezer likes this.B.J.
-
10-06-2016, 01:38 PM #10Senior Member
- Join Date
- Apr 2015
- Location
- paris
- Posts
- 449
Thanked: 13
yes i also remarken the bevel. just shaking hands. i will be more carefull next time.


 Reply With Quote