
Results 21 to 30 of 59
 244Likes
 LinkBack URL
 About LinkBacks
Threaded View
-
09-17-2016, 03:13 AM #1Senior Member


- Join Date
- Jun 2016
- Location
- NH
- Posts
- 1,924
Thanked: 1363 Edward Barnes & Sons, work in progress
With encouragement from some friends on this site I am starting this thread as a sort of tutorial for one method of attempting to restore a straight razor. It's not to say that this is the only way, the right way, or the way others should do it. It's just a snapshot of what I'm doing for a particular restoration with the skills and tools I have available at this point in time. I'll add to the thread as a work-in-progress as I go along or until something goes drastically wrong. I hope someone may benefit from it. I owe many thanks to the folks on SRP for what I've learned so far, and continue to learn. I believe everything I'll be doing here was someone else's idea or method before me, but the mistakes I make are all mine!
I'm planning a full restoration of the blade with new scales and handmade solid brass dome collars. I understand the philosophy about leaving patina on the blade, leaving some character and I follow that philosophy at times and other times (like this time) I don't. I will be using mostly hand tools and elbow grease. Not sure how long it will take. There are faster ways to do this but I'm not in a rush and I like the results by doing it slow. However, nothing is guaranteed and I may spend a month only to mess it up in the end hope not.
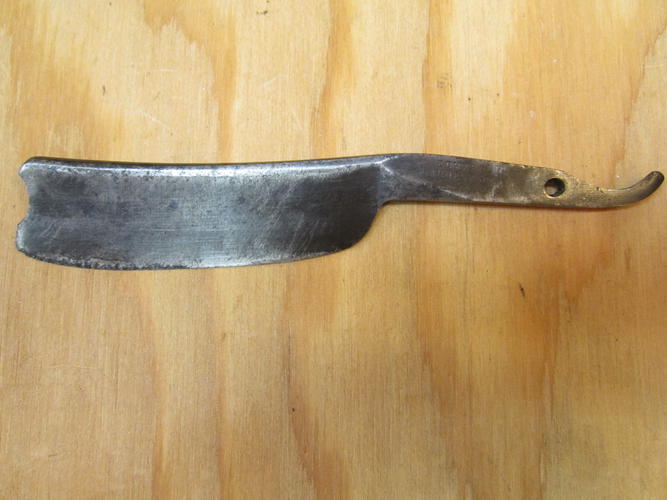
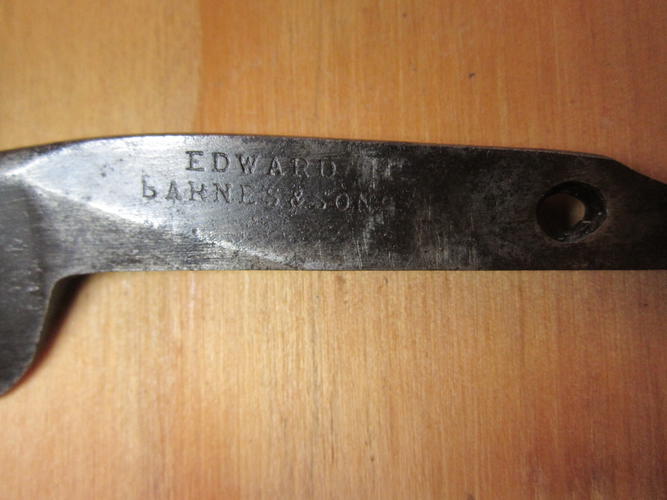
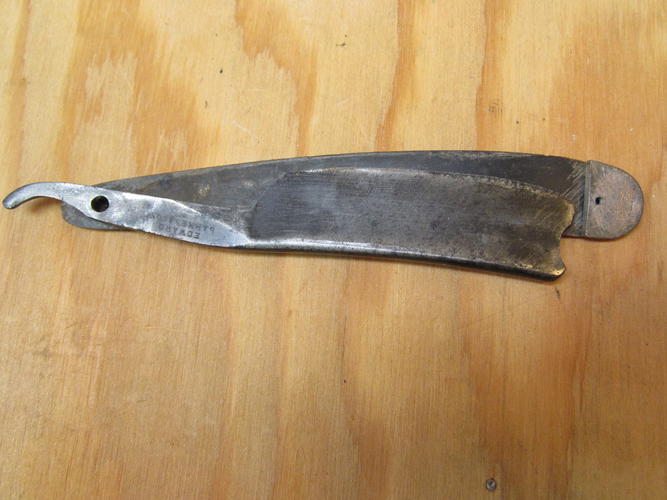
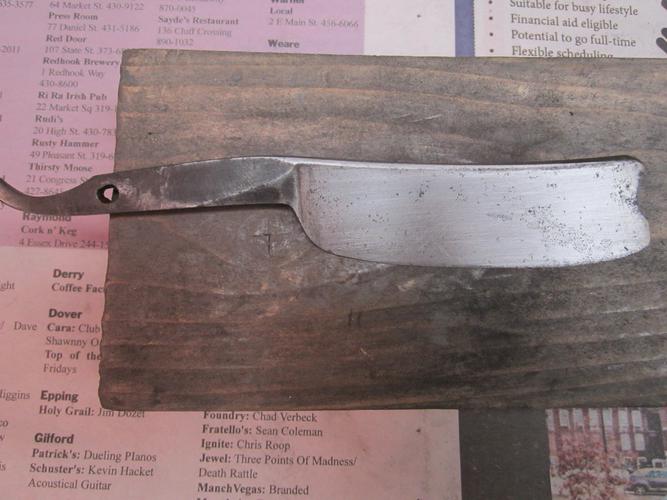
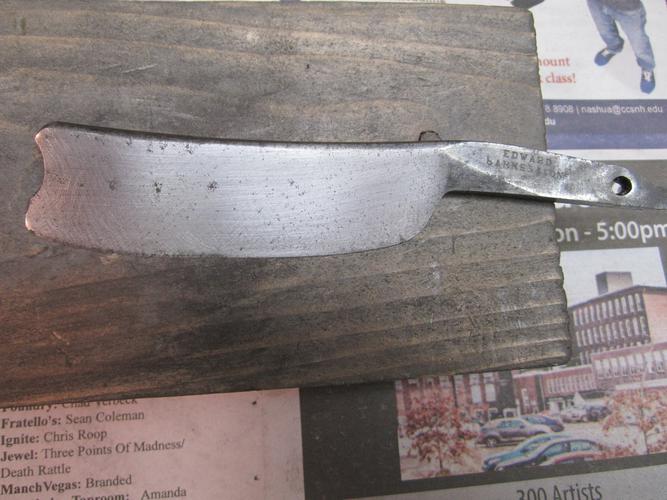
OK, I start by choosing a blade, an Edward Barnes and Sons. Looks like some pitting here and there and small chips along the edge. It's a 7/8 blade but I expect a little of that to be lost in the process.
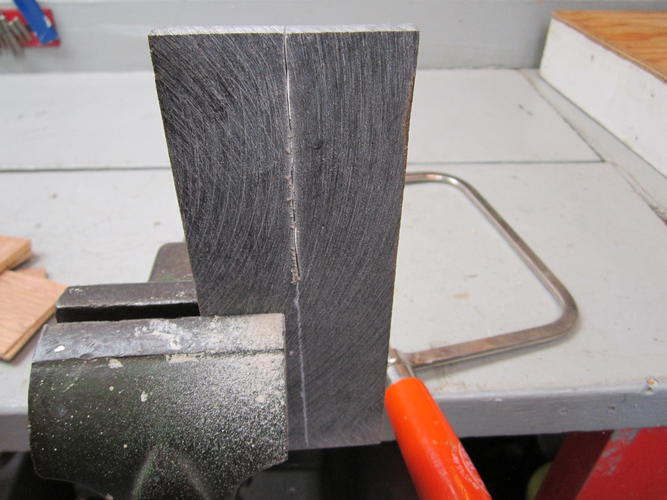
I have no original scales for it so I'll be making some scales out of black horn. I need to cut it and clamp it. I mark it in half and cut it with a coping saw. Then wood glue both sides and clamp with a piece of paper between.

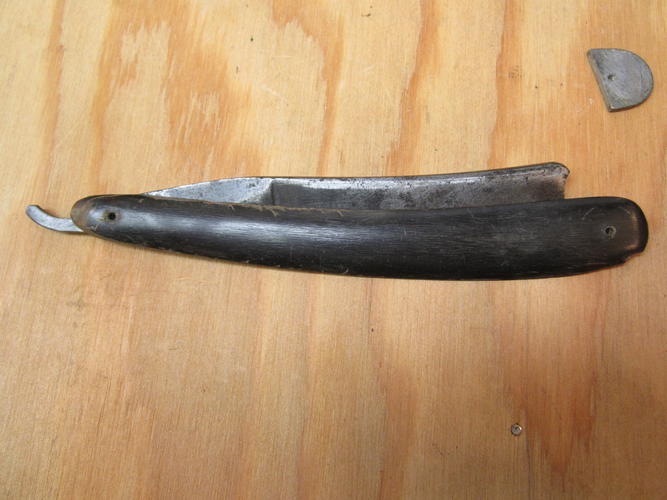
Then to choose a loose scale from the junk pile to use as a template. This one looks good and I have the lead wedge to match. Don't know what razor this originally went with but it's an appropriate style IMO.
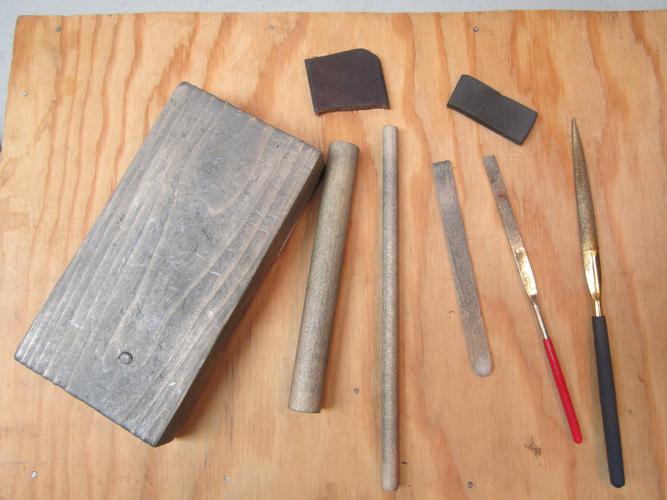
I'm ready to start work sanding the blade. I do almost all of the work with these tools. A block to work off of, dowels for sanding backers, leather for backers, a popsicle stick with one end squared off, and a couple diamond files for limited use on certain issues around the spine, tang and tail.
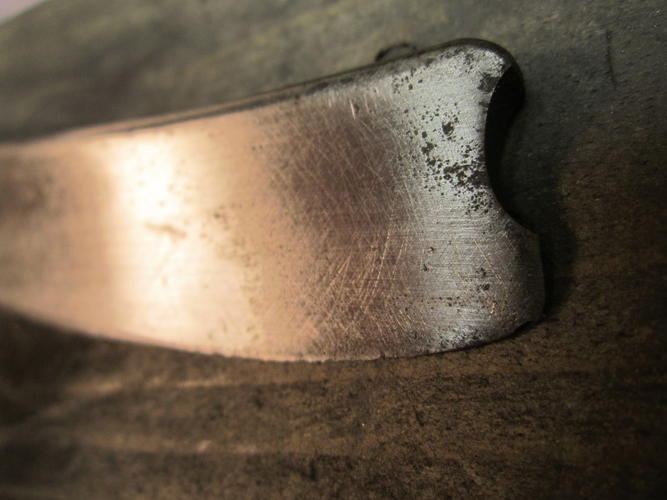
I start with 220 wrapped on a dowel to clean up the blade so I can see the pits. I will know if I need to go to a courser grit. If the condition of the blade were better to begin with, or a thinner grind, I would start with a higher grit.
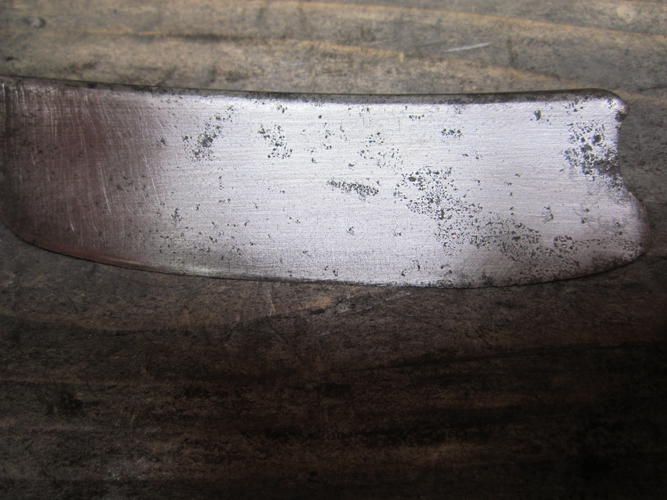
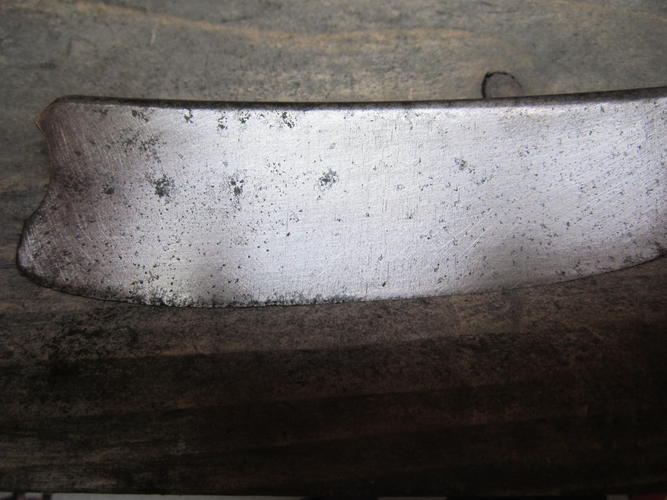
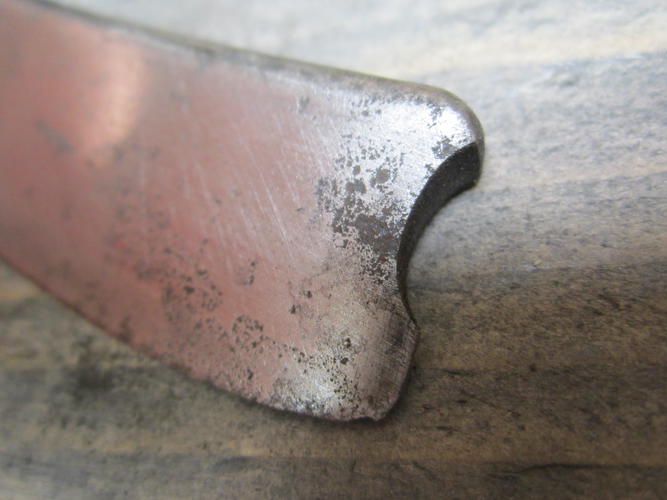
There is more pitting than I thought. It will require a little more sanding which will increase the risk that I get an uneven or wavy surface as a result. It is especially important for me to remove steel evenly from the entire surface of the blade, both sides, to keep it smooth. The spine, tang, and tail will be addressed separately later on. I'll drop down and stay with 150 for a while.
Total sanding time so far is 1.5 hours. I'll update with progress from time to time and hopefully, eventually have a good result.
-
The Following 8 Users Say Thank You to xiaotuzi For This Useful Post:
ajkenne (11-17-2017), buanadha (11-17-2017), dshaves (11-17-2017), ejmolitor37 (09-17-2016), Geezer (09-17-2016), MikeB52 (09-17-2016), ScoutHikerDad (09-25-2016), sharptonn (09-17-2016)


 Reply With Quote