
Results 1 to 10 of 10
 18Likes

Thread: Pitting
 LinkBack URL
 About LinkBacks
-
12-09-2016, 09:01 PM #1www.edge-dynamics.com


- Join Date
- Feb 2013
- Location
- London
- Posts
- 3,066
Thanked: 512 Pitting
Hi Guys,
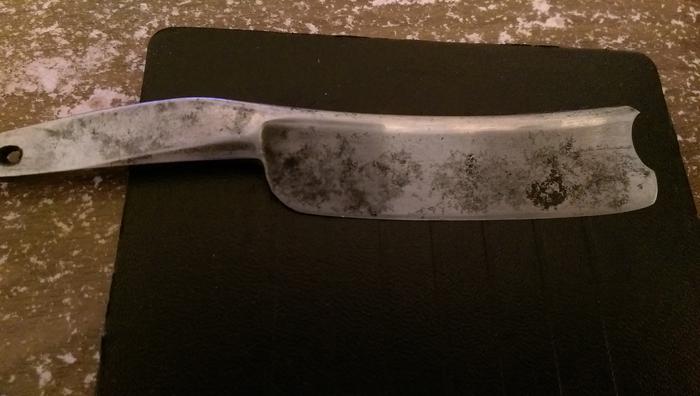
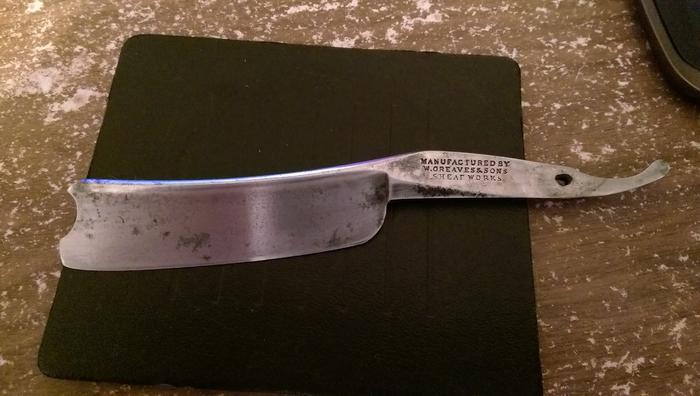
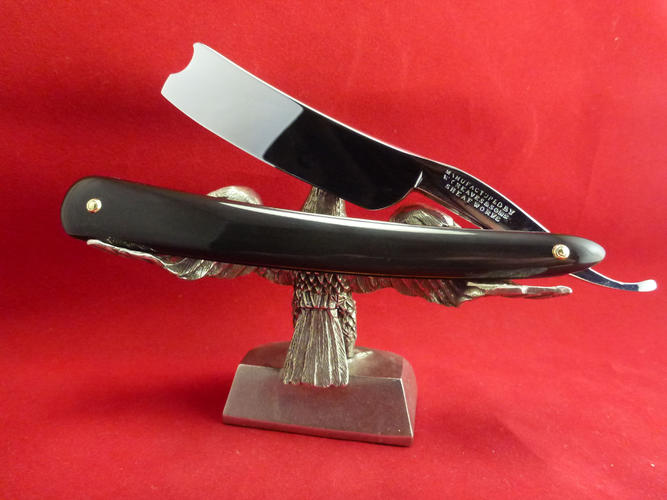
I bought this 7/8ths W.Greaves & Sons on eBay as an xmas project for myself.
From the pictures it didn't seem to be in that bad of a condition. I've certainly restored worse.
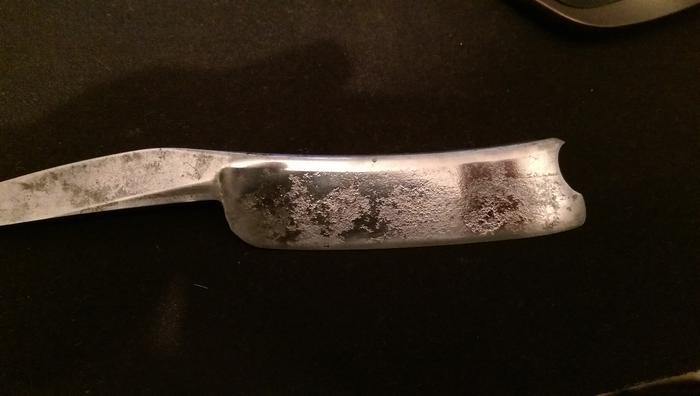
Today I received my blade . I deconstructed it at went at it with 1000 grit paper and WD40 to check out its condition.
One side is ok but the other has some deep pits ,which I don't mind but the problem is some pits near the edge.
I'm thinking that trying to remove them would be a problem because of the final geometry after sanding and leaving them alone would be a no no because then the bevel /cutting edge just couldn't exist on deep pits.
Any thoughts? preferably positive ones haha.


-
12-09-2016, 09:06 PM #2Fizzy Laces Connoisseur
- Join Date
- Dec 2009
- Location
- Scotland
- Posts
- 1,562
Thanked: 227
I would take it to the stomes see if you can get a bevel on it. Before sanding any more.
May find that if they aren't 'too' deep you might get lucky 😂
Geek
Sent from my LG-H850 using Tapatalk
-
The Following User Says Thank You to TheGeek For This Useful Post:
JOB15 (12-09-2016)
-
12-09-2016, 10:24 PM #3Senior Member


- Join Date
- Feb 2008
- Posts
- 32,564
Thanked: 11044
That is the best way to approach it. If the pits are too deep the edge will begin to 'swiss cheese'. To make it worthwhile to restore you have to get down to good steel in the bevel, even if that means losing width. Originally Posted by TheGeek

 Be careful how you treat people on your way up, you may meet them again on your way back down.
-
The Following User Says Thank You to JimmyHAD For This Useful Post:
JOB15 (12-09-2016)
-
12-09-2016, 11:03 PM #4www.edge-dynamics.com
- Join Date
- Feb 2013
- Location
- London
- Posts
- 3,066
Thanked: 512
I will do that tomorrow, should work out , fingers crossed.
I wish I had a buffer though.. There is a lot of sanding ahead of me.
-
12-10-2016, 01:13 AM #5Senior Member


- Join Date
- Jan 2015
- Location
- N.E. Indiana
- Posts
- 970
Thanked: 134
Not sure if it's something you already have, but I would suggest soaking it in Evaporust for whatever pitting will remain. It's real good at neutralizing rust.
When I work on a razor that will retain pitting when finished, I try to get into the pitting any way I can. Using a toothbrush & polish, wire bristled (detailing) brush, steel wool, etc., I try to loosen debris & clean inside the pitting. Then I give it an Evaporust bath, bristle brush it some more, followed by another Evaporust bath, then on to other cleanings/polishing. This usually happens after all the "heavy lifting" sanding, and before walking up through the high grit papers to polish.
Hopefully my words reached a value of at least $0.02 for you .
.
Pitting aside, that's a good looking blade!Decades away from full-beard growing abilities.
-
-
12-10-2016, 09:23 AM #6www.edge-dynamics.com
- Join Date
- Feb 2013
- Location
- London
- Posts
- 3,066
Thanked: 512
Thanks for that, I will hunt some down... Originally Posted by Crawler
I've been planning my attack for this blade and getting the pitted area clean looking is a must, I have many options though..
There is also voice in the back of my head telling me to oil n wrap it and start on another blade.
This one is quite heavy and at the moment I'm being drawn to the smaller lighter blades ..
What a conundrum ey
-
12-10-2016, 09:35 AM #7Senior Member

- Join Date
- Mar 2012
- Location
- Thunder Bay, Ontario, Canada
- Posts
- 17,386
Thanked: 3228
Another thing to explore for cleaning out pits that will remain is a fiberglass pen. They are quite handy for that.
BobLife is a terminal illness in the end
-
12-10-2016, 12:01 PM #8Senior Member


- Join Date
- Oct 2011
- Location
- Standish, Maine
- Posts
- 816
Thanked: 954
I just finished one just like that. Same shape blade and makers stamp. Great shave.
-
The Following User Says Thank You to karlej For This Useful Post:
JOB15 (12-10-2016)
-
12-10-2016, 02:26 PM #9www.edge-dynamics.com
- Join Date
- Feb 2013
- Location
- London
- Posts
- 3,066
Thanked: 512
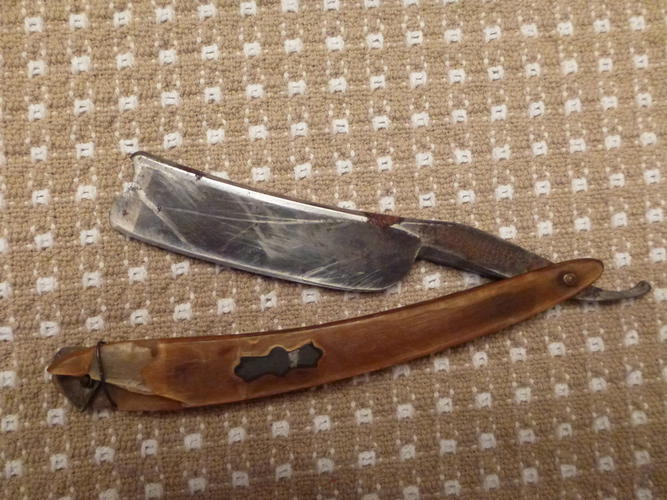
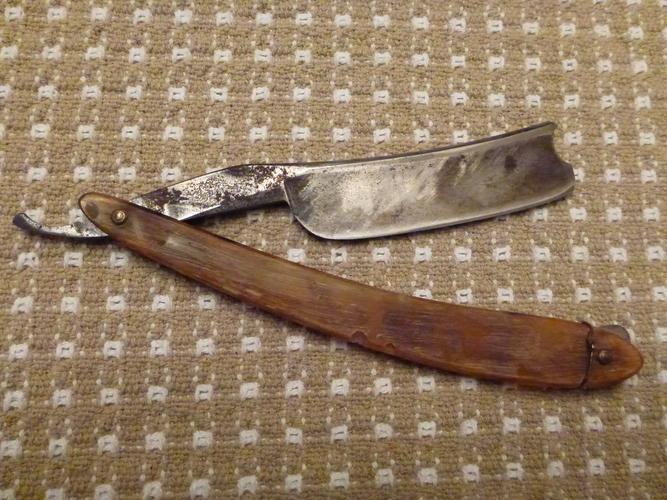
Thought I'd have a go at cleaning the pits out before I start sanding..
I used some rust removal gel, then compounds with the Dremel and different type wire heads.
finally a little metal polish.
It looks pretty bad . However because this one will be an ugly duckling I might use materials that I wouldn't normally use . Like honey horn..
I cant really make any decisions until I've spent some time sanding...
-
12-10-2016, 11:24 PM #10Member

- Join Date
- Nov 2016
- Location
- SF
- Posts
- 79
Thanked: 14
Thanks for documenting. Keep updating!
JOB15 likes this.
-
The Following User Says Thank You to cmsessa For This Useful Post:
JOB15 (12-11-2016)


 Reply With Quote