
Results 1 to 10 of 10
 19Likes

Thread: Restoring lettering on scales
 LinkBack URL
 About LinkBacks
-
12-12-2016, 06:40 PM #1Senior Member


- Join Date
- Jul 2015
- Location
- Colorado
- Posts
- 540
Thanked: 79 Restoring lettering on scales
Hey guys! I've been searching the forum to see if anyone has done this successfully, but I'm sure I'm just not searching for the right keywords...
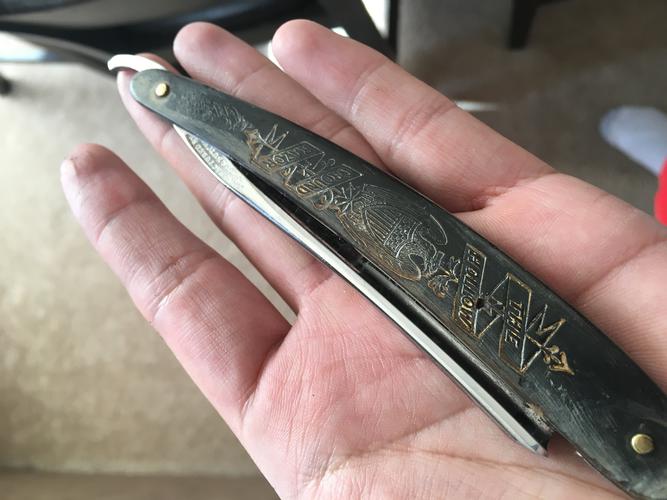
I have a razor I was going to restore and it has lettering on the scales that used to be yellow. I thought about getting some yellow model paint and putting it in there and sanding but I'm not sure if anyone has a better suggestions...
Let me know gents. As always thank you!
-
12-12-2016, 06:46 PM #2KN4HJP

- Join Date
- Feb 2015
- Location
- Chesapeake, Virginia
- Posts
- 932
Thanked: 261
I believe that the general technique is to fill the grooves with paint and then immediately wipe the excess off. Probably best done while unpinned but after polishing. Needless to say, be sure that all polish, etc. is cleaned from the grooves before applying the paint.
ejmolitor37 likes this."Every normal man must be tempted at times to spit on his hands, hoist the black flag, and begin to slit throats." -H. L. Mencken
-
12-12-2016, 06:54 PM #3Senior Member

- Join Date
- Jun 2013
- Location
- Pompano Beach, FL
- Posts
- 4,048
Thanked: 636
I have done it successfully with gold paint. Rub it in to fill the lettering. Wipe off as much as you can. Lightly sand with fine sandpaper to remove excess.
ejmolitor37 likes this.
-
12-12-2016, 07:22 PM #4Senior Member
- Join Date
- Jul 2015
- Location
- Colorado
- Posts
- 540
Thanked: 79
 Originally Posted by sqzbxr
 Awesome that's what I thought... do u guys have a suggestion on the kind of paint to use? I wasn't sure if model paint would be best or if something is better? Originally Posted by bouschie
-
12-12-2016, 08:20 PM #5Senior Member
- Join Date
- Jun 2013
- Location
- Pompano Beach, FL
- Posts
- 4,048
Thanked: 636
The one I use is like liquid gold. It is not water soluble.
ejmolitor37 likes this.
-
12-12-2016, 08:41 PM #6Senior Member

- Join Date
- Aug 2016
- Location
- Cowden, Il.
- Posts
- 436
Thanked: 131
There's been a big push in the younger generation 'color filling' their firearms etching. While they seem to think it's 'new and on the cutting edge', I done it to one of my Ithica model 37 shotguns, back in the early '90's during my apprenticeship. I used paint, while the young-uns are using nail polish nowadays. (Paint sticks or paint markers would work great for this).
Just apply a thin coat (paint or nail polish) across the entire area. Let it dry, then take 0000 steel wool and lightly stroke it. The part that is in the etching will not be affected. If it is, just repeat the process as many times as needed to 'fill' the etching.ejmolitor37 likes this.
-
12-12-2016, 09:21 PM #7
I use paint pens. Less slop a d dries below the scale surface. About ten colors of gold available.
,~Richard
-
12-13-2016, 01:01 AM #8Razor Vulture


- Join Date
- Oct 2010
- Location
- Lone Star State
- Posts
- 26,180
Thanked: 8619
Gold Rub n Buff. Works a treat!
ejmolitor37 likes this.
-
12-13-2016, 04:06 AM #9Senior Member


- Join Date
- Mar 2015
- Location
- Akron, Ohio
- Posts
- 12,116
Thanked: 4315
I've used this to fill in lettering.
Rub it in ,,,rub it off.


 Mike
Mike
-
12-13-2016, 03:56 PM #10Senior Member
- Join Date
- Jul 2015
- Location
- Colorado
- Posts
- 540
Thanked: 79
Thanks gents! I have lots of ideas here... when I get this project done I'll be posting it here....much appreciated!


 Reply With Quote
