Results 1 to 10 of 21
Threaded View
-
02-11-2017, 05:03 PM #1
 Make your own solid brass washers
I've been making my own solid brass domed washers for a while now. I got the idea from an older thread but have made a few adjustments that work well for me. That thread is http://straightrazorpalace.com/works...-vlad-how.html so while it's been discussed before, there has been some interest in this lately so I thought I'd renew the topic and share some of what I do for making these. I posted some of this in a different thread a few months ago but have made a few improvements since then.
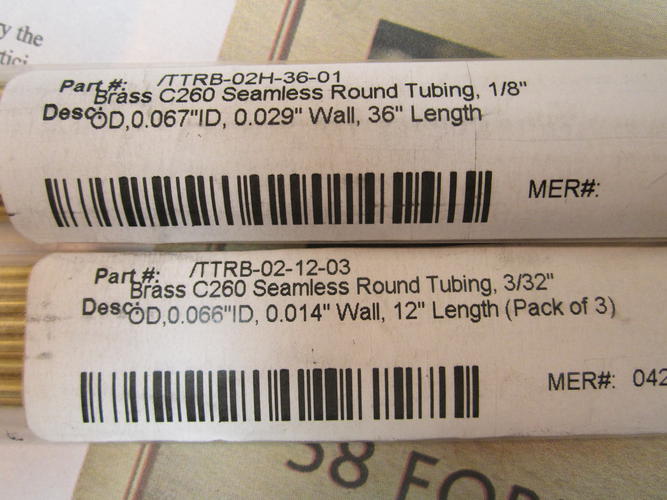
I cut some steel rod and drilled 1/16 inch holes in the center of a few pieces. On a couple I dished out the surface using larger drill bits and made two sizes for the domes. I cut pieces of seamless brass tubing (two sizes) and use a broke off piece of 1/16 drill bit as the post. Then I hammer the two pieces together and it squishes the tubing into the dome shape.
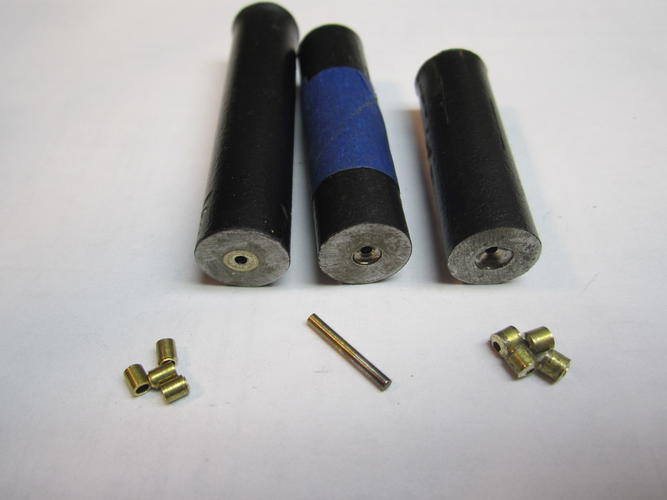
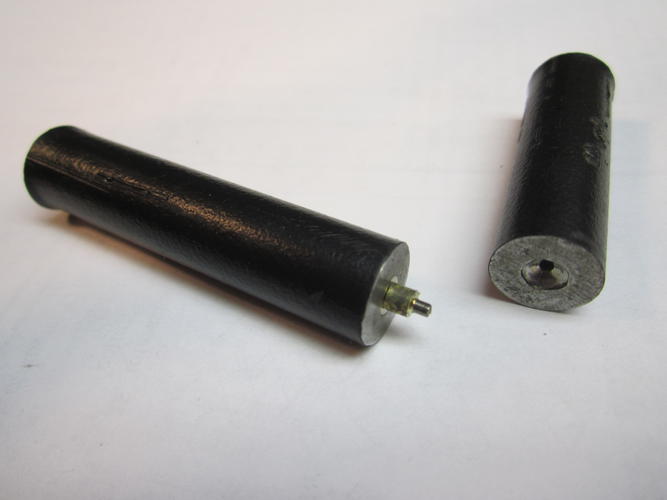
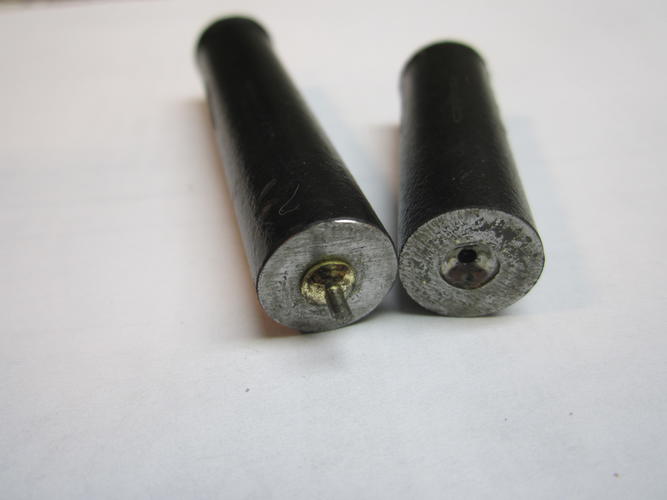
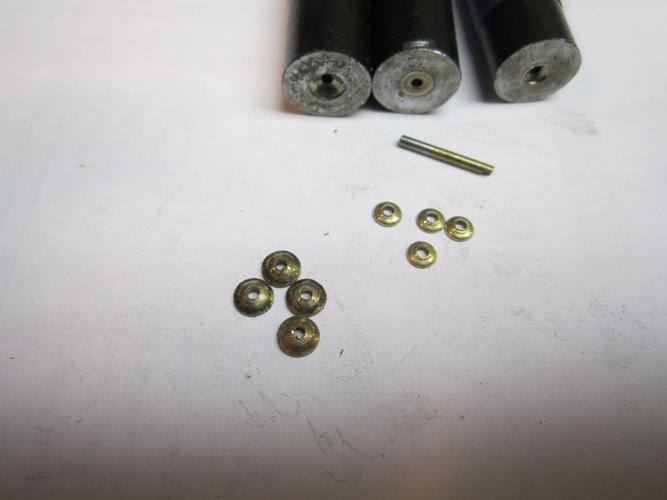
Then I flatten the bottom on 400 grit sandpaper and the bevel out the top a little to allow for the pin to set flush. I hold it with a small needle nose pliers and use a little bigger drill bit to do this. Doing this part on sandpaper helps the washer to not spin.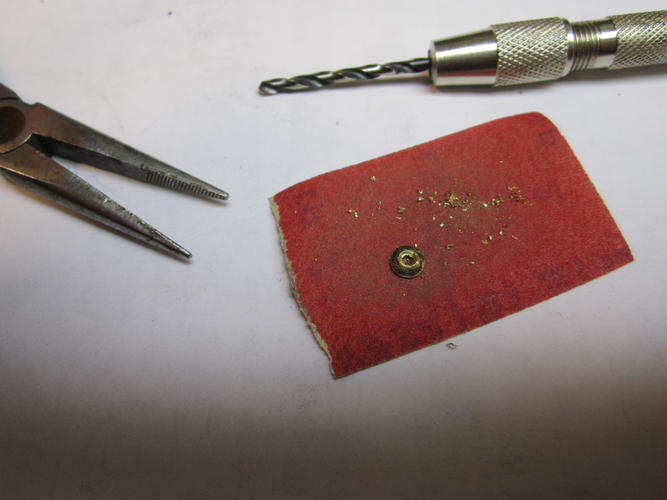
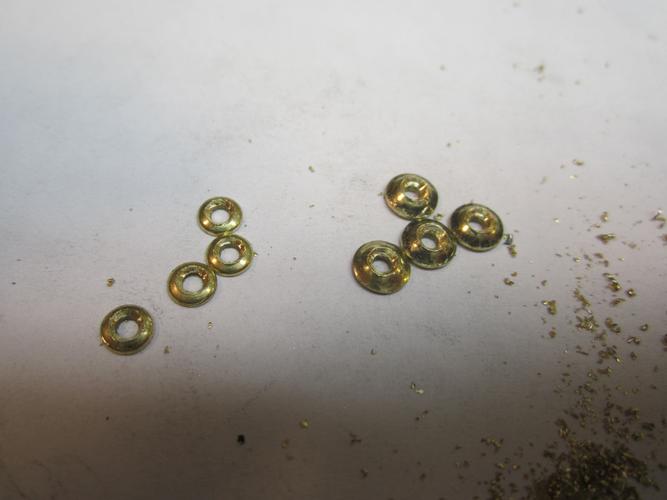
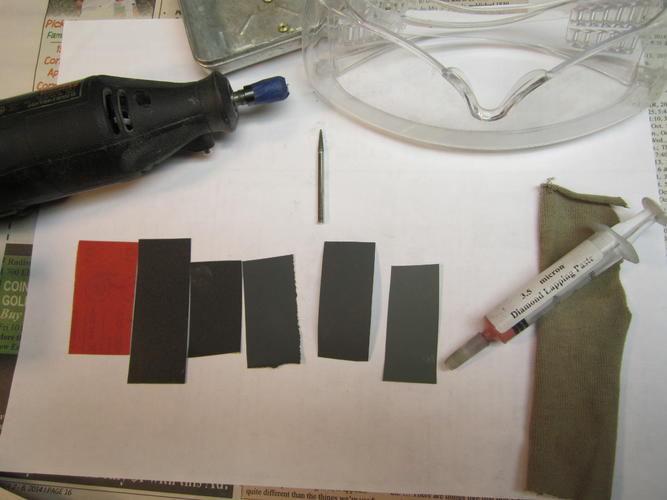
Now they are ready for sanding and polishing. I set out a progression of sandpaper bits 400 - 2000, some 3.5 diamond lapping paste, a small rag, a slim cone shaped diamond rotary bit for a mandrel, and safety glasses. I used to use a modified roofing nail as the mandrel but the diamond rotary bit is key, it holds the washer and doesn't let it spin, very useful for this next part. I put the washer on the mandrel in the dremel, get it spinning and use the sandpaper to smooth out the surface ending with the diamond polish.
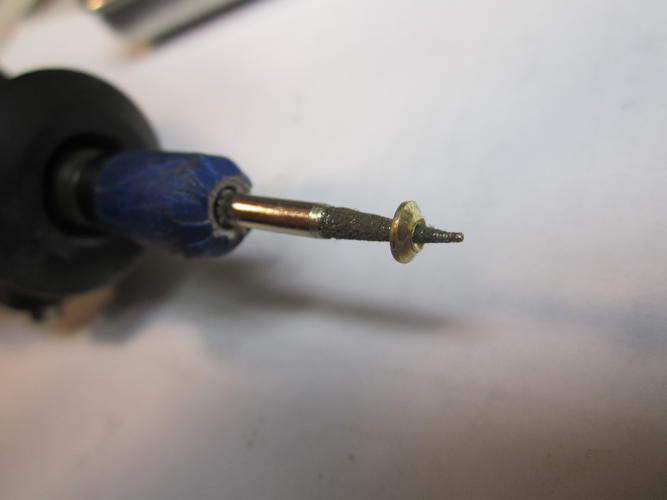
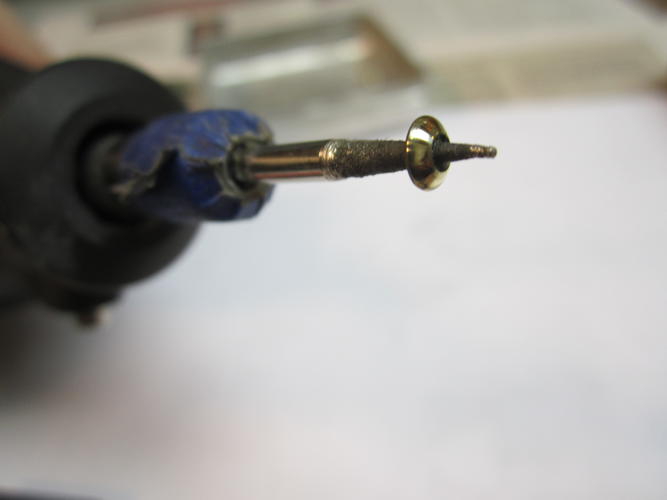
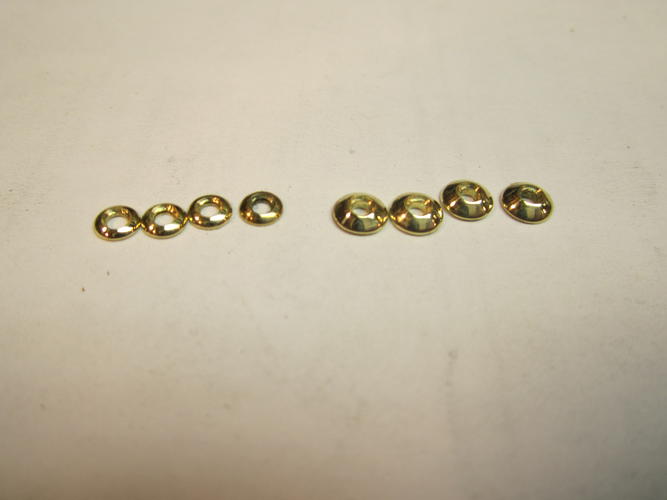
Here's how they look on some razors I restored...
small domes:
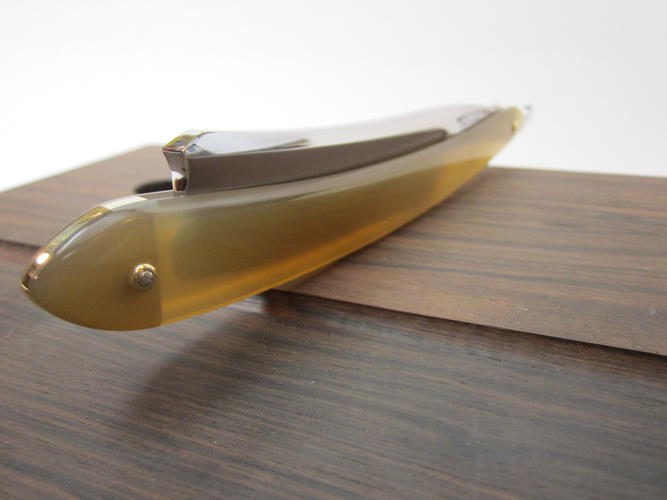
large domes:
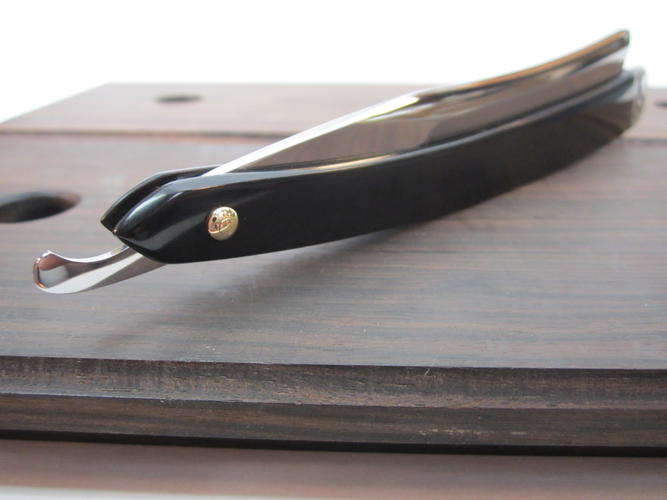
Thanks for looking!"Go easy"
-
The Following 26 Users Say Thank You to xiaotuzi For This Useful Post:
32t (02-13-2017), BeJay (02-11-2017), Benz (02-11-2017), bluesman7 (02-12-2017), BobH (02-11-2017), cudarunner (02-11-2017), Dieseld (02-12-2017), ejmolitor37 (02-11-2017), Ernie1980 (02-13-2017), Euclid440 (02-11-2017), Geezer (02-11-2017), HARRYWALLY (02-11-2017), JeffR (02-11-2017), JOB15 (02-12-2017), mainaman (02-13-2017), Martin103 (02-13-2017), MikeB52 (02-11-2017), Mrchick (02-11-2017), nightcap (02-14-2017), RezDog (02-12-2017), ScoutHikerDad (02-14-2017), sharptonn (02-13-2017), Srdjan (02-12-2017), Steel (02-12-2017), tinkersd (02-15-2017), Walterbowens (02-11-2017)


 71Likes
 LinkBack URL
 About LinkBacks


 Reply With Quote