Results 1 to 10 of 12
Thread: Need to fix this chip
-
02-22-2017, 05:04 PM #1Member

- Join Date
- Jul 2015
- Location
- Alberta, Canada
- Posts
- 45
Thanked: 1 Need to fix this chip
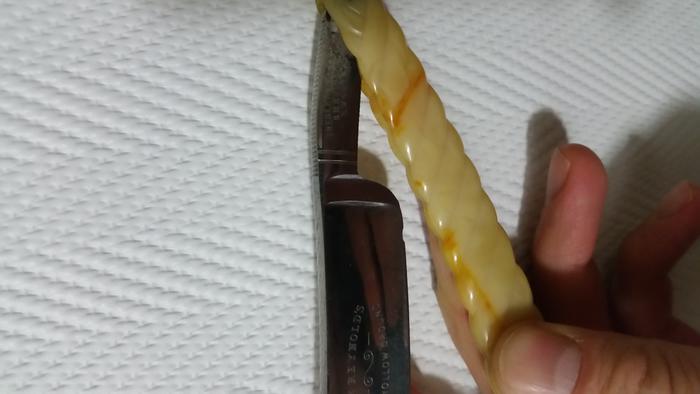
How would you deal with this chip as it will require a decent amount of steel to be removed. My concern is the stabilizer. What is the best way to reduce it so that the whole edge can be honed without making it look like crap?

-
02-22-2017, 05:23 PM #2At this point in time...


- Join Date
- Jun 2007
- Location
- North Idaho Redoubt
- Posts
- 27,152
- Blog Entries
- 1
Thanked: 13249
You have to get to the bottom of the chip Period
You can use a black maker on the edge to help to figure the best contour line to achieve that by blacking out the metal that needs to come off
I use a DMT 325 to do most of that work, and I show how in a couple of my honing vids but basically you gently recontour the heel and shoulder using a corner of the DMT
You can also use a Diamond File if you have them, or even a Dremel if you feel brave
-
02-22-2017, 06:11 PM #3

It takes some patients and some time but its not difficult once you get going.
Nothing is fool proof, to a sufficiently talented fool...
-
02-22-2017, 06:14 PM #4Senior Member

- Join Date
- Jul 2016
- Location
- Addison Michigan
- Posts
- 627
Thanked: 115
I believe something real similar was explained Yesterday in Thread I Dropped My Razor, Somebody put arrows and circles on the razor to show how to fix it, Ty
-
02-22-2017, 06:17 PM #5

What Addison said.
And watch a couple of Glens vids. Its not too hard just go slow. Good luck.It's just Sharpening, right?
Jerry...
-
02-22-2017, 06:24 PM #6

I just removed 2 chips from a blade I should have taken pics and shared. If you like I can take pics explaining what I did and instructions. Just holler ill be glad to help.
Nothing is fool proof, to a sufficiently talented fool...
-
02-22-2017, 06:28 PM #7Member

- Join Date
- Jul 2015
- Location
- Alberta, Canada
- Posts
- 45
Thanked: 1
I would appreciate any pics that you have. Definitely helps when I have pics to look at.
-
02-22-2017, 06:29 PM #8
-
02-22-2017, 07:37 PM #9At this point in time...


- Join Date
- Jun 2007
- Location
- North Idaho Redoubt
- Posts
- 27,152
- Blog Entries
- 1
Thanked: 13249
ps; Here is a thread to read that might help you also
http://straightrazorpalace.com/advan...l-setting.html
-
-
02-22-2017, 08:36 PM #10Senior Member


- Join Date
- Apr 2012
- Location
- Diamond Bar, CA
- Posts
- 6,553
Thanked: 3215
Looks like the spine has a smile, and probably, so does the edge.
If so, you want to keep that smile or the blade will look funky. Here is a post on doing a more aggressive re-profile, but the technique is the same. (Make me smile).
As said, just re profile the heel so the corner ends in front of the stabilizer and is no longer touching the stone when honing. The metal is thin and is removed quickly so go slow.
Taking measurements and drawing a profile with a sharpie is good insurance that you will like the results.
When removing steel from the edge get close to your line and do the final profiling with the 1k, so you remove as little steel as possible.
Use a coin or large washer to draw the profile of the heel so the corner of the edge is forward of the stabilizer, then grind to the line with a diamond plate or low grit stone. You can use a Dremel, but I prefer a plate, file or stone. On this operation, it is very easy for the Dremel to get away from you.
Here is a post, that shows what you are trying to achieve and a razor that need a re-profiling. Post 17, (Dropped open SR, how bad is it?)
-
The Following 2 Users Say Thank You to Euclid440 For This Useful Post:
Dieseld (02-22-2017), ejmolitor37 (02-22-2017)


 24Likes
 LinkBack URL
 About LinkBacks


 Reply With Quote

