Results 1 to 10 of 21
Threaded View
-
05-02-2017, 01:23 AM #1I love Burls....... and Acrylic


- Join Date
- Mar 2012
- Location
- Baden, Ontario
- Posts
- 5,475
Thanked: 2284 Removing an ivory button from a lawn bowling ball.
This is a short tutorial on how to remove the ivory buttons, safely from old Lignum Vitae lawn bowling balls. These balls can sometimes be found cheap at antique stores. Usually even cheaper if there's a huge crack, like this one had. Most of the early lawn bowling balls were made from true Lignum Vitae. A wood that is very rare, and not harvested any longer (Don't quote me on that), but I believe today's Lignum Vitae is a different. Genuine Lignum Vitae has been over harvested, and is no longer allowed to be traded across international borders. Argentine Lignum Vitae is what is now being sold, and is almost identical to the true form. So this is also a great way to re-purpose true Lignum Vitae.
First and foremost. You should definitely be wearing safety glasses while doing this, as well as your band saw should have a VERY sharp blade. Lignum Vitae is the number 1 hardest and most dense wood on the planet.
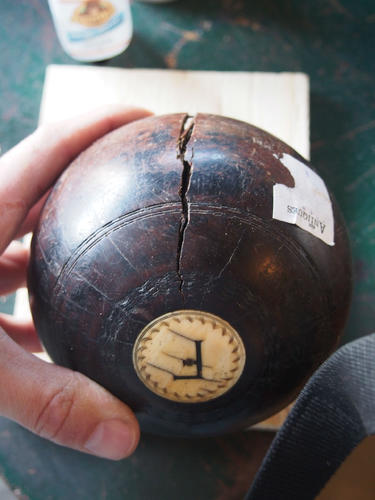
First thing is to sand a flat spot on one side of the ball. I did this using an 80 grit bench sander, making sure that the crack was perpendicular to the belt. This way, when it comes time to cut, the crack will align perfectly with the band saw blade.
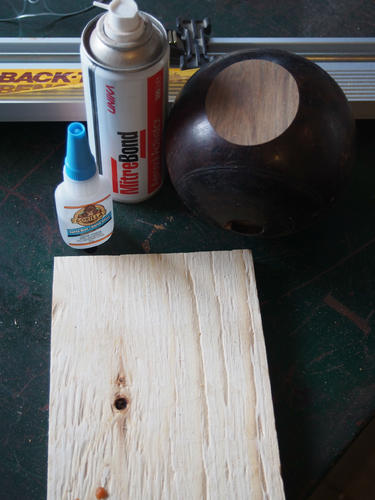
Next, I took a thick CA glue (super glue) and put a generous amount to the flat spot. Then a generous amount of CA activator to a small piece of scrap plywood, which will act as the flat base for the ball.
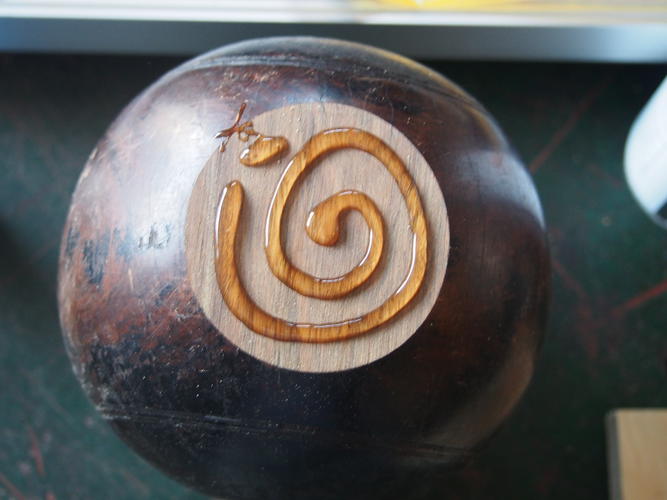
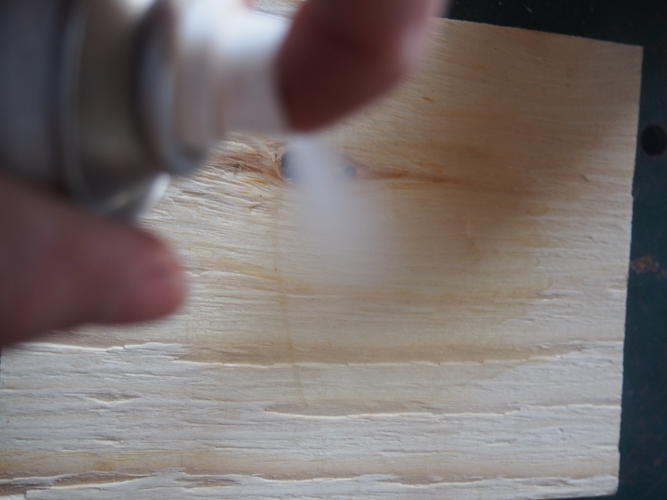
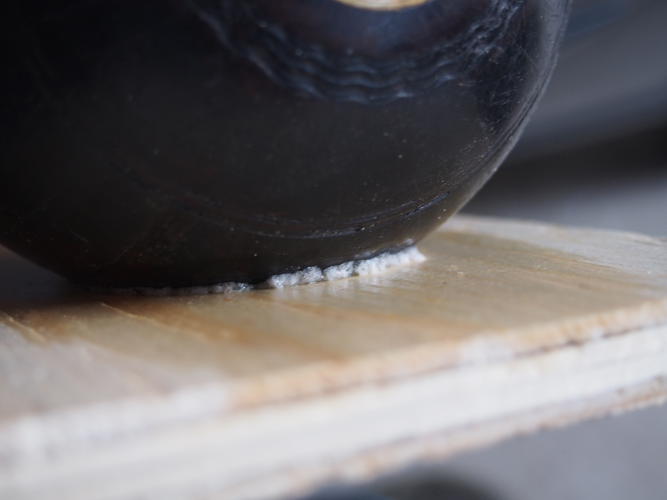
Quickly stick them together, and in a matter of seconds the 2 pieces will fuse together. The flat plywood base will prevent the ball from wanting to spin while cutting with the band saw.
Next step is to cut the ball.
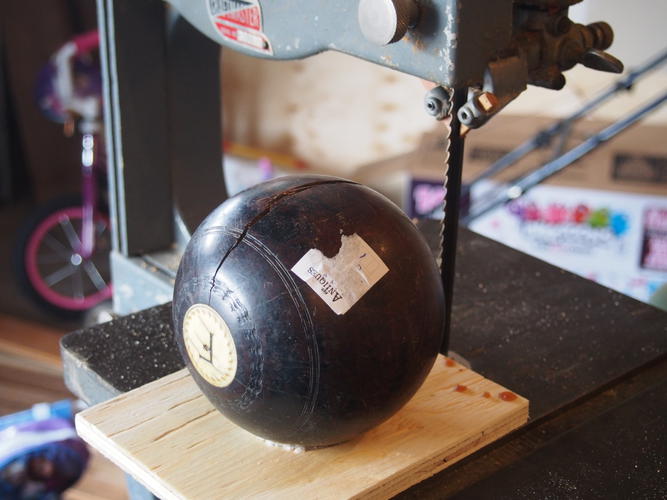
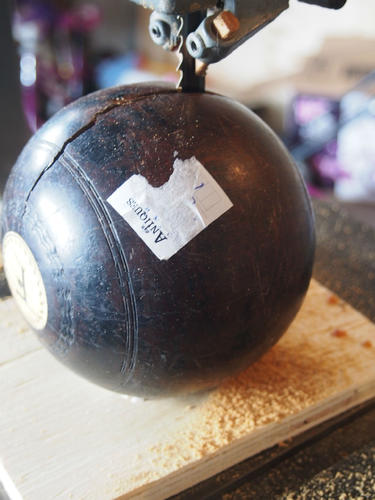
In my experience with removing these ivory buttons, they are usually around 3/8 to 5/8 of an inch thick. So stop your cut through the ball, before you cut into the ivory. 1 inch is what I was shooting for.
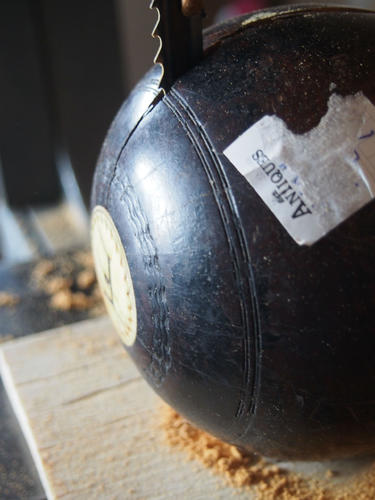
Next, I used a hive tool and a hammer to split the remaining ball in half.
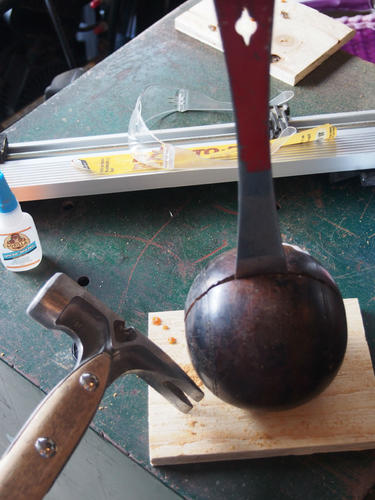
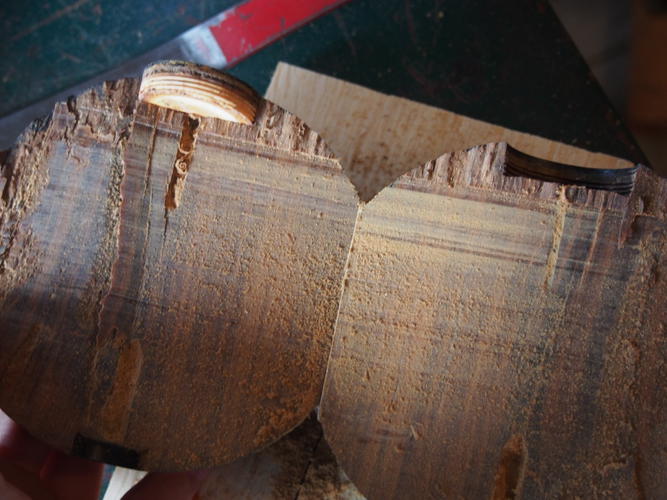
As you can see in the photo, I stopped just short of cutting into the ivory, which is perfect. The super hard Lignum Vitae at this point is very easy to split along the grain. This leaves the ivory button quite loose, and a small tap on the backside of the button with hammer popped it out quite easily.
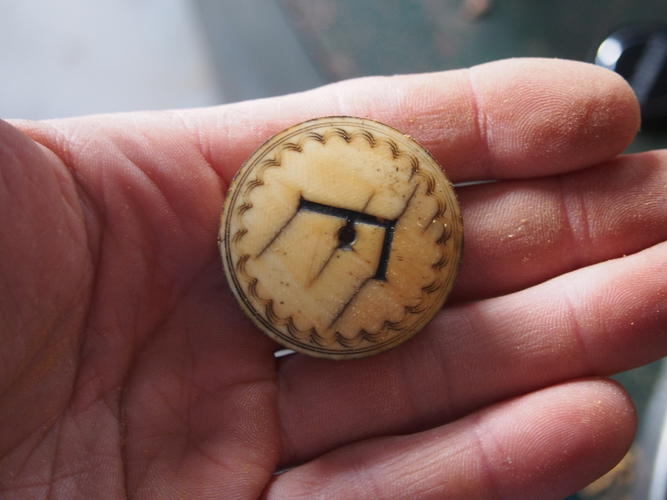
Now it's time to craft! Both the ivory and Lignum Vitae can be re-purposed for any number of projects. Hope this will help someone down the road with future projects.Last edited by HARRYWALLY; 05-02-2017 at 01:32 AM. Reason: fixing spelling and grammar
Burls, Girls, and all things that Swirl....
-
The Following 14 Users Say Thank You to HARRYWALLY For This Useful Post:
BobH (05-02-2017), cudarunner (05-02-2017), Dieseld (05-02-2017), dinnermint (05-02-2017), ejmolitor37 (05-02-2017), Geezer (05-02-2017), Hirlau (05-02-2017), lz6 (05-02-2017), MikeB52 (05-02-2017), MJC (05-02-2017), RezDog (05-02-2017), sharptonn (05-02-2017), tintin (05-02-2017), xiaotuzi (05-02-2017)


 79Likes
 LinkBack URL
 About LinkBacks


 Reply With Quote