
Results 1 to 8 of 8
 32Likes

Thread: Pinned my first set of scales today!
 LinkBack URL
 About LinkBacks
-
06-29-2017, 05:06 PM #1Senior Member

- Join Date
- Jan 2017
- Location
- Sarasota/Bradenton Florida
- Posts
- 184
Thanked: 28 Pinned my first set of scales today!
Turned out nice and tight and pretty well centered too!
Pictures for feedback- how did I do? Pointers welcome as always


Sent from my iPhone using Tapatalk
-
06-29-2017, 05:19 PM #2Senior Member


- Join Date
- Mar 2015
- Location
- Akron, Ohio
- Posts
- 12,118
Thanked: 4316
Looks damn good.!
Sdm84 likes this.Mike
-
The Following User Says Thank You to outback For This Useful Post:
Sdm84 (06-29-2017)
-
06-29-2017, 05:30 PM #3Senior Member
- Join Date
- Jun 2013
- Location
- Pompano Beach, FL
- Posts
- 4,049
Thanked: 636
Nice job. Well done.
Sdm84 likes this.
-
The Following User Says Thank You to bouschie For This Useful Post:
Sdm84 (06-29-2017)
-
06-29-2017, 06:41 PM #4Senior Member


- Join Date
- May 2010
- Location
- Upstate South Carolina
- Posts
- 3,308
Thanked: 987
Looks good, though hard to tell as the pics are a little blurry. My 1st pinning job was only slightly less scary than cutting my son's umbilical cord.

Is the blade tight and centered, and most importantly, will it stay tight in the open stropping position? I have found that if it has loose spots, to just keep turning it over and tapping as I tighten it up at all points between closed and all the way open-I like a tight blade for honing and stropping! I recently cut a pivot pin just a hair too long and gave up trying to tighten it-just repinned it: live and learn.
One more thing that I learned on here, it might have been from Euclid/Marty or some other mentor. If you filed and smoothed your pin heads and used a polished peening hammer, but they still look a little beat up, try this (if you have a drill press, though I suppose a dremel might work):
Start by rubbing pins vigorously on a damp 3000 sanding pad or similar. This will do a LOT, but you're not done!
Put hole protectors from the office supply store around your pin and collar if you want to protect your scales.
Take an old-school wooden pencil with an eraser, cut it to length, and tighten the wooden part up in your chuck.
Dab your favorite metal polish on the eraser, your pins, etc.. Turn on and spin away using moderate pressure and moving things around until the hammer marks are smoothed out. Those erasers do a good job of buffing IME.
You can try doing this by hand, too, but it would take a lot longer. You can also buff the hammer marks out to a degree if you're careful using a cotton wheel and something like Fabuluster. Clean up with mineral spirits or other solvent and q-tips, rags, etc. Buffing and polishing compounds can be tricky to get out of those gaps!
-
-
06-29-2017, 08:46 PM #5Senior Member

- Join Date
- Oct 2010
- Location
- 50 miles west of randydance
- Posts
- 9,699
Thanked: 1355
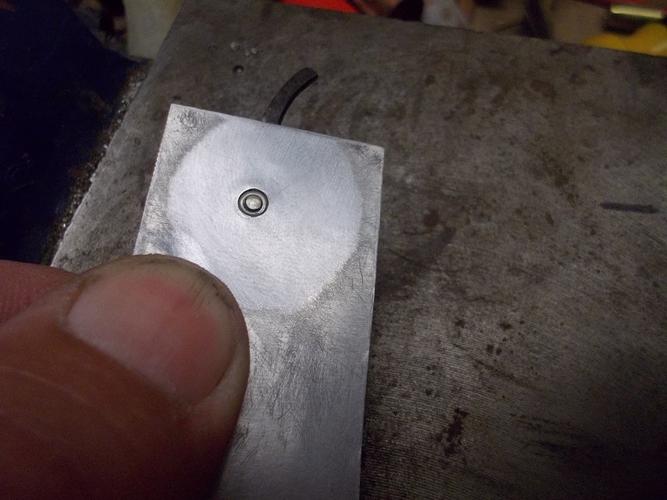
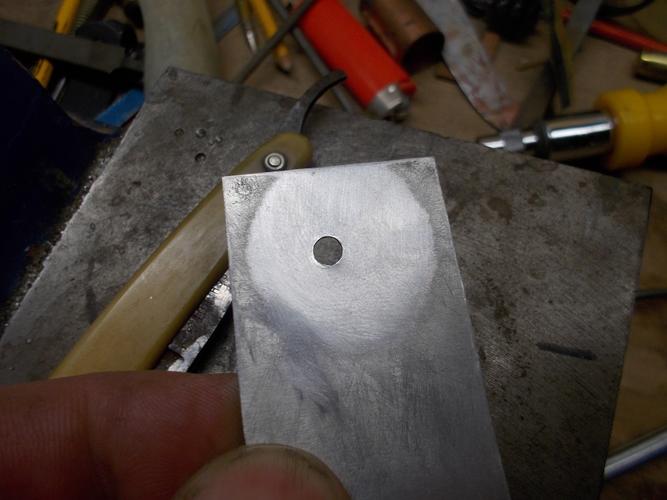
I want to start and say I didn't polish this pin. Just a handy example!
A piece of aluminium about twice as thick as a beverage can. You can use it for hand sanding or buffers if you think about holding it right.
-
The Following 3 Users Say Thank You to 32t For This Useful Post:
Geezer (06-30-2017), Hirlau (06-29-2017), ScoutHikerDad (06-29-2017)
-
06-29-2017, 08:57 PM #6Senior Member


- Join Date
- Feb 2010
- Location
- California
- Posts
- 4,833
Thanked: 1841
Congratulations on your first pinning. Read all the tips you will find here and it just becomes easier and easier.
ScoutHikerDad and Geezer like this.Bob
"God is a Havana smoker. I have seen his gray clouds" Gainsburg
-
06-29-2017, 11:14 PM #7Senior Member

- Join Date
- Feb 2013
- Location
- Haida Gwaii, British Columbia, Canada
- Posts
- 14,457
Thanked: 4830
I think for you first pinning job if you did not break anything you did well. If it is functional that is fantastic. Over time you will likely get more practice and get a little faster. Fantastic job.
ScoutHikerDad and Geezer like this.It's not what you know, it's who you take fishing!
-
06-30-2017, 12:09 AM #8
A good bit better than my first few!
~RichardScoutHikerDad and RezDog like this.Be yourself; everyone else is already taken.
- Oscar Wilde


 Reply With Quote