
Results 1 to 8 of 8
 17Likes

Thread: AN Old Wade and Butcher - Cleaning Advice
 LinkBack URL
 About LinkBacks
-
02-16-2018, 10:22 PM #1Senior Member


- Join Date
- Feb 2018
- Location
- Manotick, Ontario, Canada
- Posts
- 2,798
Thanked: 557 AN Old Wade and Butcher - Cleaning Advice
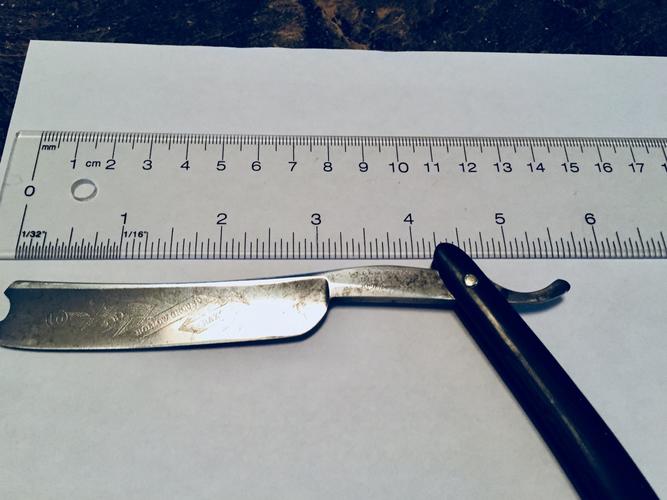
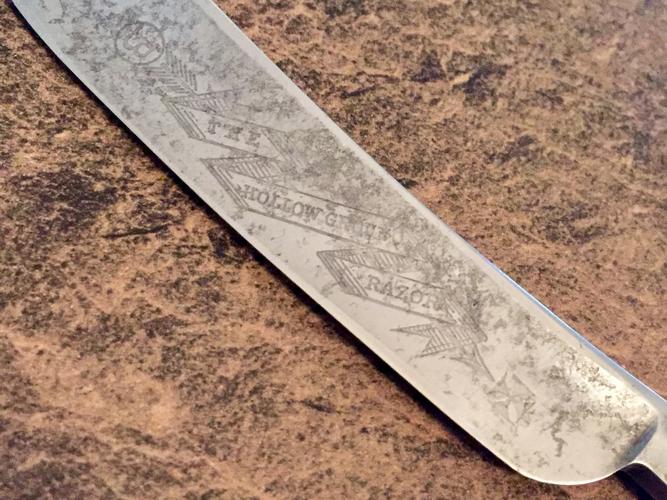
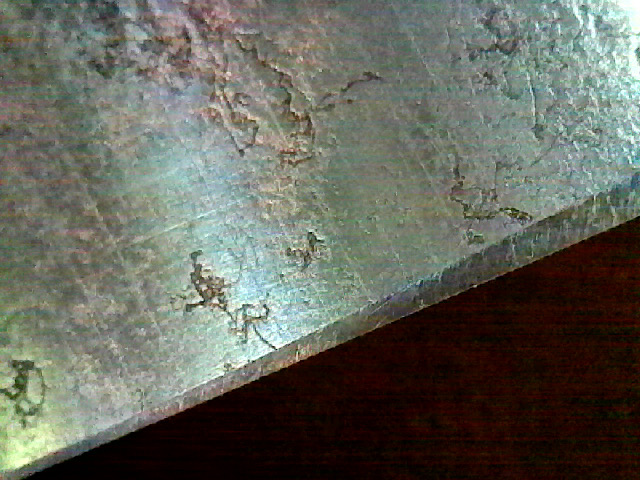
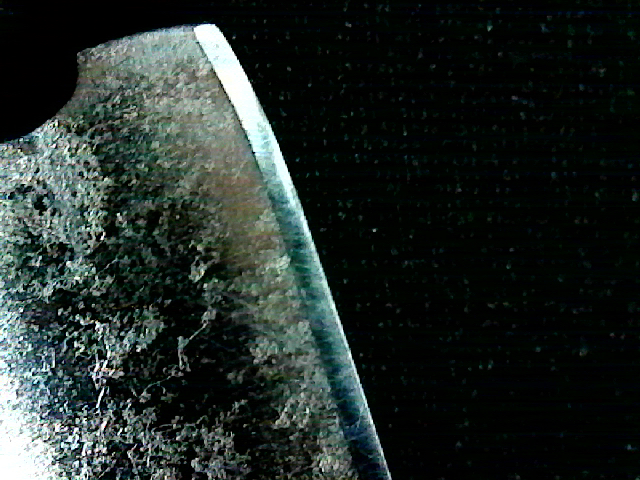
This razor has been well used and I dont think it can be made into anything special. I am having some difficulty getting a good edge uniformly along the smiling face of the razor, but I think that is my own honing ability. There is hone wear for sure, but I think I should be able to make it shave ready.
I would like to clean it up and have tried MAAS, Autosol, XFINE steelwool, 1000 - 4000 wet/dry sandpaper and you can see how far its got me. Any suggestions for taking it to the next level?
 David
David
Shared sorrow is lessened, shared joy is increased
― Spider Robinson, Callahan's Crosstime Saloon
-
02-16-2018, 11:14 PM #2
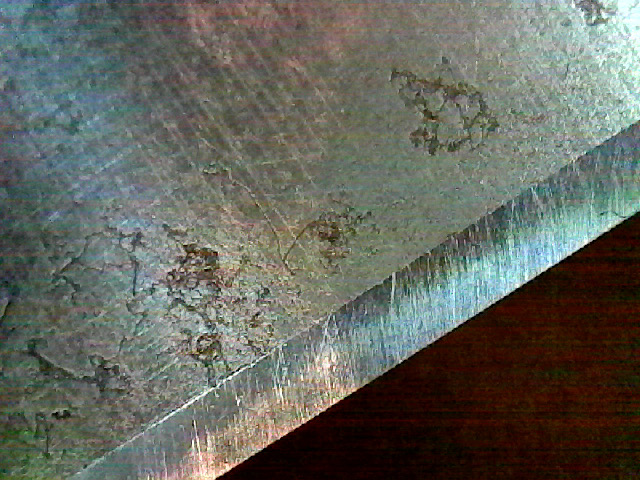
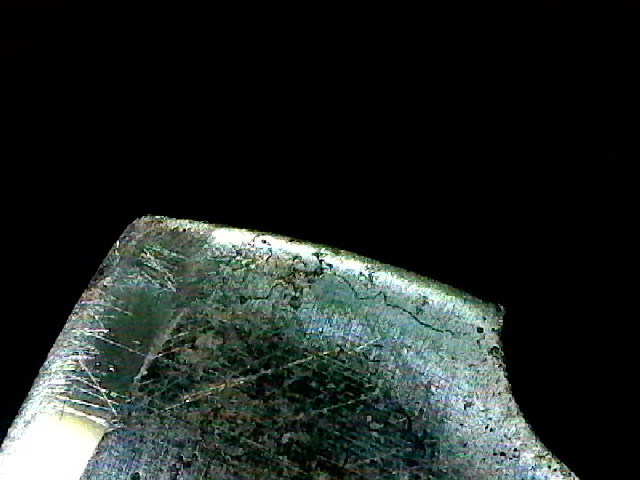
JUst an observation..The deep pits shown in the last photo at the bevel; well, I would consider that it could be a wall hanger. I( say that because those pit seem to go deeper than the actual cutting edge of the blade. So, If you hone it wou will keep opening up chips in the cutting edge as each pit becomes a crater. I have tried on some with less piting at the edge and wished it had been made into wind chimes!
Be well and find a better one to work with.
JMHO, YMMV
~RichardBe yourself; everyone else is already taken.
- Oscar Wilde
-
The Following User Says Thank You to Geezer For This Useful Post:
DZEC (02-17-2018)
-
02-17-2018, 04:17 AM #3Senior Member


- Join Date
- Feb 2013
- Location
- Haida Gwaii, British Columbia, Canada
- Posts
- 14,444
Thanked: 4828
I agree with Richard and lower hanging fruit is a good plan. Also when looking at starting a restoration you may find it a good rule of thumb to start with a bevel set. If you cannot get a clean bevel there is really no point in doing anything.
It's not what you know, it's who you take fishing!
-
The Following User Says Thank You to RezDog For This Useful Post:
DZEC (02-17-2018)
-
02-17-2018, 02:02 PM #4Senior Member
- Join Date
- Feb 2018
- Location
- Manotick, Ontario, Canada
- Posts
- 2,798
Thanked: 557
Thanks for the advice gentlemen. Guess I will stop trying to “make a silk purse out of a sow’s ear”.
I do think I will continue to get a good shaving edge on it just to see if I can. Took a look at the edge under a pocket scope at 60x magnification and the dark spots on the actual blade seem to be superficial.
Did notice a couple of small chips on the edge (microchips??). Previously I just ran the edge over a glass to dull it. Should I breadknife the edge on a stone before trying to reset the bevel?David
Shared sorrow is lessened, shared joy is increased
― Spider Robinson, Callahan's Crosstime Saloon
-
02-17-2018, 02:13 PM #5
When I have had similar edges, I found that the little chips were caused by degradation of the steel caused by corrosion nearby. You may or may not have any luck getting rid of the chips.
~RichardBe yourself; everyone else is already taken.
- Oscar Wilde
-
The Following User Says Thank You to Geezer For This Useful Post:
DZEC (02-17-2018)
-
02-17-2018, 08:16 PM #6Senior Member
- Join Date
- Feb 2018
- Location
- Manotick, Ontario, Canada
- Posts
- 2,798
Thanked: 557
Spent about an hour resetting the bevel and trying to take it so shave ready. Had to use a DMT 325 to regrind the bevel and then followed with DMT 1000, Norton 4000/8000 and finished with Vermio. Stropped 60 on leather barber strop.
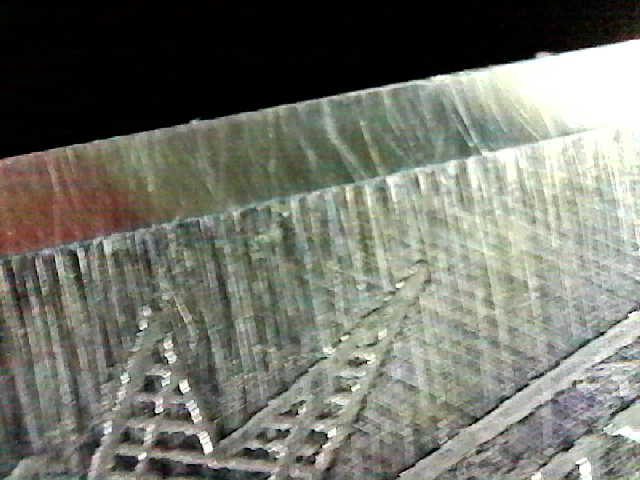
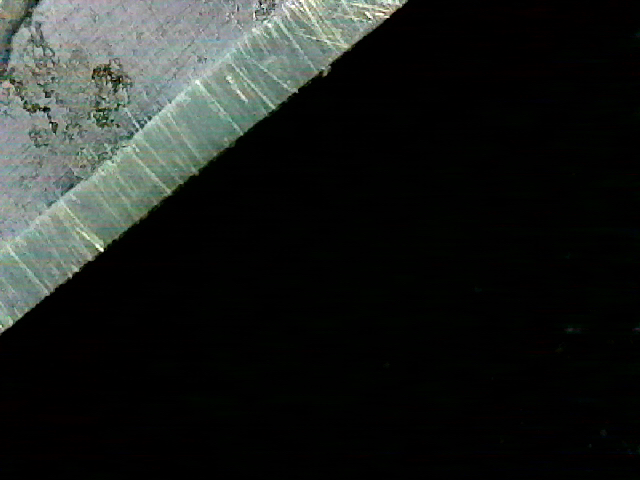
Geezer and RezDog know of what they speak: honing to a fine edge is possible, but reveals new flaws and microchips in the metal. I might try diamond on felt and CrOx on balsa to see if that makes any difference, but I'm not optimistic.
It actually shaved OK, but the following pics show the metal is not in good shape. The bevel is uneven as heck, but that's how it arrived. It was good honing experience for me and I'm satisfied with the edge I was able to get. What I learned will certainly transfer to the next razor I hone.
If only I can figure out how to get that vintage coticule to do what I want ; {
BTW - the pics were taken with a Carson USB digital microscope/camera I got for relatively cheap on Amazon.
 David
David
Shared sorrow is lessened, shared joy is increased
― Spider Robinson, Callahan's Crosstime Saloon
-
-
02-19-2018, 01:09 AM #7Senior Member
- Join Date
- Feb 2018
- Location
- Manotick, Ontario, Canada
- Posts
- 2,798
Thanked: 557
Spent some time with the Dremel's abrasive puff and wool buffing wheels using MAAS. It seemed to get ri of a lot of the black.
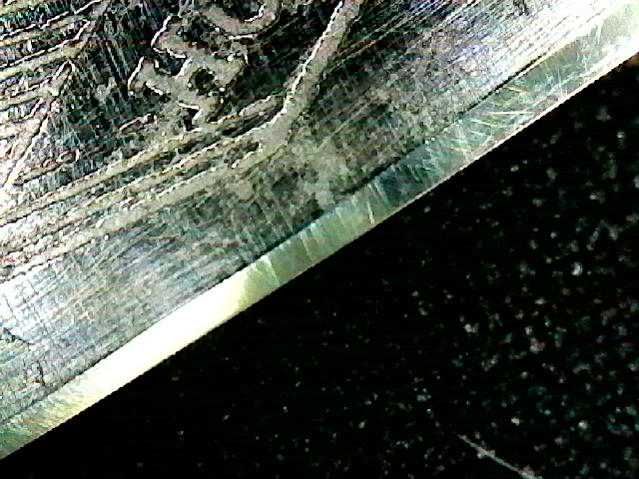
Perhaps I was wrong about the condition of the metal. It doesn't look so bad near the bevel.
I spotted some small chips, but they seemed to mostly go away after stropping on CrOx and leather. Could that have been the result of overhoning?
Am I being overly optimistic?
Last edited by DZEC; 02-19-2018 at 01:14 AM.
David
Shared sorrow is lessened, shared joy is increased
― Spider Robinson, Callahan's Crosstime Saloon
-
02-24-2018, 04:11 PM #8Senior Member
- Join Date
- Feb 2018
- Location
- Manotick, Ontario, Canada
- Posts
- 2,798
Thanked: 557
This is my final post about this razor.
Spent another hour trying to clean it up. Tried the Dremel buffing wheel charged with jewellers rouge and that seemed to make a difference. I dont think I can get this old piece of steel any cleaner.
Lets just call the remaining finish patina and leave it at that.
It does appear that the black stuff didnt go deep into the metal, at least around the edge and I was able to make it shave ready with no more microchipping.

 David
David
Shared sorrow is lessened, shared joy is increased
― Spider Robinson, Callahan's Crosstime Saloon


 Reply With Quote
