Results 1 to 10 of 49
Thread: WIP: W.G. Wilton
Hybrid View
-
10-31-2018, 03:12 AM #1
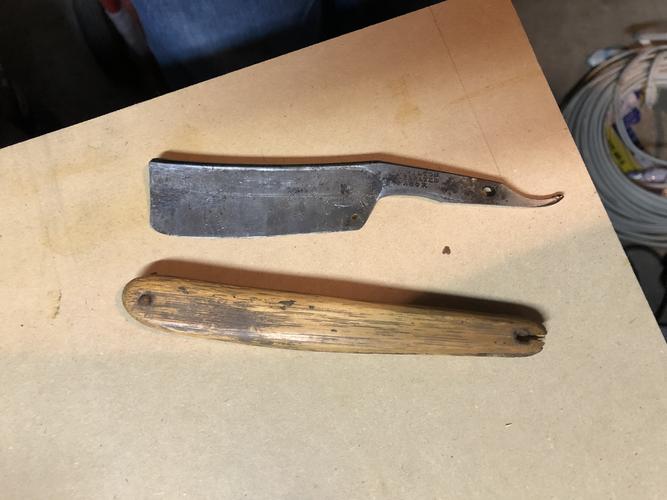
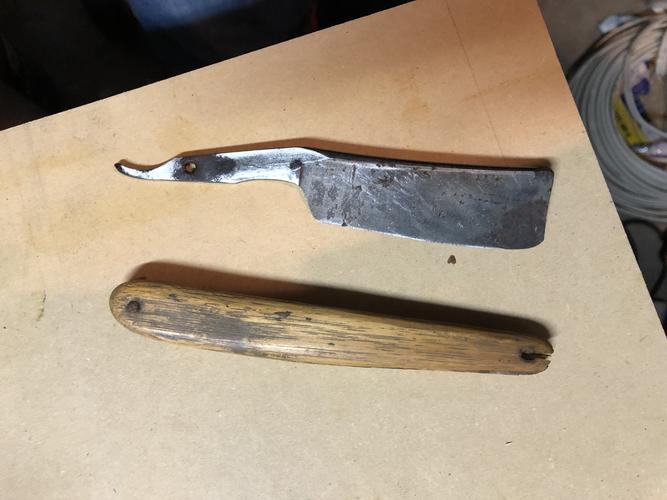
 WIP: W.G. Wilton
Found this this bad boy while participating in some RAD. In my quest for some info on the cutler, I found a thread from Glen:
https://straightrazorpalace.com/work...e-chopper.html
Well the bar has been set.
My plan for this is honey horn scales and modeled loosely off of scales from a WB fbu. Planning on a brass wedge with some file work, assuming I can get the weight high enough to balance the blade.


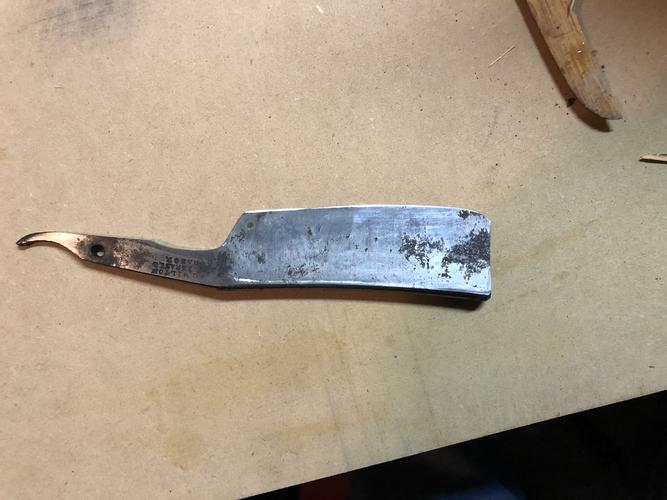
Had to split the scales off the blade, looks like who ever put those scales on it used nails and peened them. Lots of rust on them and subsequently the pivot area on the razor.
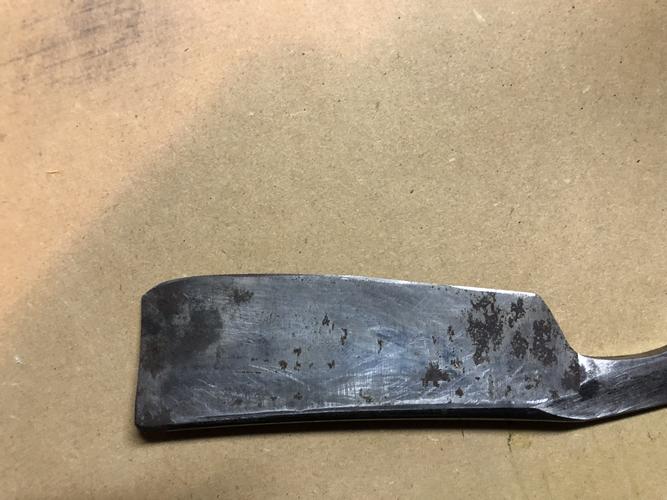
A little work on the dmt 1200 to see what’s happening with the bevels and geometry. Someone put a frown in the bladeon the heel side, though not too bad. There is a small chip next to the heel as well.


Hopefully I caught the shiny spots well enough to see. It felt like I’ll need some strategically placed tape as the razor is rocking pretty bad on one side, but if the bevels are really that small I don’t see a problem once I get the whole blade smiling again.
Anyways, I’ll update this thread at each step. I’m open to input too, so any opinions are welcome, they only thing decided for sure is the scale material, the finish on the blade I think would look best with a satin or possibly slightly higher sheen.Last edited by jfk742; 10-31-2018 at 03:24 AM.
-
10-31-2018, 03:38 AM #2

Gasman had a good question on another thread I had started about this razor.
I had stated I’ll make a wheel for sanding this blade out.
I’ve never tried this before as I’ve only sanded by hand with sandpaper wrapped around various radiused pieces of wood. The new plan is to turn a wheel that matches the hollow grind on the blade and glue some sandpaper to it, or possibly cut some kerfs in it and use wedges to attach it to the wheel so I’m not fighting glue. As I go along I’ll document whatever I try, for better or worse. Planning on replacing the sandpaper with leather and going to buffing pastes, to achieve whatever finish I’m looking for. Chances are I’ll buff it to a mirror finish then go backwards from there so I don’t get any errant scratches in the finish. Who knows, we’ll see.
I’m also in the middle of remodeling house so this may take a while. I’m sick of the house right now and need a break, this seems like a good excuse.
-
10-31-2018, 04:13 AM #3Senior Member


- Join Date
- Feb 2013
- Location
- Haida Gwaii, British Columbia, Canada
- Posts
- 14,455
Thanked: 4830
I think challenge one with the wheel system is going to be having no vibration and good speed control. I have seen guys state that they have used lathes at low speed with sanding drums that take flat paper. If you can keep the speed very low it will reduce the risk of screwing up the blade and reduce vibration issues.
It's not what you know, it's who you take fishing!
-
The Following User Says Thank You to RezDog For This Useful Post:
Geezer (10-31-2018)
-
10-31-2018, 04:18 AM #4

I can get mine down to 100rpm. Depending on wheel circumference though the fpm may be high. I may use a cork backer to “soften” it a little. We’ll see and learn together.
Turning it on the lathe should give me a surface that is nice a true, I think a slight crown in it should help too. I have some blades around I can practice with too, I don’t want to launch this one into space or impale myself.
-
10-31-2018, 05:00 PM #5

I agree with the lathe. Im afraid any other turning machine might be a bit rough besides a real belt grinder. Im enterested in this so i will be watching. I keep looking at belt grinders but they are zpendy. Making my own like Rez is doing is a possibility but not right now.
It's just Sharpening, right?
Jerry...
-
10-31-2018, 06:17 PM #6

I like the idea of turning your own grinding wheel on a lathe.
I've wanted to do this but never had a lathe. If someone is willing to turn some wheels ...?
A nice belt grinder has always been on the list but is too $pendy for me.
Working those pits out with a rigid wheel as to not dig them out has always been on my mind since discovering the limitations of the soft wheels with greaseless...
I have screwed up a couple blades before I realized that, so I switched to hand sanding on expensive blades but it takes so dang long!
Looking forward to seeing your process, and the wheels you make!“You must unlearn what you have learned.”
– Yoda
-
The Following User Says Thank You to MikeT For This Useful Post:
jfk742 (10-31-2018)


 101Likes
 LinkBack URL
 About LinkBacks


 Reply With Quote
