
Results 1 to 8 of 8
 32Likes

Thread: How I made (PETE) Clear Plastic Thrust Washers
 LinkBack URL
 About LinkBacks
Hybrid View
-
03-18-2019, 04:10 AM #1Senior Member


- Join Date
- Apr 2012
- Location
- Diamond Bar, CA
- Posts
- 6,553
Thanked: 3215 How I made (PETE) Clear Plastic Thrust Washers
(PETE) Clear Plastic Thrust Washers
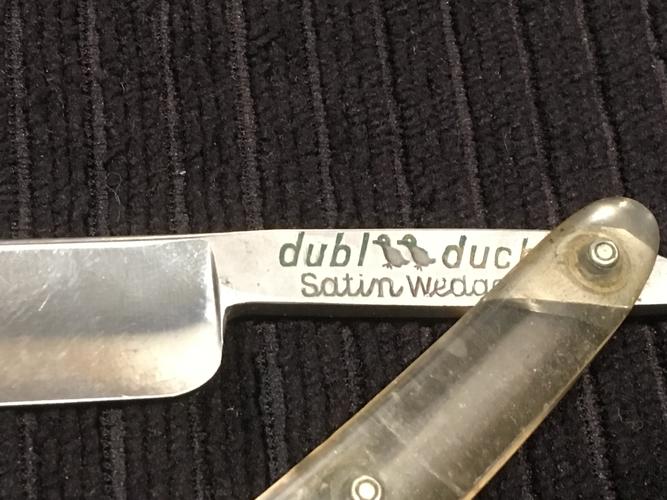
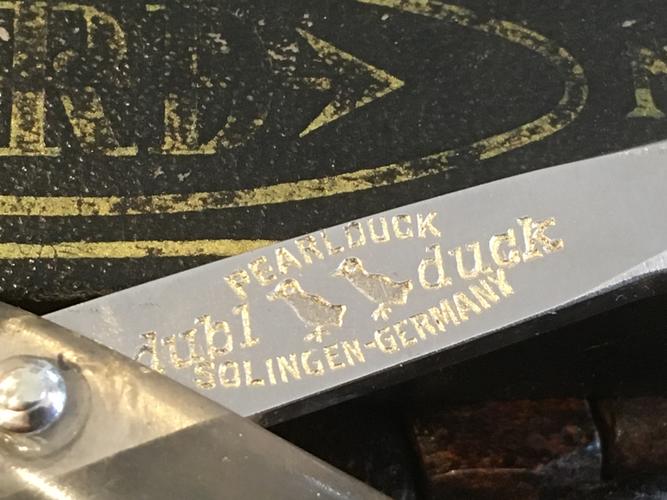
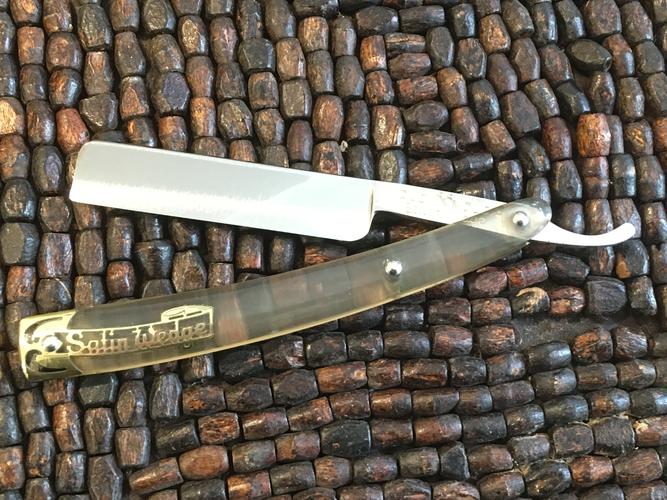
I recently posted a thread about a very nice Satin Wedge Double Duck I pick up for a song, with no Cell Rot and almost no hone wear.
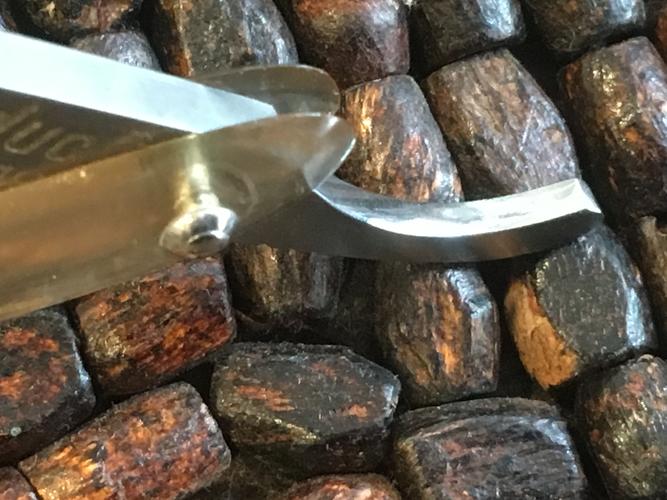
Original scales with brass thrust washers.
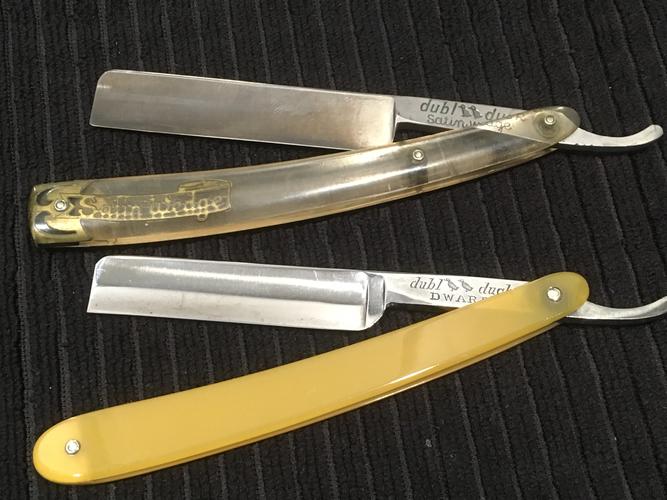
One of the things I dont like about Ducks with transparent scales is the brass thrust washers at the pivot. They look ok new, but once they start to tarnish the pivot looks dirty. So, I made new clear plastic thrust washers from a(PETE), plastic water bottle with a leather hand punch.
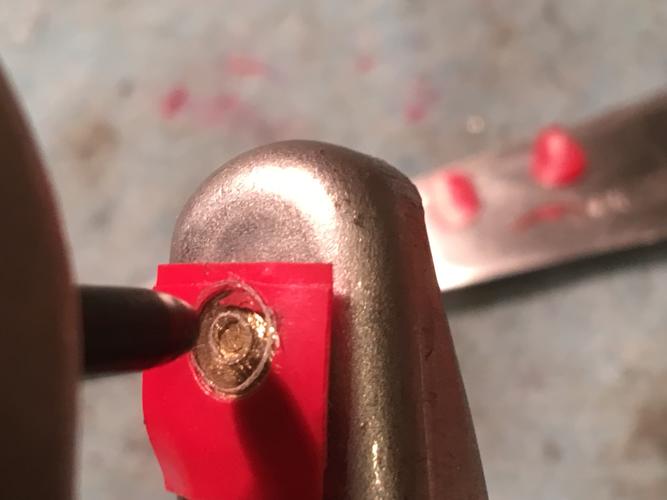
Some failed attempts at centering the hole. Note washer compared to originals.
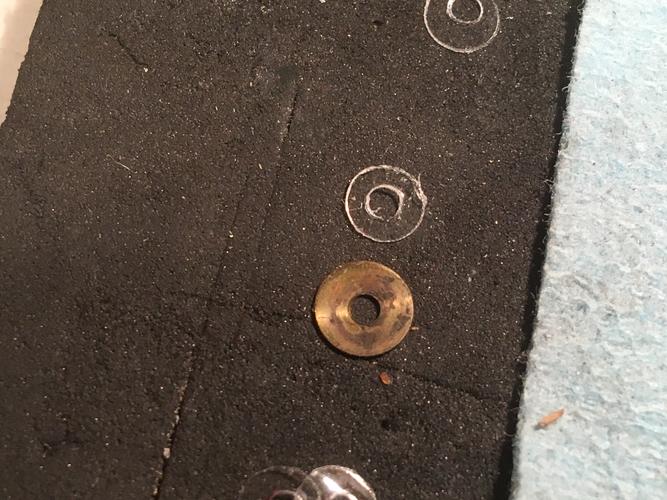
They came out fine, just a bit smaller than stock and about as thin and are almost invisible. The pivot action is nice and smooth. I also domed collars just a bit larger, to hide the indents and slight cracking where the old collars bit into the brittle celluloid.
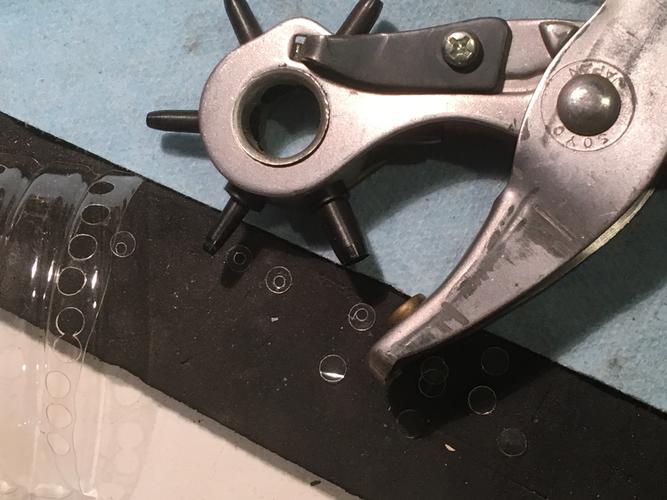
I used a rotary leather punch at the largest die, just under a ¼ inch. The problem I had was, centering the hole as the scales were clear and anything but centered would show.
First, I punched out a dozen discs. I put 2 layers of electrical tape on the brass anvil and punch a hole in the tape and removed the hole leaving the surrounding tape.
Electrical Tape centering hole.
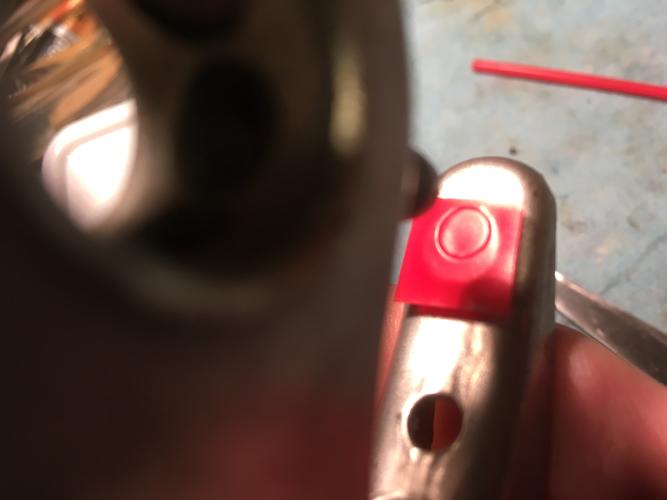
Place a disc in the hole in the tape. The little bit of tape on the perimeter of the punched hole, helps hold the disc in place. Now at the smallest punch setting about a 1/6th in. center and punch the center hole. All the dies use the same center point.
You may have to adjust as these are not high-quality punches, but you can adjust by eye a bit. I cranked out a dozen in 5 minutes. And plan on using them with translucent and light-colored scales in place of brass.
Pinned and finished, note how invisible the PETE plastic washer are.
-
The Following 13 Users Say Thank You to Euclid440 For This Useful Post:
BobH (03-18-2019), Diboll (03-18-2019), Geezer (03-18-2019), JellyJar (03-19-2019), JP5 (03-19-2019), JSmith1983 (03-19-2019), markbignosekelly (03-18-2019), Montgomery (09-21-2019), outback (03-19-2019), randydance062449 (03-18-2019), spazola (03-18-2019), Theoman (03-18-2019), tintin (03-18-2019)
-
03-18-2019, 04:21 AM #2'with that said'


- Join Date
- Aug 2010
- Location
- Walla Walla in WA State USA
- Posts
- 11,260
Thanked: 4238
Thanks for the tutorial, very helpful.

If you wanted a slightly larger OD this set goes to 5/16". I found them reasonably priced and so far have worked well on leather and webbing so I would presume that they would work just fine on the plastic.
https://www.amazon.com/gp/product/B0...?ie=UTF8&psc=1Our house is as Neil left it- an Aladdins cave of 'stuff'.
Kim X
-
-
03-18-2019, 04:38 AM #3Hones & Honing


- Join Date
- May 2005
- Location
- Saint Paul, Minnesota, United States
- Posts
- 8,023
- Blog Entries
- 1
Thanked: 2209
I admire your ingenuity and taking the time to share this.
I have some Ducks that I will be using this on.Euclid440 likes this.Randolph Tuttle, a SRP Mentor for residents of Minnesota & western Wisconsin
-
03-18-2019, 02:10 PM #4Senior Member

- Join Date
- Nov 2013
- Posts
- 2,321
Thanked: 498
That looks MUCH cleaner and better.
Euclid440 likes this.What a curse be a dull razor; what a prideful comfort a sharp one
-
The Following User Says Thank You to Steel For This Useful Post:
Euclid440 (03-18-2019)
-
03-18-2019, 02:48 PM #5Senior Member
- Join Date
- Apr 2018
- Location
- Vienna Austria
- Posts
- 337
Thanked: 98
Freaking genius in my opinion.
Euclid440 likes this.
-
The Following User Says Thank You to Theoman For This Useful Post:
Euclid440 (03-18-2019)
-
03-19-2019, 05:08 AM #6Senior Member

- Join Date
- Feb 2019
- Location
- Salida, CA
- Posts
- 600
Thanked: 94
Great idea! Another possible solution to your centering problem could be using double sided tape (scotch type) to stick the original washer to the plastic. Then use the original as a guide/template for the punch. After punching you could cut around the outside of the brass washer with your choice of sharp implements (scissors/x-acto knife etc). Not sure if the punch sizes would fit the original well enough to be a good alignment aid. Just a thought.
Euclid440 likes this.


 Reply With Quote