
Results 1 to 10 of 12
 17Likes
Thread: Advice on making a shorty
 LinkBack URL
 About LinkBacks
Hybrid View
-
04-03-2019, 07:34 PM #1Senior Member


- Join Date
- Feb 2018
- Location
- Manotick, Ontario, Canada
- Posts
- 2,819
Thanked: 563 Advice on making a shorty
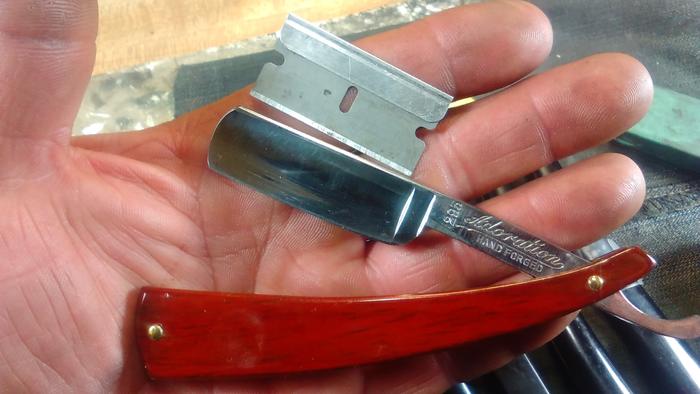
I have a razor that came with some fairly deep pitting on about an inch of length at the toe. The rest of the blade is absolutely clear of bad spots: no pits, no devils spit, no stains. Its a good shaver and Ive used it for several years since the pitting was close to, but not into the edge.
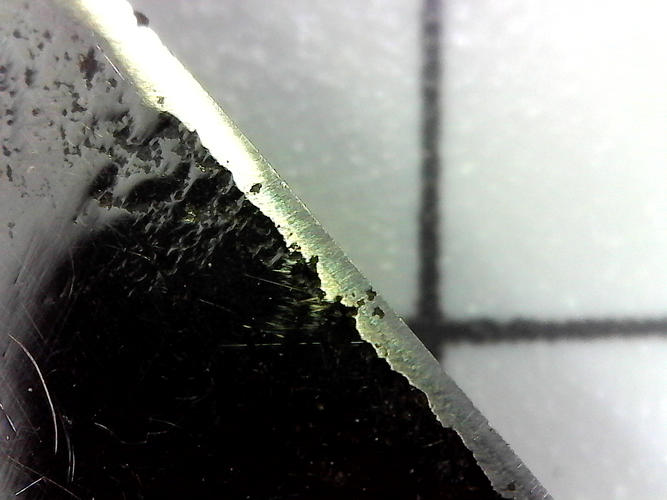
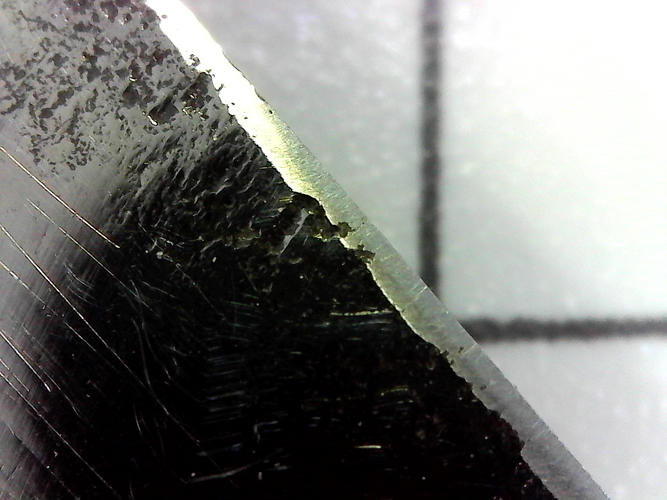
After my most recent honing session, I noticed what I thought were chips near the toe. I honed them out, but under magnification I could see they werent actually chips, but places where the pitting had reached into the edge.
The rest of the blade looks great so I figured I would try to turn it into a shorty. I think I read somewhere on SRP about using a Dremel with a cut-off wheel to do this and have used the SRP search function to try to find some advice on how to do this safely without much luck.
It would be very helpful if someone could point me at a thread that discusses how to do this.JOB15 likes this.David
Shared sorrow is lessened, shared joy is increased
― Spider Robinson, Callahan's Crosstime Saloon
-
04-03-2019, 07:48 PM #2Senior Member


- Join Date
- Mar 2015
- Location
- Akron, Ohio
- Posts
- 12,119
Thanked: 4316
I've done a bunch of um.
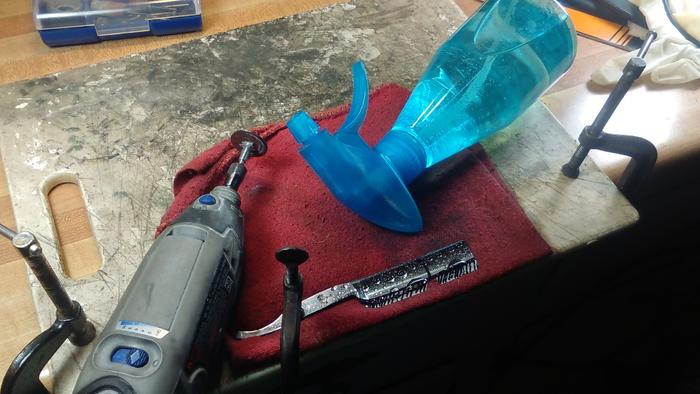
Wet a rag, place the blade on the rag, and slowly cut from edge to spine. The rag will keep it cool, through the process. I keep the speed down on the dremmel, no need for undo vibration and sparks. A pencil or drum sander to clean up the end.
Last edited by outback; 04-03-2019 at 07:53 PM.
Mike
-
The Following User Says Thank You to outback For This Useful Post:
DZEC (04-03-2019)
-
04-03-2019, 08:00 PM #3Senior Member
- Join Date
- Feb 2018
- Location
- Manotick, Ontario, Canada
- Posts
- 2,819
Thanked: 563
Thanks Mike. Did you mark the curve at the toe with a sharpie using a coin as a template and cut to the line or did you form the curve at the last cleanup step? Originally Posted by outback

Safety glasses and filter mask are ready to go. I’ll give it a go in a day or so when I can take my time.MikeT likes this.David
Shared sorrow is lessened, shared joy is increased
― Spider Robinson, Callahan's Crosstime Saloon
-
04-03-2019, 08:22 PM #4Skeptical Member


- Join Date
- Nov 2016
- Location
- Colorado Springs
- Posts
- 10,559
Thanked: 2197
Looks like mike has ya covered. Its not hard to do. Jst a little nerve wrecking the first time. Watch the heat. F it starts to glow red more than i tiny spot stop and let it cool a few seconds. The nice thing is you get to make the toe what you want.
It's just Sharpening, right?
Jerry...
-
04-03-2019, 09:58 PM #5Senior Member
- Join Date
- Mar 2015
- Location
- Akron, Ohio
- Posts
- 12,119
Thanked: 4316
I shape it, last. I just eye it up. Weather square or round point, make sure to round off the edges slightly.
Look at your other razors, to get an idea.MikeT likes this.Mike
-
04-03-2019, 10:00 PM #6Senior Member
- Join Date
- Mar 2015
- Location
- Akron, Ohio
- Posts
- 12,119
Thanked: 4316
Most of the razors we do, like that. Can be found in the workshop, in the Butchered blade thread. FYI, should u care to look thru it..
 Mike
Mike
-
The Following User Says Thank You to outback For This Useful Post:
DZEC (04-03-2019)
-
04-03-2019, 07:49 PM #7Senior Member
- Join Date
- Feb 2018
- Location
- Manotick, Ontario, Canada
- Posts
- 2,819
Thanked: 563
Here’s a picture of the damage.
Last edited by DZEC; 04-03-2019 at 07:56 PM. Reason: Add a photo
David
Shared sorrow is lessened, shared joy is increased
― Spider Robinson, Callahan's Crosstime Saloon


 Reply With Quote