Results 1 to 10 of 10
 28Likes

Thread: Looks aren't everything ;)
 LinkBack URL
 About LinkBacks
-
08-27-2019, 11:00 AM #1www.edge-dynamics.com


- Join Date
- Feb 2013
- Location
- London
- Posts
- 3,066
Thanked: 512 Looks aren't everything ;)
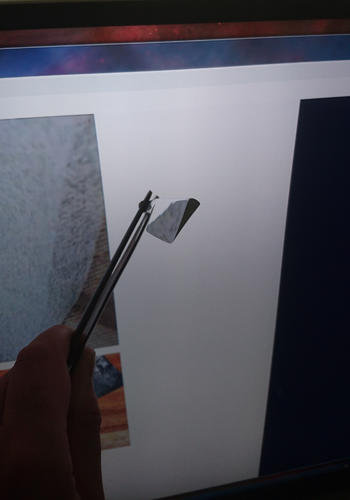
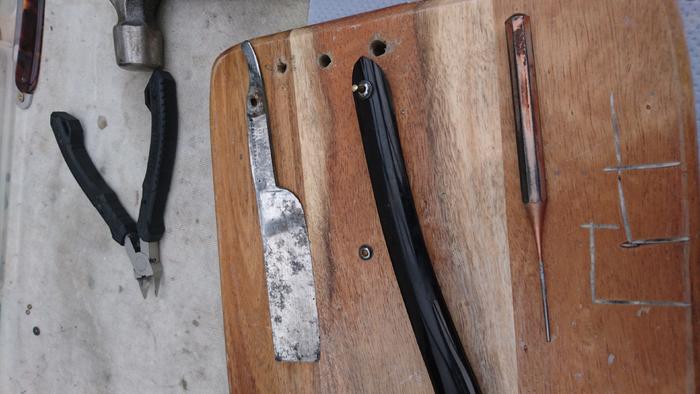
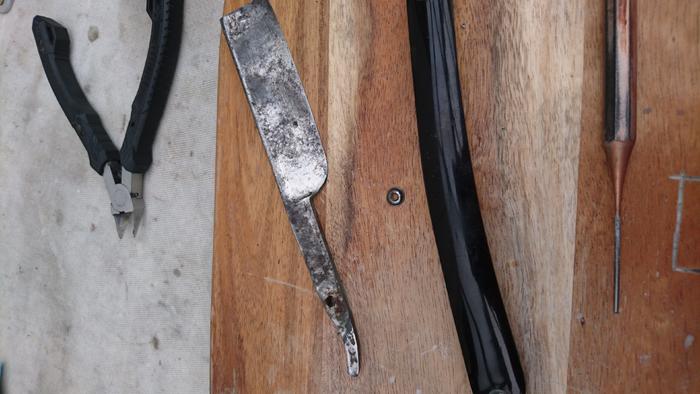
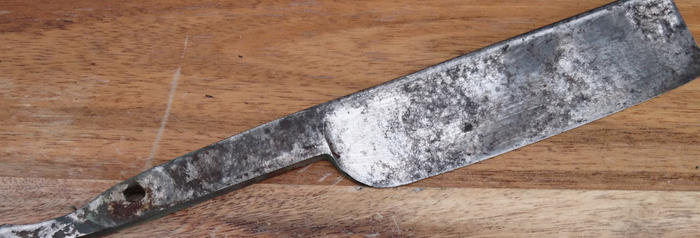
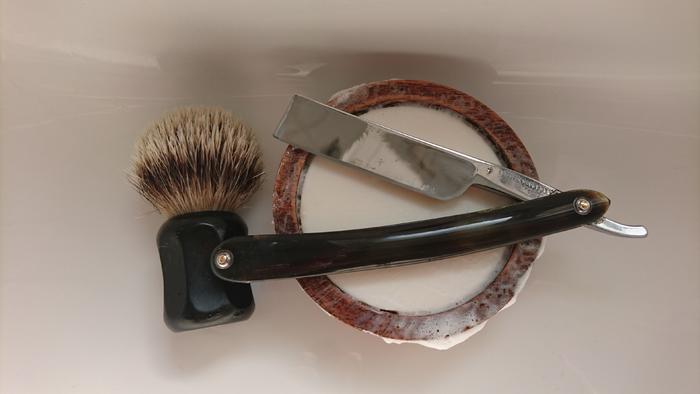
I took this neglected Rodgers and singled it out for my self to mess about with. Primarily to test polishing compounds . No need to get rid of the pitting because I want as much of this blade as possible left behind . Also with an ugly duckling I don't have to fret over staining etc.
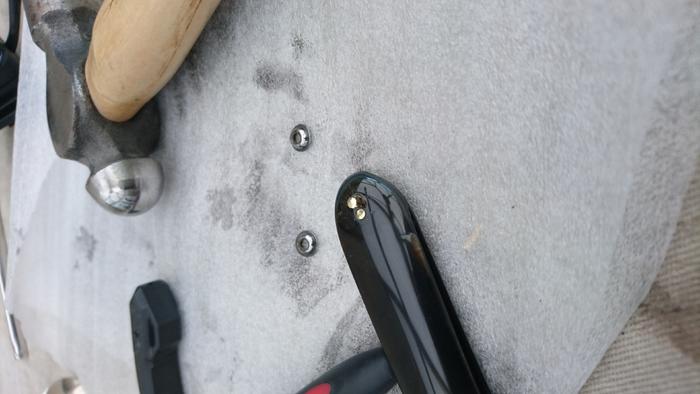
So I messed about on the grinder with some high grit belts and then did some greaseless and then onto a number of different polishing progressions.
The razor kinks at the tang but the blade itself is quite straight, getting it to centre was a bit of a task.
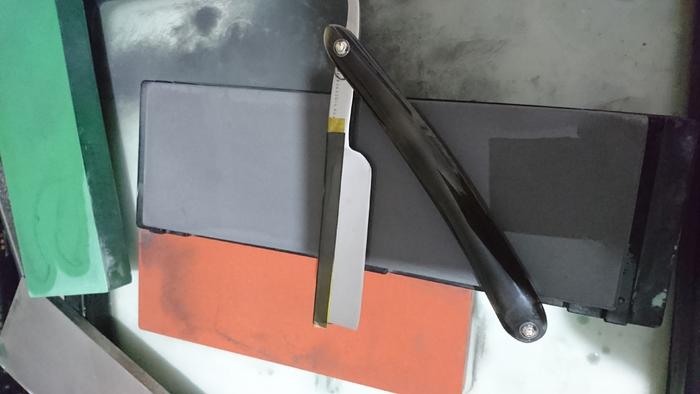
All done and off to the hones . Recently I purchased the Chosera or Pro Naniwa 800 grit to try and get away from the Shapton Glass 500 grit. It was a smart move , the Naniwa is soft and a pleasure to use..
I did the old 800/1k/5k/ Nakayama Nagura Progression.
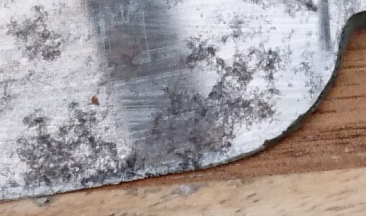
The problem was the back quarter of the blade near the heel . It would not stop chipping. More than chipping , just falling apart. From the initial photos it is kinda obvious that this would be the case.
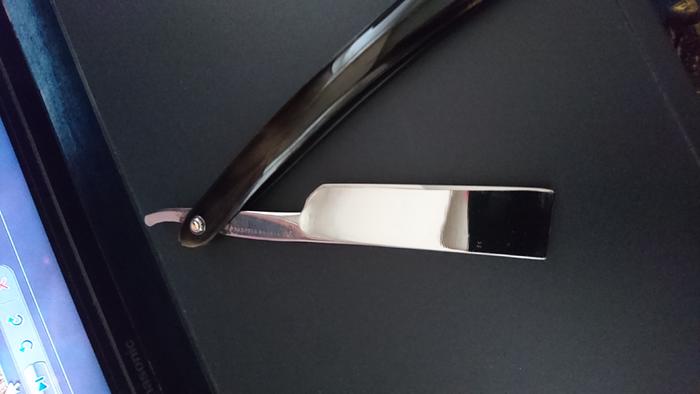
2 long sessions over 2 days and finally the bevel was set , all present and correct . Yes its a wonky uneven bevel but no one will ever see it apart from me and you.
Today I took it for a shave with another Sheffield wedge . The second wedge never got a look in, the Rodger shave was spectacular , smooth ,soft, super close, atg no sting or weepers .
I am off to Vienna next week for a holiday and this one is now my official travel razor
Thanks Guys..
-
08-27-2019, 01:41 PM #2Senior Member


- Join Date
- Dec 2018
- Location
- Gainesville, FL
- Posts
- 6,875
Thanked: 683
Looks aren't everything ? That's what I keep telling my wife.


That's quite a turn around. Nice work. Glad to hear it shaves well.Last edited by PaulFLUS; 08-27-2019 at 02:02 PM. Reason: Typo
JOB15 likes this.Iron by iron is sharpened, And a man sharpens the face of his friend. PR 27:17
-
08-27-2019, 02:24 PM #3Skeptical Member


- Join Date
- Nov 2016
- Location
- Colorado Springs
- Posts
- 10,559
Thanked: 2197
I bet the heal kept falling apart. Rusted steel and you had to take it back to find some good stuff. It happens. You sure made it look nice. Must have spent a lot of time sanding to get it that clean. Nice job!
It's just Sharpening, right?
Jerry...
-
08-27-2019, 02:38 PM #4Senior Member
- Join Date
- Apr 2012
- Location
- Diamond Bar, CA
- Posts
- 6,553
Thanked: 3215
A diamond file works well for removing a bit of the edge especially at the heel. And on a rusted edge you will have to remove enough to get to good steel.
What works well for me is jointing the edge on the corner of the stone, I like a hard stone like a soft Ark, but a 1k will work. The beauty of this technique is that you only remove enough material to get to solid steel. The one I use is a 600/1000 grit available on-line with a black and yellow plastic handle for 12-15 dollars, a good investment. I also use that file to remove the edge of any razor I will work on, for safety, one or two lite swipes is enough to remove an edge.
On a questionable edge I will joint the edge at the beginning of each stone grit. With a lite stroke, you can feel the smallest chip on the corner of the stone and once the rest of the bevel is set, a jointed edge can be re-set in 20-30 laps.
On some the edge may crumble a bit with stropping, but dropping back to an 8k is enough to reset the edge, after that you should be good.
Love Rodgers, they are some of the nicest looking Sheffield’s. Make sure to stop by Esbjerg’s, or is that why you are going?
Nice work, as always JosephScoutHikerDad and JOB15 like this.
-
08-27-2019, 06:20 PM #5www.edge-dynamics.com
- Join Date
- Feb 2013
- Location
- London
- Posts
- 3,066
Thanked: 512
Gasman , i have machines nower days, i spent no time sanding really. Only the other day i was remembering when i used to hand sand blades. Its a lot of work , painful memories
Euclid, i was constantly joining the edge. I dont use the corners any more because im slicing through my stones now, i just lightly drag on the top of the stone.
In my workshop i use that rubbing stone you get with the Choseras ,i think its 400 grit. Thats next to my buffer..
The blade is an eye-saw but thats fine for travel and such. The scales are lovely probably dark brown horn but now the horn has turned a bit green and transparent in parts.
-
08-27-2019, 06:38 PM #6www.edge-dynamics.com
- Join Date
- Feb 2013
- Location
- London
- Posts
- 3,066
Thanked: 512
-
08-27-2019, 06:49 PM #7Senior Member
- Join Date
- Dec 2018
- Location
- Gainesville, FL
- Posts
- 6,875
Thanked: 683
Maybe she can follow your example, buff me up and make me presentable like that blade. Originally Posted by PaulFLUS
 ScoutHikerDad and JOB15 like this.Iron by iron is sharpened, And a man sharpens the face of his friend. PR 27:17
-
08-27-2019, 06:51 PM #8Senior Member
- Join Date
- Dec 2018
- Location
- Gainesville, FL
- Posts
- 6,875
Thanked: 683
I think it looks pretty darn good. I wouldn't apologize for that blade at all. It looks better than half the stuff I have in my box. More like an old pickup truck and less like a show car but they work great and do what they're supposed to do.
ScoutHikerDad and JOB15 like this.Iron by iron is sharpened, And a man sharpens the face of his friend. PR 27:17
-
08-27-2019, 07:06 PM #9Skeptical Member
- Join Date
- Nov 2016
- Location
- Colorado Springs
- Posts
- 10,559
Thanked: 2197
The buffers are the way to go. I don't have the course enough compounds to work out that much devil spit. And belts are even better. I still do it by hand and my fingers tell me all about it the next day.
ScoutHikerDad and JOB15 like this.It's just Sharpening, right?
Jerry...
-
10-31-2019, 02:59 AM #10Junior Member
- Join Date
- Oct 2019
- Location
- London
- Posts
- 29
Thanked: 0
The brush is working well. Originally Posted by Gasman


 Reply With Quote