Results 1 to 7 of 7
 14Likes
Thread: I hope this will be as easy as youtube makes it look
-
08-18-2020, 09:18 PM #1
 I hope this will be as easy as youtube makes it look
I have a razor, I don't think it's anything special. It was kindly sent to me back in January by PaulFlus to practice honing on (thank again Paul).
Anyway, I can set a bevel and hone an edge well, well enough for me anyway. I can hear some of you honing gods rolling your eyes from here
Well, the scales were cracked at the hinge and now they have given up the ghost completely so here I am with a blade in one hand and scales in the other.
My plan is to practice on this practice razor.
I want to clean the blade completely and polish it so it looks brand new, no lack in the pits, no rust and no watermarks.
Then I will choose a nice material for the scales, probably wood and trace around the old scales to shape the new ones, I will find something complimentary for the wedge.
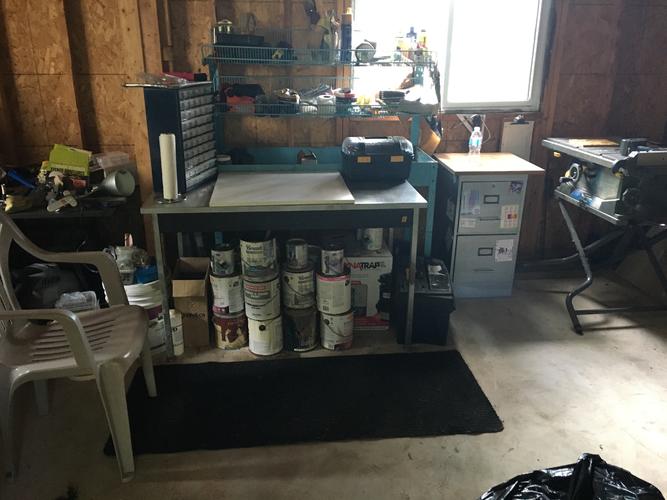
First I moved the boxes around and made some room in my workshop (it's 20x20 so I managed to make a corner among the boxes).
This is my blade, I have given it a cursory rub with 60 grit but I might have to get more determined or even go at it with a dremel ( I killed the edge good and proper first).

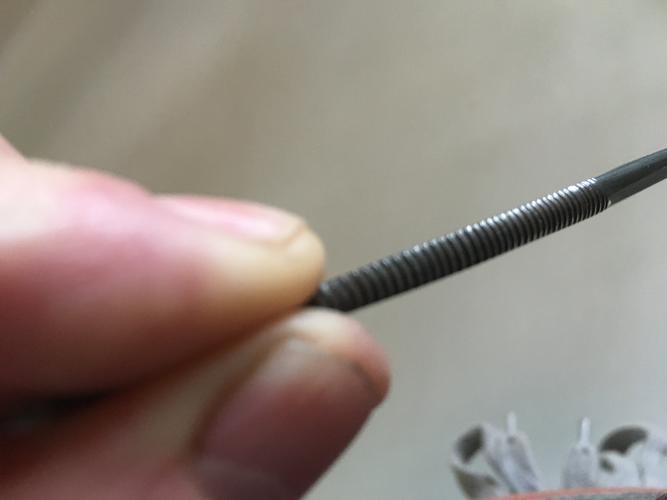
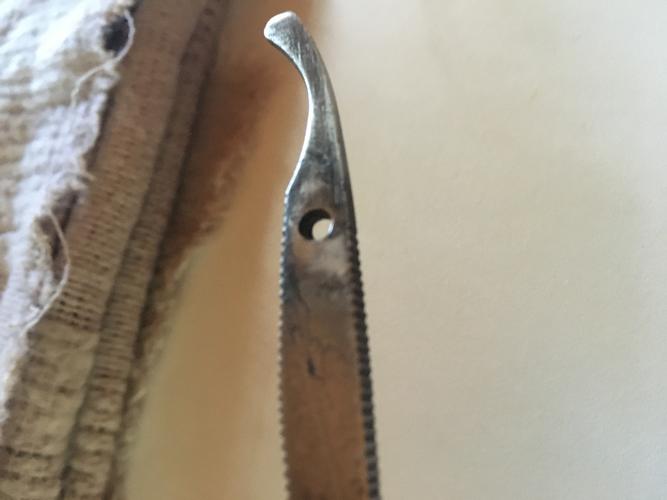
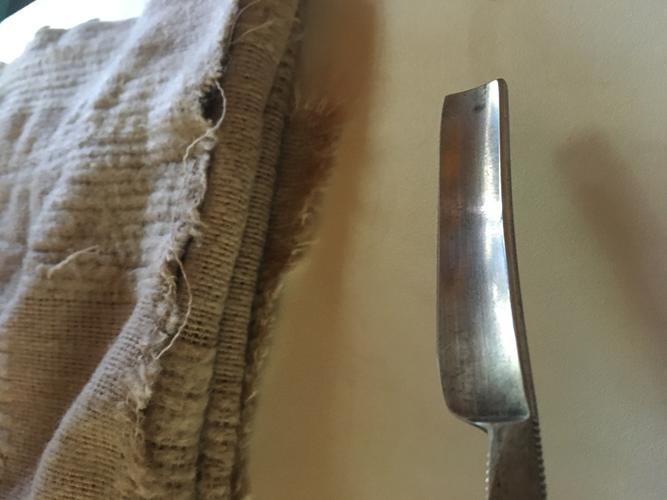
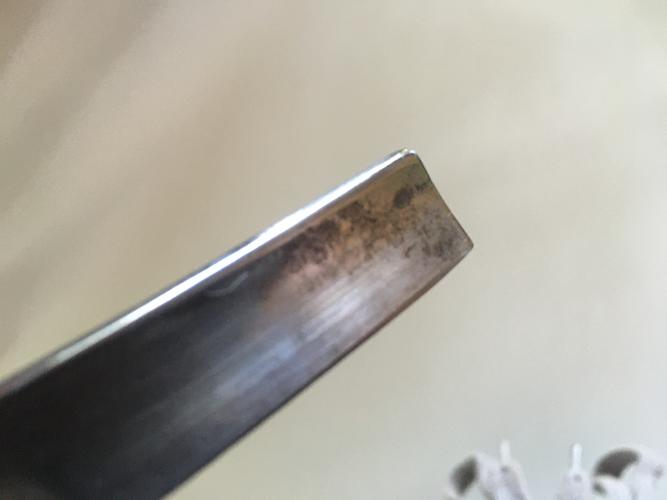
If there is an easier way to get this blade pristine I would be grateful for the secrets.
I would also be grateful for ideas on how to make the scales and what to use.
I know that it is a lot of work for this particular razor and know that some would prefer it to look vintage but It's a practice razor so I want to push the boat out and see how good i can make it.
I may send it back to Paul like a brand new razor, shave ready et al.
Outbacks pictures inspired me, I want to learn to do that - - Steve
You never realize what you have until it's gone -- Toilet paper is a good example
-
08-18-2020, 10:19 PM #2

I think that it all depends on how deep that pitting is.. Can you feel it if you pull your fingernail across it?
Your best bet would be to get a piece of plastic pipe , small enough to fit in the hollow of the face.. 400 grit paper with oil or water and then give it some .. (try to wear thick gloves , that helps)
Be careful of sanding the spine because that will reflect on the bevel.. I have sanded multiple blades this way , it is painstaking but it does work..
Go up through the grits until you're satisfied ..
The hardest part concerning scale making in my experience is getting an even thickness .. Not too thick because its a full hollow and aesthetics are everything
It depends on what machinery you have and as with most things it comes down to trial and error..
Cheers
-
The Following User Says Thank You to JOB15 For This Useful Post:
STF (08-19-2020)
-
08-19-2020, 01:22 AM #3

Learning the limits of a particular grind, is essential.
Fact n point... There's not much you can do with a full hollow, grind. There's not much steel that you can sand away, without damaging the razor. Best thing for them is to cut the active rust off with a SE razor blade, then go to town with 000 or 0000 steel wool and metal polish. I prefer the 3M marine metal restorer/polish for this task.
You can get away with some high grit sanding (600 & ^ ). Only for removal of staining and light contaminants, though.
You want wedges, and half hollows....razors with meat.!!
These can take astronomical amounts of sanding.
Hours upon hours, turns into days and nights, in to weeks for the hand sander, like myself.
Gotta build ya magnetized sanding block...#1 thing I wished I had when I first started down this rabbit hole.
A crap pile of 400, 600, 800, 1000, 1500 grit wet/dry paper, bag of steel wool, buffing compounds ( crayon type ) emory and red Rouge, some WD-40. (Sanding/honing)
Plastic polish (scales). Ect....Ect......Ect. It never ends, Steve. But those are the necessities..
Then there's corks, erasers, dowel rods, and such, that some of us use in the sanding process.
Never sand a blade, till others methods have failed your expectations. Starting with the least evasive. (metal polish). And working your way up to sanding, should the blade warrant it.
Cleaning a blade this way, allows you to better assess the damage to the blade. After many razors, you'll know what your getting into, at the time of purchase, of such razors. And what's worth buying, too restore. I bought a lot of cheep razors when I started all this, but they were perfect for learning with. Most reside in these pages. If not their in the thread... "The butchered blade". That's all about Frankenstein razors, mutilated to functional. Cool stuff.!!
Have fun with it, relax with a drink, take in the zen of breathing new life into a ol' razor.

Last edited by outback; 08-19-2020 at 01:27 AM.
Mike
-
The Following 3 Users Say Thank You to outback For This Useful Post:
planeden (09-06-2020), randydance062449 (08-19-2020), STF (08-19-2020)
-
08-19-2020, 11:21 AM #4
-
08-19-2020, 11:40 AM #5

Excellent advice Mike, thank you.
I didn't actually think to get into restoration or re-scaling. I just had a razor that broke and decided to see what could do with it.
I admit that looking at this blade and thinking what to try to scale it with and how has sort of got under my skin, so I have a feeling i will be getting more kit and more old blades.
I saw some pictures of what you've achieved from old crap to beautiful and I'm inspired.
The guys here taught me to shave, to strop, to hone and now with naturals, so I might as well fall all the way down that rabbit hole and see if I can learn to restore on a very minor scale.
This rabbit hole is deep, it's getting curiouser and curiouser.- - Steve
You never realize what you have until it's gone -- Toilet paper is a good example
-
08-19-2020, 01:59 PM #6

That's how it was for me, in the beginning. Just wanted to clean up a blade or two, and make new scales for one that busted.
Like you, I adored the restorations of some of the guys here, and wanted to reach that level of restoration, but I chose to only do it by hand. The only power tools I use, are a saw for cutting blanks for scales, and a dremmel, used sparingly for polishing collars and scales, and occasionally with greaseless compounds when large amounts of steel need removed, similar to a regrind, but not quite that far.
Its taken several years, hundreds of razors, and countless hours reading thru the forum and library, to get to what I do now.Mike
-
08-19-2020, 03:53 PM #7


 LinkBack URL
 About LinkBacks


 Reply With Quote

