
Results 21 to 30 of 42
 110Likes
Thread: Scale restoration question
 LinkBack URL
 About LinkBacks
Threaded View
-
03-07-2022, 05:38 AM #1Member

- Join Date
- Feb 2022
- Location
- Vancouver Canada
- Posts
- 56
Thanked: 0 Scale restoration question
I'm trying to restore my first set of scales.
I recently bought this Allison's Celebrated razor.
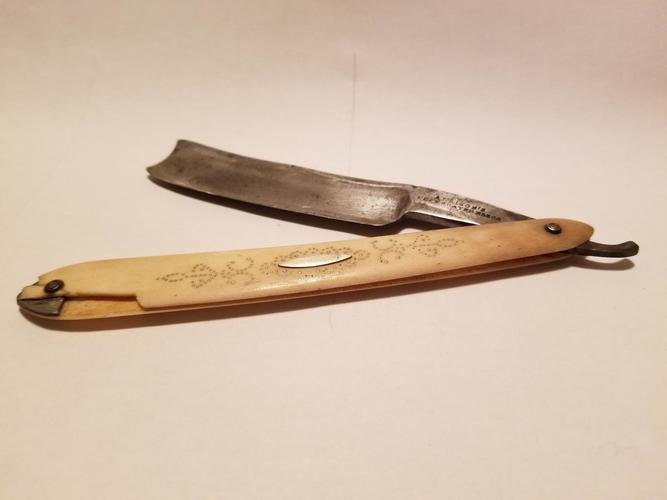
As you can see, the scales are pretty wrecked, but I want to keep them for obvious reasons. I'm hoping to get this old fellow back into working condition. I don't need it museum-perfect, but I want it fixed enough that I can use the razor without fear that it will fall apart in my hands.
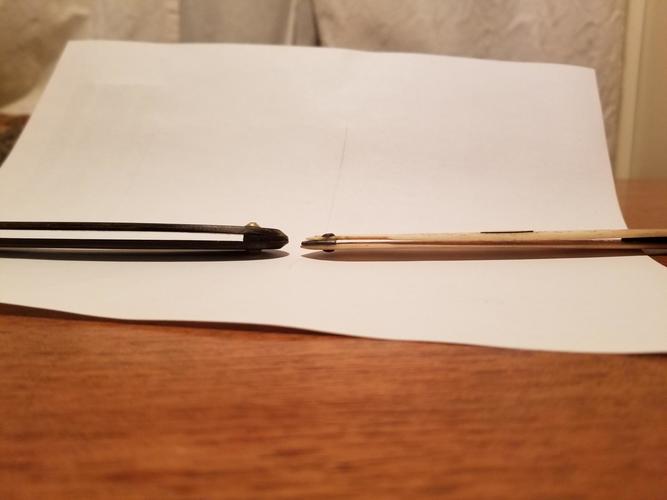
The trouble is that the scales are not only brittle after 200 years, they're also so thin and delicate I don't know how to deal with them! For comparison, here's my Wade and Butcher next to the new one:
I am debating making a set of dark hardwood 1/16 scales, and gluing the ivory (or horn, or whatever it is) onto the dark wood, and then repinning the whole thing.
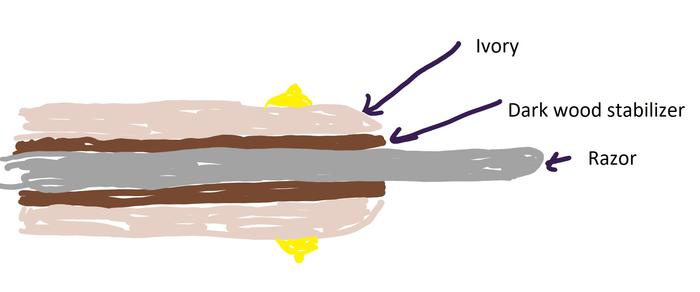
I think the dark wood "liners" would give kind of a neat two-tone look, and would add some stability to the very fragile, very old scales.
I'm not sure how to deal with the cracked ivory, but I figured I could make a patch out of a lighter wood or something that would preserve the broken look, but fill the hole.
Does this sound like a silly idea? Are there better ways to repair this? I'm open to suggestions.
I'm fairly new to razor restoration, but I know my way around a woodshop, and have access to a good one.


 Reply With Quote