Results 11 to 20 of 28
Thread: reproduction barber's box
-
02-23-2009, 07:53 AM #11

I love the way the lid allows the mirror to be angled for the shave. That's a great idea. Personally i'd have installed some individual slots for the razors, as in Tony Millers boxes that he sold. Apart from that it looks like a great job though!
-
02-23-2009, 09:35 AM #12

Bloody Great Work.
Looks Fantastic!!
How much to make me one?
-
02-23-2009, 04:47 PM #13Green as a gourd!

- Join Date
- Jan 2009
- Location
- NorthEast Arkansas
- Posts
- 44
Thanked: 5
Oh WOW, That is a really cool box. Great work, very inspiring.... makes me want to make sawdust again... : )
-
02-23-2009, 06:24 PM #14

Nice for a prototype. I think that a piano hinge where the lid meets up with the box would be a good substitution for the two hinges you have in there now. I would also recommend that the silver screws used to hold the mirror (I think that is what they are for) be replaced/removed. The silver looks out of place right now with all the brass/gold that you have.
Other than that, it is a great idea, and looks good.
-
02-23-2009, 06:25 PM #15

Very ingenious design. Let me see if I understand it: the mirror is fastened into the hinged front part of the lid, yes? so you can open the whole lid flat, take out your supplies, and then swing the mirror down for use? And the compartments would be mug on the right, brush on the left, razor(s) in front, right? So, two questions: what wood did you use, and are you thinking of selling these?
Thanks for showing us the evolution of this very nice box.
~Rich
-
02-23-2009, 09:45 PM #16Senior Member


- Join Date
- Feb 2007
- Posts
- 392
Thanked: 105
Rich
You are right on the functions of the box. This one was made out of pine, top and bottom pannels are birch plywood. Out side was stained with walnut then the whole thing was given a couple coats of wipe on poly. Sorry for the silver colored screws, but I did not have any brass ones on hand. Going to change that part of the design with a different type of frame for the mirror. Just have to find the hard ware I want. I want it to be removeble just in case it would get broken. If you want one pm or email me at [email protected]
thanks for all your comments and sugestions
Tim
-
02-23-2009, 10:10 PM #17

It looks really nice, great job...
Thanks for sharing the evolution of this little gem with us...
-
02-23-2009, 11:05 PM #18

That's cool looking.
Too bad you would need one the size of a flatbed trailer to haul all your razors in!
-
02-26-2009, 05:23 PM #19Junior Member

- Join Date
- Jun 2008
- Location
- Lexington, KY
- Posts
- 29
Thanked: 1
That's a great box Tim!
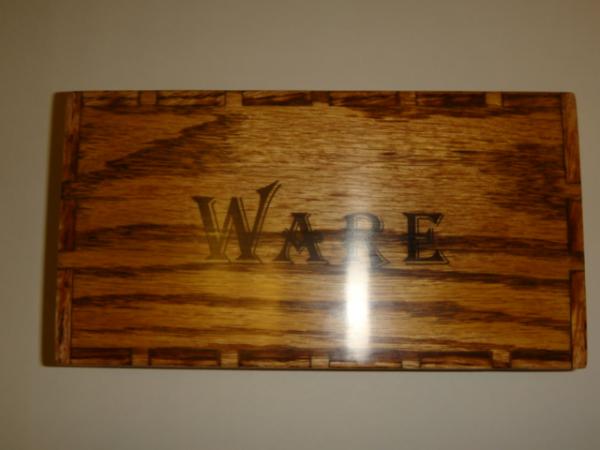
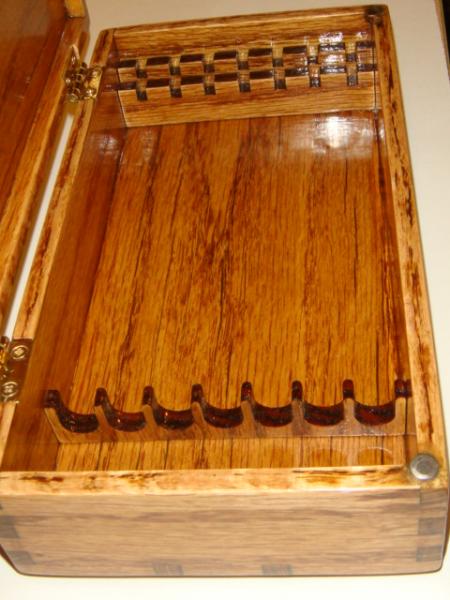
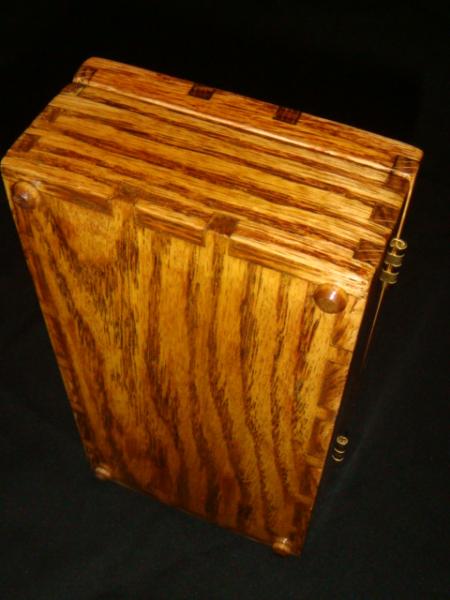
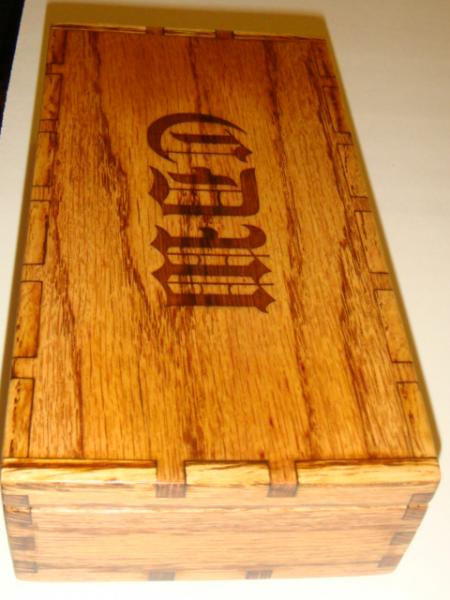
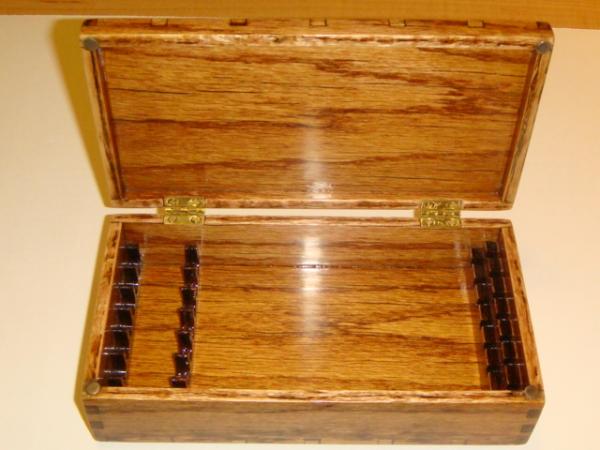
I want to finally post some pictures of the boxes you sent me now that I have them finished. I look forward to doing more! I stained with natural oak stain, finished with Tru Oil. Yes, I did manage to put enough coats to fill the engraving completely. I added two little luxuries. I added little magnets for keeping the lid closed and I put feet on the bottom.
Thanks for your excellent craftsmanship!!
-
The Following User Says Thank You to lexsportsman For This Useful Post:
Speedy (08-12-2009)
-
02-26-2009, 06:19 PM #20Senior Member


- Join Date
- Feb 2007
- Posts
- 392
Thanked: 105
Fantastic finsh. You did all the hard work. Very nice.
Thank you
Tim


 1Likes
 LinkBack URL
 About LinkBacks


 Reply With Quote