
Results 1 to 10 of 13
Thread: First Scales - In Teak
 LinkBack URL
 About LinkBacks
-
04-30-2009, 07:14 AM #1crazycliff200843


- Join Date
- Aug 2008
- Location
- texas
- Posts
- 306
Thanked: 27 First Scales - In Teak
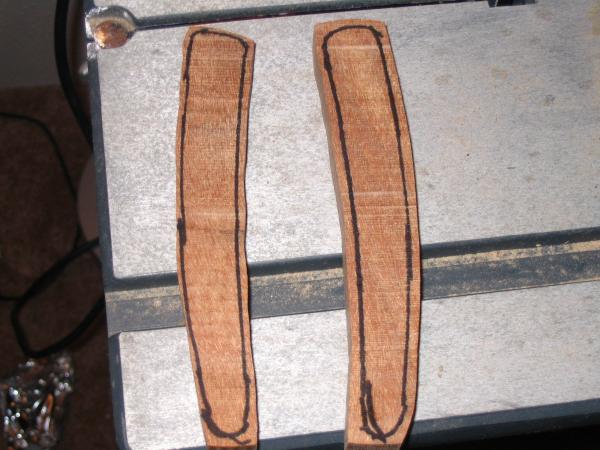
I have been inspired by some of the work I have seen here and have decided to try my hand at making some scales. The razor I am rescaling is an easy aces I just got off of ebay. The scales were warped and the pins were a little loose, and still worked for the most part, but I plan on keeping this razor for quite a while and was tired of having to hold it just right without having to worry about it opening up and cutting me. I was going to use a piece of elm, but I am still waiting for the tree branch to dry out and it has been raining a lot lately.
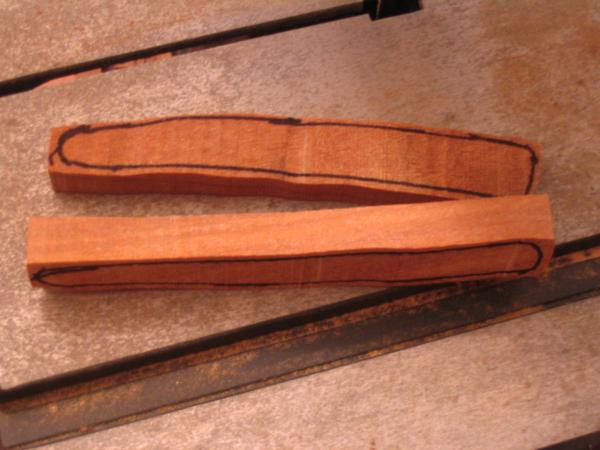
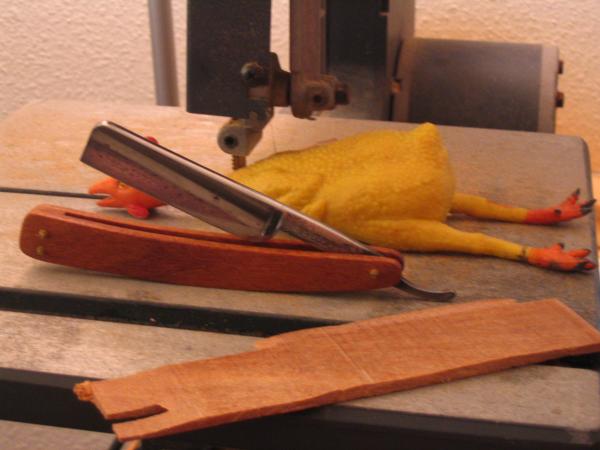
The teak I am using was a slat that was made for flooring, so the grain was running in the right direction and was cut with durability in mind. The wood was a lot harder than I thought it would be. It also has some lines that run perpendicular to the grain which I thought were saw marks at first, but they are still present after sanding and leads me to believe that they are present throughout the wood. Very small and evenly spaced.
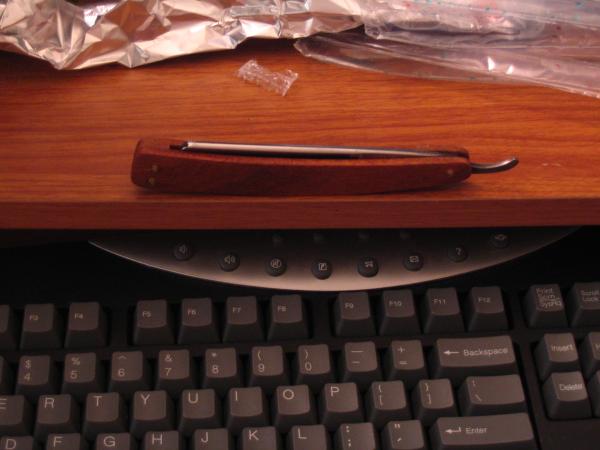
I used a bandsaw for the rough cuts and I have a planer attachment for my dremel, so it didn't take too long to get to where I could use a rasp and sand paper on them. Nicholson still seems to make a good wood rasp. I copied the original scales for the shape, but mine turned out a little thicker and not as rounded. The wood seems to be tough enough to go a lot thinner, so I will probably make another set out of the same material. Right now I am deciding what to use to seal them up with and I am experimenting with some boiled linseed oil and some scraps to see how they turn out. After that I will rub them down with glass and see what I get. I still need to drill the holes for the pins, too.
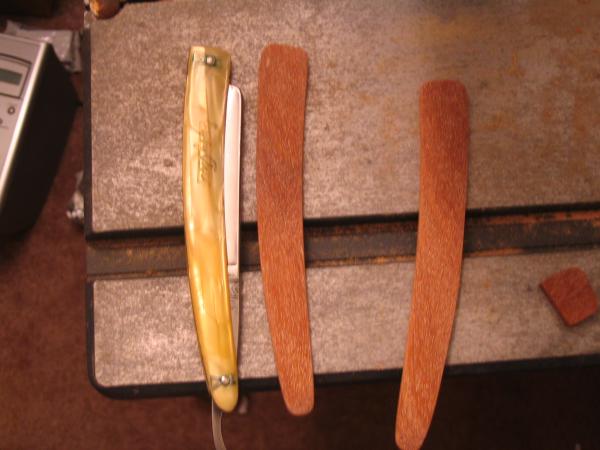
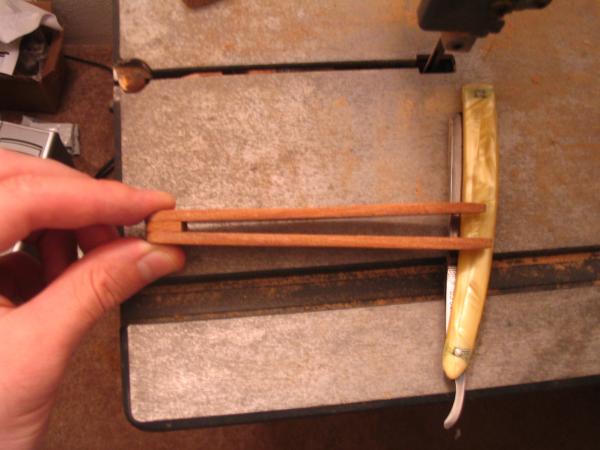
The floor I have walked on that was made out of the same material looks good when finished, so hopefully this will turn out well. Let me know what you think. I'm open to any and all suggestions. Should I drill the holes before or after sealing them up?
-
04-30-2009, 02:12 PM #2Cream Huffer

- Join Date
- Aug 2008
- Location
- Edmonton, Alberta
- Posts
- 573
Thanked: 74
I normally glue or tape my scales together so that they have the highest possible chance of looking like each other.
I normally drill the holes before I start rounding out the scales but after I have cut the general shape. This way I have a flat surface to work with and the hole goes through both scales at the same time.
Might I suggest a different color wedge. I made a couple of scales with the same wood as a wedge when I was starting out as well. There is nothing wrong with it, but a wedge that provides a little contrast makes the overall set of scales look better IMHO.
Those should look pretty nice once finished up though. Good first effort.
-
The Following User Says Thank You to dnjrboy For This Useful Post:
crazycliff200843 (04-30-2009)
-
04-30-2009, 02:40 PM #3At this point in time...


- Join Date
- Jun 2007
- Location
- North Idaho Redoubt
- Posts
- 27,165
- Blog Entries
- 1
Thanked: 13249
You're are off to a great start, if I might drop a few hints, those half bolsters on the Easy Aces scales can be removed with acetone, it will literally dissolve the old celluloid scales if you want to keep them and fit them to the new scales..(there is a thread that Floppyshoes and I did on here with DD reapers).
Thickness is always an issue, where to start, where to end ??? ..
I pre-cut my blanks at a light 3/16 for all razors that way for the heavier wedges I still have some weight and heft to balance the razor, and for lighter more delicate razors it is not much work to take them thinner for weight and balance... I have only found one rule to be true so far, the wood / material has to be able to flex even just a touch works, so if you can bend it a tiny bit it will work...
This can be overcome for some materials with innovative wedge/spacer designs...
In the Wiki there is a step by step Illustrated guide on how to do things pretty easy and accurately... Keep in mind there is no right or wrong way of doing things but there are proved repeatable ways... Myself I am not an artistic type person I figure stuff out so that when I do it it is repeatable and constant (read easier )
)
The hint above about drilling the holes before the scales are taken apart I give a huge +1 too...
Looking forward to seeing the finished scales on the razor...
-
The Following 2 Users Say Thank You to gssixgun For This Useful Post:
crazycliff200843 (04-30-2009), jakoblah (04-30-2009)
-
04-30-2009, 02:52 PM #4I still have my face!

- Join Date
- Apr 2009
- Location
- Westminster, CO
- Posts
- 162
Thanked: 21
Here's that DD Reaper thread Glen mentioned (I assume) - some mighty good tips in there!
-
The Following User Says Thank You to jakoblah For This Useful Post:
crazycliff200843 (04-30-2009)
-
04-30-2009, 05:52 PM #5crazycliff200843
- Join Date
- Aug 2008
- Location
- texas
- Posts
- 306
Thanked: 27
I thought long and hard about gluing them together, but I never did because I was going to save the already flat and finished inside surfaces. Looking back at it now, it probably isn't that important that I saved the finish. I got them pretty close to each other, but one is slightly thinner than the other. It would have been a good idea to drill the holes first as I now have to figure out how to get a straight hole through them and the spacer. Originally Posted by dnjrboy

-
04-30-2009, 06:01 PM #6crazycliff200843
- Join Date
- Aug 2008
- Location
- texas
- Posts
- 306
Thanked: 27
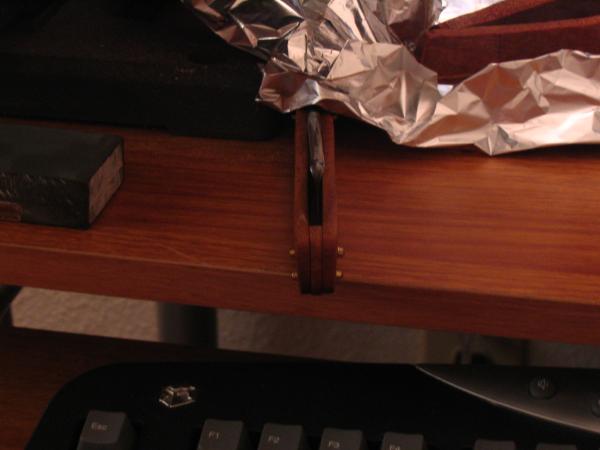
Somebody already beat me to the bolsters and inlay. There's only a partial one left on one side and half of one left on the other. They did leave me the green tarnish, though. Originally Posted by gssixgun
The teak is pretty stiff, but I can put a slight bend into it. Together they are 5/16 wide, so one of them would be just under 3/16. I'm hoping they are not too heavy for the blade and will balance well.
-
04-30-2009, 06:12 PM #7At this point in time...
- Join Date
- Jun 2007
- Location
- North Idaho Redoubt
- Posts
- 27,165
- Blog Entries
- 1
Thanked: 13249
Oh man that is just all wrong Originally Posted by crazycliff200843
 the nerve of some people...
Last edited by gssixgun; 04-30-2009 at 06:51 PM.
-
04-30-2009, 11:11 PM #8
teak is one of the densest woods out there. They used to use them for the masts on sailing ships a long time ago. the stuff is so dense when they fell a tree they can't send it down a river because it will sink they have to leave it there a year or more until it starts to dry out and will float.
teak for scales is probably great. I know for furniture unless its properly dried it has a tendency to warp over time.No matter how many men you kill you can't kill your successor-Emperor Nero
-
The Following User Says Thank You to thebigspendur For This Useful Post:
crazycliff200843 (05-06-2009)
-
05-06-2009, 08:47 PM #9crazycliff200843
- Join Date
- Aug 2008
- Location
- texas
- Posts
- 306
Thanked: 27 Finished
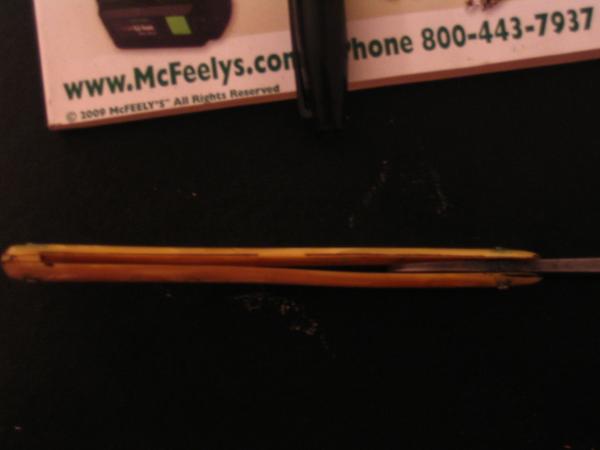
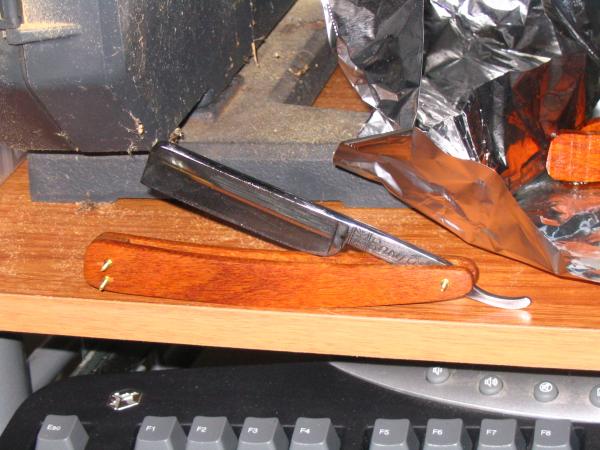
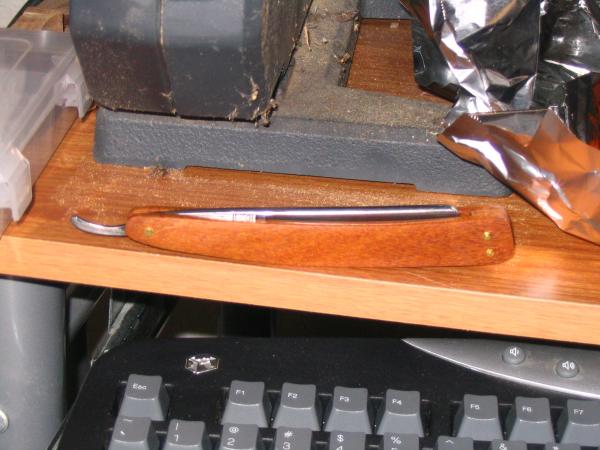
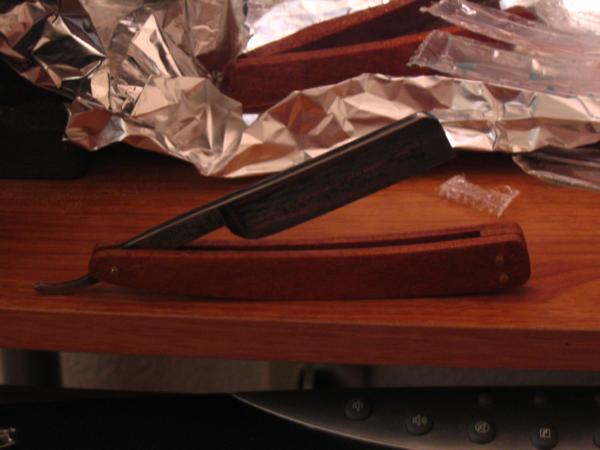
Well, I finished them as far as I am willing to go at the moment. The scales are a little bulky and balance a little behind the pin, but the razor still shaves pretty well. I might make another set that's a little bit lighter, or at least narrower towards the pivot pin, later on down the road, but these are working pretty good. The linseed oil seems to keep the water out. You can see how the oil darkened the wood a little bit. The blade centered better than I thought it would as drilling the holes for the pins was one of the last things I did. I attribute that to how flat the inside surfaces were more than how straight I drilled the holes, though. I will probably file down the ends of the pins a little bit, too, because they stick out more than regular pins do.
-
05-07-2009, 11:24 PM #10Senior Member

- Join Date
- Dec 2008
- Location
- Tuckerton, NJ
- Posts
- 143
Thanked: 18
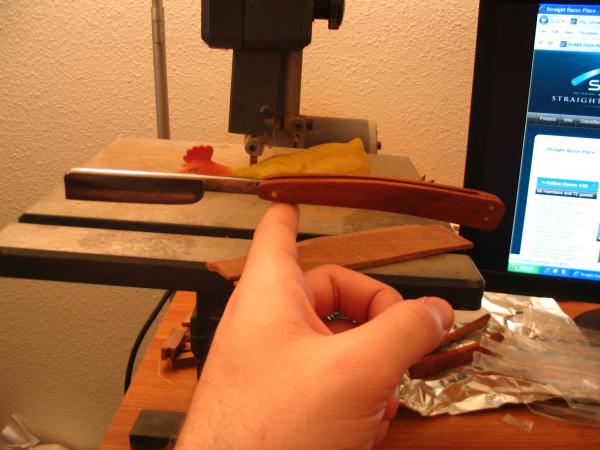
Thats a real nice rubber chicken you got ther.


 Reply With Quote