
Results 1 to 10 of 12
Thread: replace a Barbers notch
 LinkBack URL
 About LinkBacks
Threaded View
-
07-29-2009, 08:12 PM #1Senior Member


- Join Date
- Jun 2009
- Location
- Knoxville TN
- Posts
- 946
Thanked: 133 replace a Barbers notch
Ok, I have a W&B for Barbers use only that has had its notch ground off (all but just a little spot). Is it possible to regrind the notch into this blade without damaging it? If so how would this be done or who could do it?
It's the top razor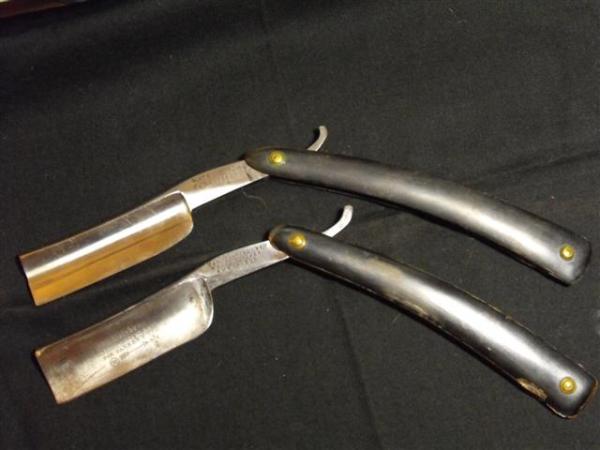
Any ideas or should I just leave well enough alone?


 Reply With Quote