Page 2 of 2 FirstFirst 12
Results 11 to 20 of 20
Like Tree10Likes

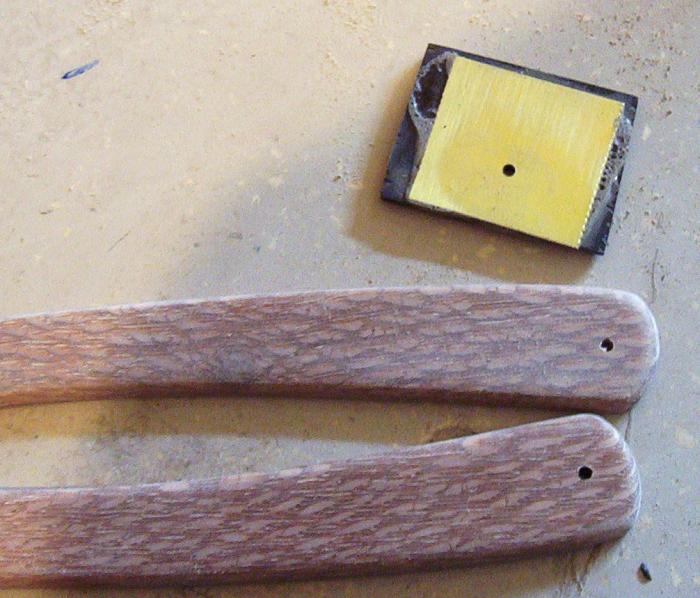
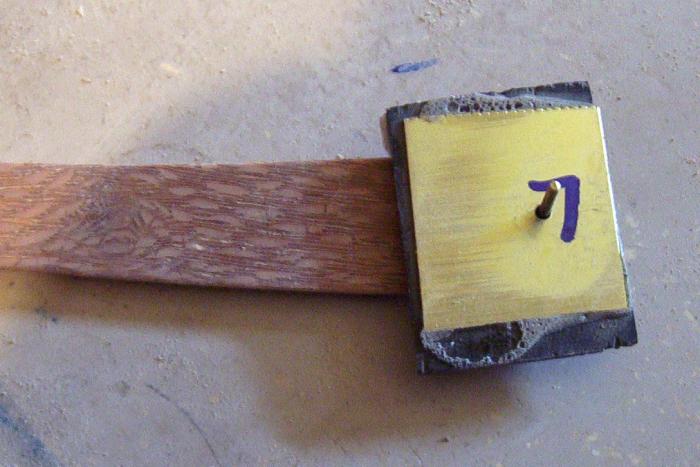
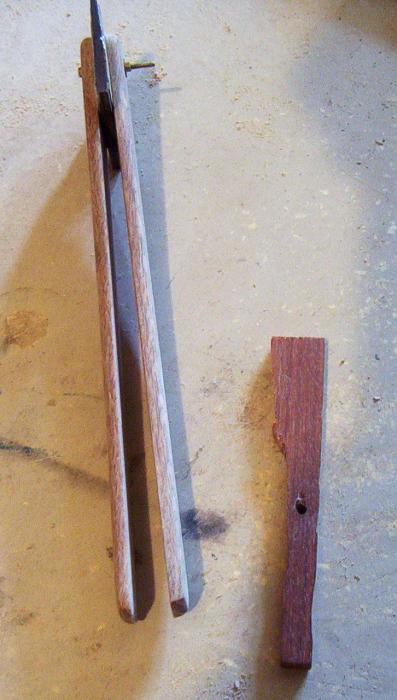
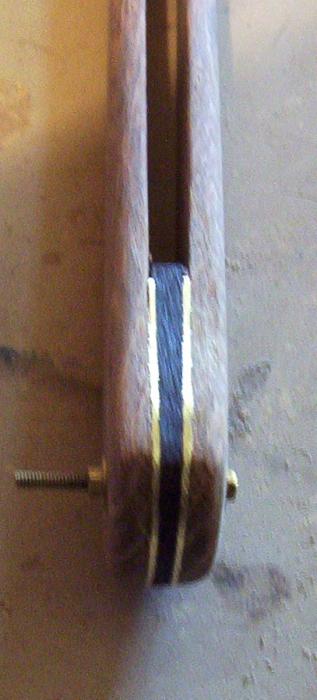
Thread: Illustrated Guide to making a Lined Wedge

  1. #11
    Senior Member blabbermouth spazola's Avatar
    Join Date
    Dec 2006
    Location
    Burkburnett TX
    Posts
    3,095
    Thanked: 2392

    Default

    Nice tutorial, I like the emphasis on making the wedge a wedge. I have some of my early rescales where I did not make wedges tapered I look at them now and think – What a bonehead.

    Again very nice tutorial.

    Charlie

  2. #12
    Senior Member ignatz's Avatar
    Join Date
    Jun 2007
    Location
    Belgium
    Posts
    298
    Thanked: 312

    Default

    gssixgun;

    That is a good presentation. Clearly explained and with proper photos to communicate the little details.

    Thumbs up, sir!

    - Ignatz

  3. #13
    At this point in time... gssixgun's Avatar
    Join Date
    Jun 2007
    Location
    North Idaho Redoubt
    Posts
    26,961
    Thanked: 13226
    Blog Entries
    1

    Default

    Quote Originally Posted by turbine712 View Post
    Thanks for the tutorial it was very informative. One question in regards to the wood wedge.
    What is the orientation of the grain? Is the end grain at the end or is it on the top of the scale? If you were using a lighter wood other than ebony, say maple, then how would you orientate the grain?
    I think if it was a spacer rather than a wedge it would make sense to put the end grain to the end. Hmmm, I am just wondering what people do?
    Thanks again,
    turbine712 aka Bill W
    Mine run grain the same way as the razor.... so end grain to the end of the razor

  4. The Following User Says Thank You to gssixgun For This Useful Post:

    turbine712 (08-20-2009)

  5. #14
    Junior Member
    Join Date
    Feb 2009
    Posts
    19
    Thanked: 2

    Default

    I'm a beginning restorer, and have one issue about wedges (it dosn't really have anything to do with lined wedges or wedge making, but I figured I'd ask it here since it's the only wedge topic I've seen). When putting the finishing glaze on your scales (I use that pour-on epoxy resin stuff), should you
    a) Put the wedge between the scales (assuming you've finished making it), pit the wedge end, and then apply the glaze?, or
    b) Glaze the wedge and scales separately, then assemble/pin it all once it's dry?
    Just wondering which would be better (or if there's another option I haven't thought of)... looking forward to any feedback! Thanks!

  6. #15
    At this point in time... gssixgun's Avatar
    Join Date
    Jun 2007
    Location
    North Idaho Redoubt
    Posts
    26,961
    Thanked: 13226
    Blog Entries
    1

    Default

    I do not use pour epoxy so I will defer to somebody who does....

    But for my stuff, everything is done separately then pinned at the very last, after everything is dry... I have found very, very, few vintage razors that have glued wedges in any way, shape, or form... Once in a great while you will find one with the wedge glued to one scale but loose to the other...
    My opinion is doing it this way all owes for more flex in the scales, but that is something that you will have to decide for yourself....

    Again I don't use pour systems hopefully somebody like Cannonfodder will see this and answer....

  7. The Following User Says Thank You to gssixgun For This Useful Post:

    mskuce (08-23-2009)

  8. #16
    Ooo Shiny cannonfodder's Avatar
    Join Date
    Jan 2008
    Location
    Downingtown, Pa
    Posts
    1,658
    Thanked: 390
    Blog Entries
    1

    Default

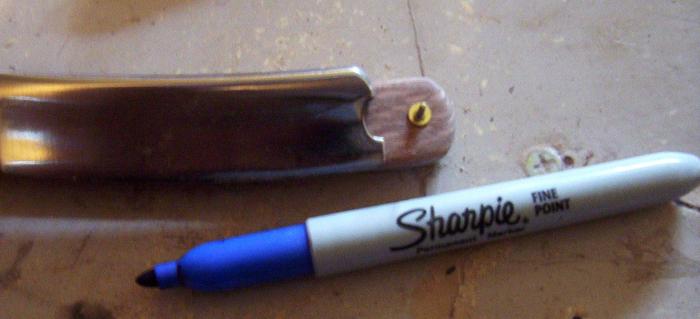
    When you do epoxy, the scales get poured by themselves each as a separate half. After the resin cures and you sand off the drip knobs on the back of the scales and seal the backs you can start the wedge. I double stick tape my scales together, wrap the hinge and wedge ends with a piece of blue painters tape to protect the gloss finish. Then I mark my drill points for the pins on the tape after trial fitting the blade (lay it on top of the scales to get the positioning). Then you drill the pin holes, remove the tape and separate the scales. You only need a tiny eraser sized piece of tape at the pivot and wedge end of the scales to hold them together. Much more than that and you may have trouble getting the scales apart. Then you can start the wedge. That is one of the challenges to doing epoxy scales. The wedge is made after the fact and you cannot sand the wedge flush to the scales since the resin is already on the scales.


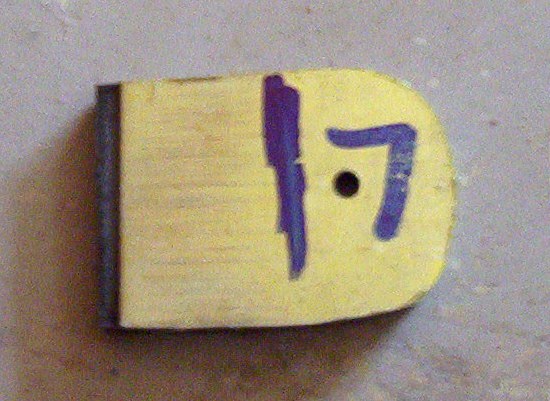
    I make my pin for the wedge and then push it through one scale until the pin is flush with the inside of the scale. Then I take my piece of wood that I am using for a wedge, put it under the scale, tap the pin with my finishing hammer to dent the wedge wood where the pin will pass and trace the outline of the scale on the wood. Then I can drill and cut the wedge. You have to sand it, then trial fit it to see where you need more sanding, sand more, fit more, sand more, fit more... Once you have the fit very, very close, I have a small jig with the base tapered to just the right angle. I double stick the wedge to the jig and sand the wedge to the wedge shape and desired thickness on the disk sander. After that, I do another fitting, note any spots that need additional sanding and do a final hand sand to smooth out the mill marks and get it all fitted even. Then you can put some urethane on the wedge to seal it, then pin it all together.


    A non epoxy finish set of scales goes much faster since you can rough cut the scales, slap in the wedge and then sand the entire unit as one piece for that quick and perfect fit. Making the wedge is the longest part of the scale process for me. It is also the one part that if not done correctly, will throw the scales all off center or allow the blade to ride to high/low in the scale. I have unpinned and started over with more than one wedge just because it was not quite right.

  9. The Following 2 Users Say Thank You to cannonfodder For This Useful Post:

    gssixgun (08-23-2009), mskuce (08-23-2009)

  10. #17
    Senior Member rrp1501's Avatar
    Join Date
    Jan 2009
    Location
    Sardis, Ohio
    Posts
    407
    Thanked: 86

    Default

    Thanks alot Glen! Those are some pretty good ideas. Never thought of making a fake tang before! That will help immensely!

  11. #18
    At this point in time... gssixgun's Avatar
    Join Date
    Jun 2007
    Location
    North Idaho Redoubt
    Posts
    26,961
    Thanked: 13226
    Blog Entries
    1

    Default

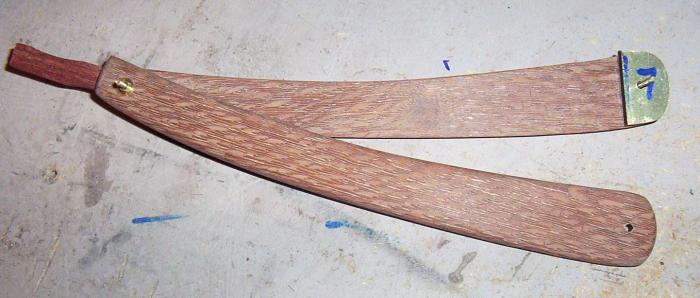
    The finished razor can be seen here

    http://straightrazorpalace.com/galle...tml#post441071

  12. #19
    Member
    Join Date
    Jan 2009
    Location
    Chandler, AZ(Phoenix area)
    Posts
    83
    Thanked: 1

    Default

    On my first restore, I was going to do brass lined scales, but the epoxy didnt hold.
    Last edited by Psicko; 08-25-2009 at 02:05 AM.

  13. #20
    Senior Member crushnbugs's Avatar
    Join Date
    Jul 2009
    Location
    New York
    Posts
    526
    Thanked: 64

    Default

    The brass lined looks SO good, I love it.

    Great tutorial!

    Thanks Glen

Page 2 of 2 FirstFirst 12

Posting Permissions

  • You may not post new threads
  • You may not post replies
  • You may not post attachments
  • You may not edit your posts
  •