
Results 11 to 20 of 20
 10Likes
 LinkBack URL
 About LinkBacks
Threaded View
-
08-19-2009, 09:51 PM #1At this point in time...


- Join Date
- Jun 2007
- Location
- North Idaho Redoubt
- Posts
- 26,984
- Blog Entries
- 1
Thanked: 13234 Illustrated Guide to making a Lined Wedge
After multiple questions I actually took a camera out to the shop and put this together... Please excuse the quality of the Pics,,,,
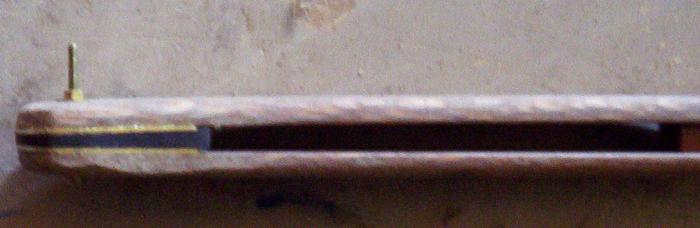
To start, you need a wedge/spacer this one is Ebony you can use whatever you want just make sure it can handle heat...
I make wedges not spacers so I start with a thickness of wood about 1/2 the thickness of the spine of the razor I am working with...Making a wedge shape is easy if you have a belt or platter sander just put the wedge down and press harder to one side, flip and repeat as neccesary... You need to take the wedge slightly thinner then normal to account for the brass liners...
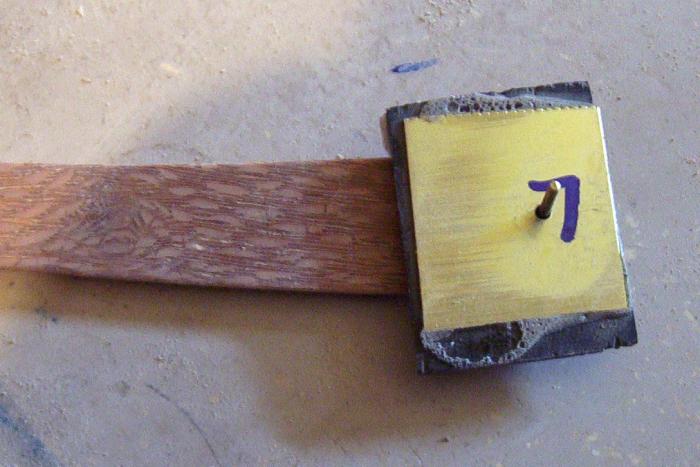
I use K&S brass stock that I am 99% sure is 1/32 in thick it actually is not marked I cut it to approximate size then use Gorilla Glue (TY Seraphim) to attach it to the wedge, I leave this in my vice overnight to set...
I drill the hole for the pins and always mark it with a Lucky #7, this gives me a reference for top and bottom also...
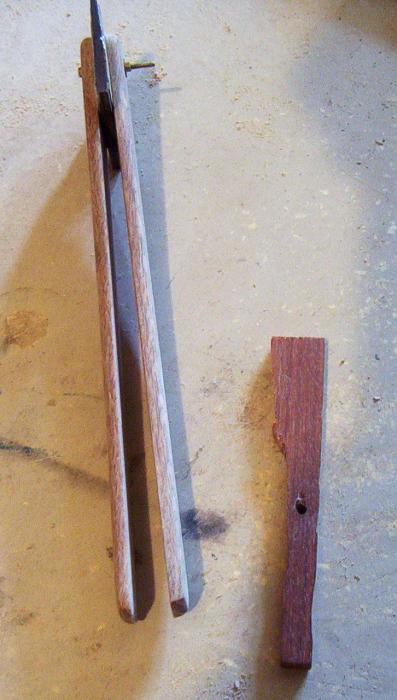
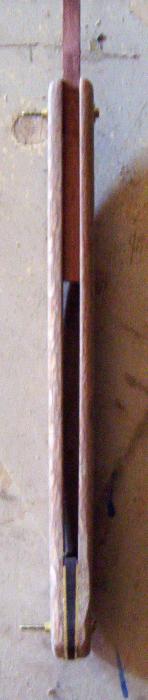
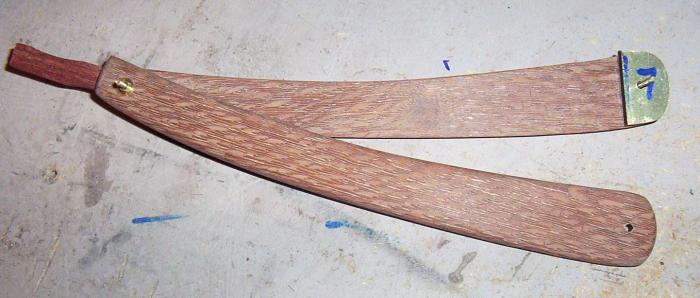
Using Microfasteners 1/16 hex bolts and washer I mock up the razor..
I get everything so that I like the fit and take the whole thing including that mock razor tang to the belt sander and start working it to size (watch the heat)

That stupid piece of wood there is one of the most valuable tools I use, it is a mock razor tang.... I have them in 3 thicknesses, and I use them for everything from sanding to pinning when building scales...
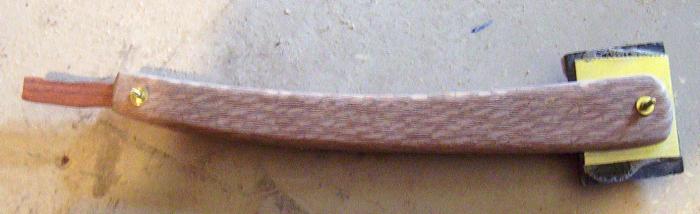
The first check and a rough fit...
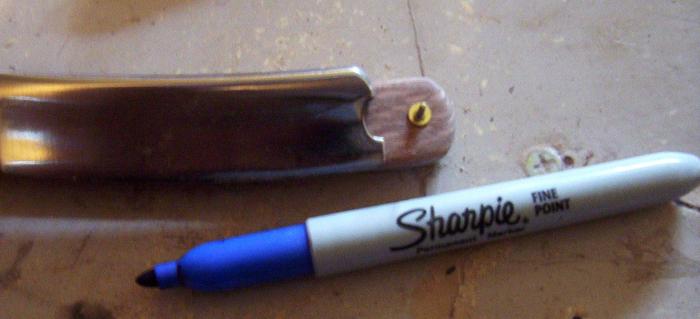
A more refined fit and finish, you need to be careful not to mess up the line of the scales by sanding to much, get really, really close then finish by hand....
I use the sharpie to mark the wedge for length so the razor actually fits the scales
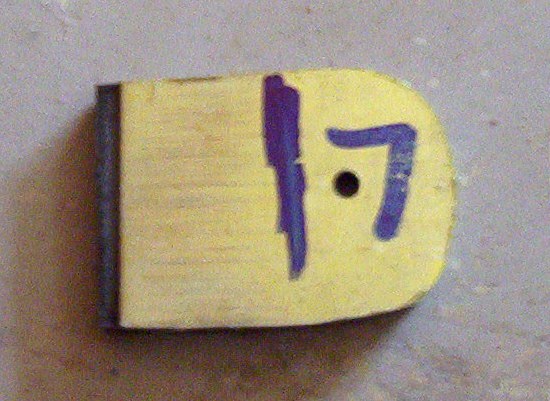
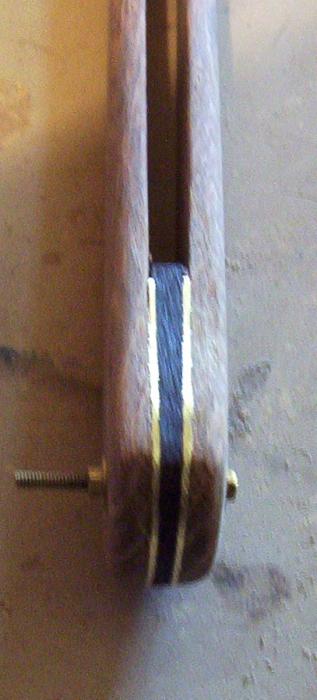
This is how I use that #7 all through the process it tells me the right orientation, you can also see here that the wedge has been shortened to fit the razor...
Last edited by gssixgun; 08-19-2009 at 10:20 PM.
-
The Following 24 Users Say Thank You to gssixgun For This Useful Post:
Alfonnso (05-24-2012), BeBerlin (08-19-2009), Berthold (08-17-2013), BigJim (03-14-2011), BKratchmer (08-19-2009), Buckler (09-09-2010), Chevhead (10-18-2013), Cove5440 (02-17-2012), Del1r1um (10-04-2009), donjcschilde (07-29-2011), Falafel (10-22-2011), Geezer (07-29-2011), JimmyHAD (08-19-2009), keenedge (08-19-2009), Maximilian (08-19-2009), milehiscott (12-22-2011), mrbhagwan (08-19-2009), onimaru55 (08-24-2009), rayman (08-23-2009), Stagehand (08-20-2009), Stropper (08-23-2009), Stubear (08-20-2009), tinkersd (06-10-2012), turbine712 (08-20-2009)


 Reply With Quote