Results 11 to 20 of 45
-
11-30-2009, 12:30 PM #11I used Nakayamas for my house


- Join Date
- Aug 2009
- Location
- Des Moines
- Posts
- 8,664
- Blog Entries
- 1
Thanked: 2591
-
11-30-2009, 02:45 PM #12Beard growth challenged

- Join Date
- Feb 2009
- Location
- Berlin
- Posts
- 1,928
Thanked: 402
So that got me a new TAD
Smart little anvil with pin hole, a felt polishing block and a flush cutter
-
11-30-2009, 03:07 PM #13At this point in time...


- Join Date
- Jun 2007
- Location
- North Idaho Redoubt
- Posts
- 27,161
- Blog Entries
- 1
Thanked: 13249
Those are exactly what I had figured you were using, the pic you showed me yesterday was a set of standard Dykes... Flush cutters and Nippers work on about 50%-60% of the pins out there, when they work they work just like you showed ....
Max and I both use these type too
4 1/2" MINI END NIPPERS PLIERS | AllElectronics.com
But again they are not near 100% effective...
Thanks for showing us your technique, the small drilled anvil is really nice, love those...
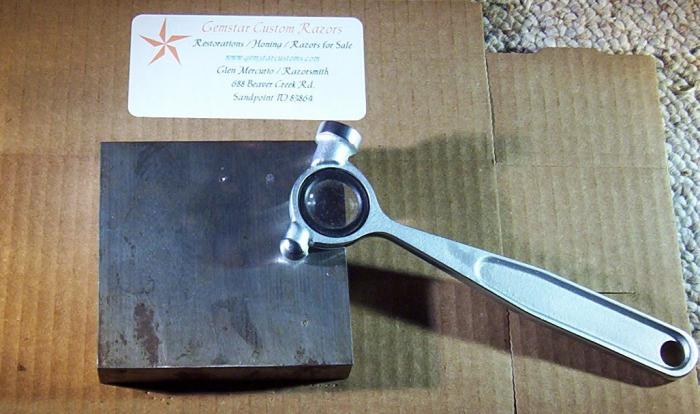
My inside setup isn't quite as nice I just have a 4x4x3/4 Drilled Jewelers block (heavy piece of hardened steel ) and my 2oz hammer that "The Mark" got for me...

You can find the blocks on e-bay too but shipping is high because of the weight...
and yes I just realized how dirty it was and buffed it after the pic LMAOLast edited by gssixgun; 11-30-2009 at 03:32 PM.
-
11-30-2009, 04:02 PM #14

Looks like this one is similar,Olivia.Think I'm going to try one.
NEW Xuron 170-II Flush-Cut Tapered Wire Cutter - eBay (item 330370386430 end time Dec-20-09 13:05:04 PST)
-
11-30-2009, 04:13 PM #15

Thx for sharing.
Actually there are many roads that lead to Rome. One just has to find the right tool for the given project as each scale material, pressure, peened method,... might need a different approach and tool for the job.
əˌfisyəˈnädō | pərˈfekSH(ə)nəst | eS'prəSSo | düvəl ləvər
-
11-30-2009, 05:24 PM #16< Banned Scammer >

- Join Date
- Jun 2009
- Location
- Sunny California!
- Posts
- 466
Thanked: 125
Cool technique, I'll have to give it a try. It seems like a pretty safe way to remove some pins.
-
11-30-2009, 09:21 PM #17Senior Member

- Join Date
- Mar 2007
- Posts
- 608
Thanked: 124
That does look pretty handy. I always thought doing something like that would mar up the scales pretty badly. I've been wanting some of those flush cut clippers, too.
Regarding the anvils, I just use a 5 or 2 1/2 lb iron freeweight. Never felt much need for anything else, but I pretty much just use them for peening. You can get them at walmart, if you're so inclined.
-
11-30-2009, 11:32 PM #18
-
11-30-2009, 11:43 PM #19I used Nakayamas for my house


- Join Date
- Aug 2009
- Location
- Des Moines
- Posts
- 8,664
- Blog Entries
- 1
Thanked: 2591
-
11-30-2009, 11:55 PM #20

Excellent tutorial! Great technique and easy to understand... nothing feeble about that at all. I don't know who took the pics but I only WISH I could do as well.
Thanks!


 4Likes
 LinkBack URL
 About LinkBacks


 Reply With Quote
