
Results 1 to 5 of 5
 LinkBack URL
 About LinkBacks
-
04-17-2010, 02:39 AM #1Comfortably Numb


- Join Date
- Jan 2009
- Location
- Charlotte, NC
- Posts
- 2,095
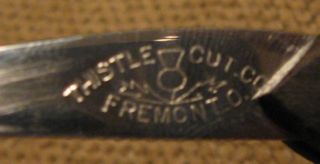
Thanked: 668 Thistle Cut corrections/things to look out for.
Hey everyone, I wanted to take a second to post about my most recent adventures in the shop, and my newest razor.
Ok, so this doesn't really count as a full restoration or anything but I'm listing it here more for those who are starting resto work so that they can watch out for some mistakes that shouldn't happen. With a little bit of time in the fitting, you can avoid these things. ** as a side note, I do not know where this came from, or who did the work but I think we can talk about these as learning issues and not as complaints...I love this razor.**
I am mainly talking about scale issues here, I'm not worried about the blade although it isn't perfect... (all in due time )
)
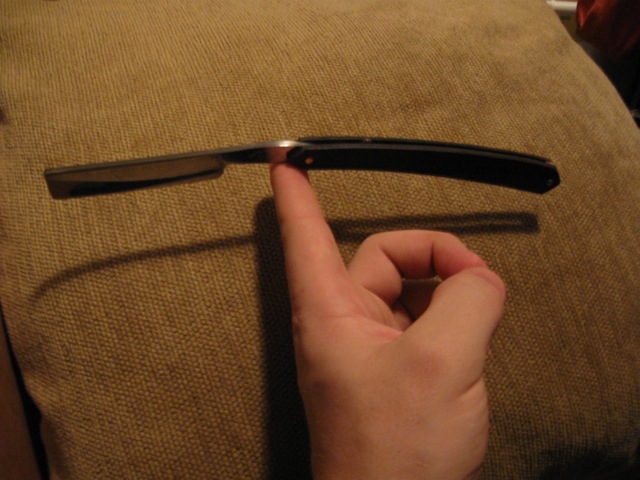
Here is a picture of the razor as it is now.. an 11/16 Thistle cut
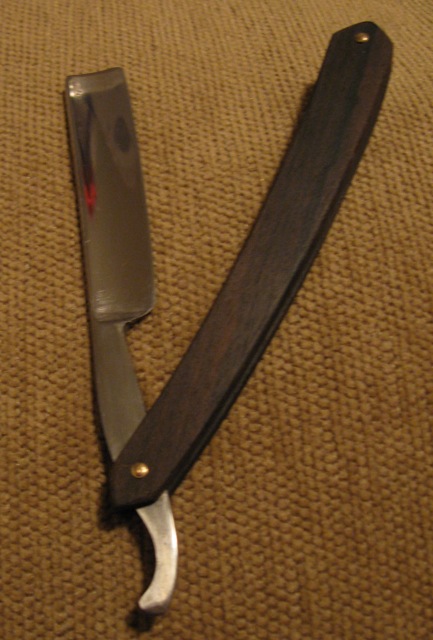
Not too bad, but there were a few problems with the original rescale that was done
1. The wedge was not flush to the scales.
Now, I didn't get a picture, but I have had my scientists recreate a virtual representation of the problem.

As you can see, the wedge was not properly shaped. Also, one of the scales extended slightly past the other, and I suspect that the whole wedge area was moving and shifting around during pinning.
2. The pin job
In pinning, a heavy hand can really cause a bunch of problems like bent pivots, cracks, etc. In this case though the main issue was the brutalized brass rod. Take a look at what heavy hammer blows will do to a pin in terms of fit and finish...

 Not a great polished look huh?
3. uneven bevel
Now, this is probably more appropriate in honing discussions, but what the heck... since we are here
This razor had recently seen some hones, but the bevel was not being honed evenly. Again, my scientists have recreated the image (since it was really hard to get a good photo of the problem)

As you can see, the razor was only really getting honed near the toe side. The heel wasn't really being sharpened at all. It would shave hair at the toe, and to the middle of the blade, but not at all at the heel area.
----------------------------------------------------------------------------
So, here we have a pretty good razor that looked decent from the description with some issues that would be catchable before leaving the bench. Long story short, to fix the wedge, I trimmed the wedge area and sanded everything flush (then refinished with a wax finish.. same as the rest).
To fix the pins, I lightly re-peened the pins to get a smooth shape. And finally, I fixed the bevel with a bit of close inspection, some circles on a 1k hone, and a complete re-honing. The shop fixes (sanding and peening) took me only about 5 minutes.
Correcting the bevel only took about 10-15. By the way, the razor did not (and still doesn't) have excessive hone wear on the toe, and it sits flat on the hones after the bevel correction.
The point that I'm trying to make is that by paying attention to the small things and by taking a few extra minutes you can really put your resto work over the top. I hope this was worth the read for some that are starting out, or who just like to read
If you'd like me to clarify anything or add more details just let me know and I'll do my best
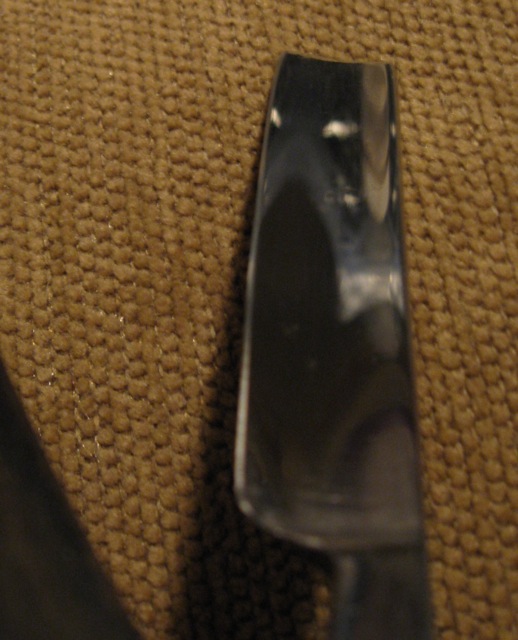
Oh yeah, here is an after pic of the even bevel (man this shot was hard for me to get...I need to outsource photos to Max for sure!)
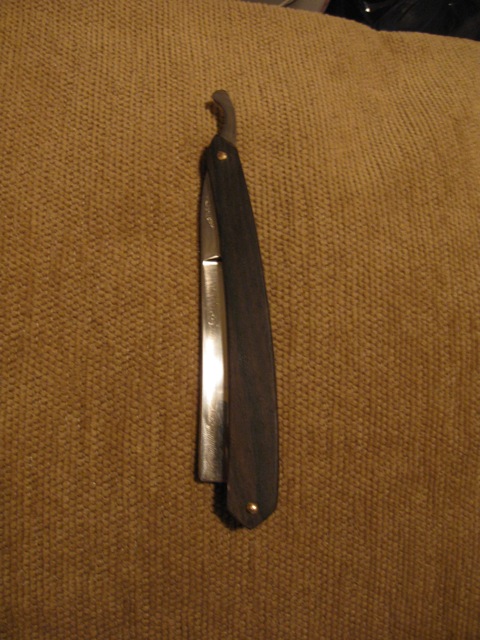
And to make this feel more like a resto thread, I have included one pic of the final razor balance after a slight modification (bet you can tell who I look to for tips on resto work by this picture huh?)
Oh by the way.. I honed this up finishing on my coticule the other day... then I stropped on newspaper, linen, and latigo and had an absolutely wonderful shave. This razor took a killer edge!
Cheers
DaveLast edited by Del1r1um; 04-17-2010 at 03:04 AM.
-
The Following User Says Thank You to Del1r1um For This Useful Post:
ScottGoodman (04-17-2010)
-
04-17-2010, 03:15 AM #2The Great & Powerful Oz


- Join Date
- May 2008
- Location
- Bodalla, NSW
- Posts
- 15,636
Thanked: 3751
It's the little things ....
Nicely done !The white gleam of swords, not the black ink of books, clears doubts and uncertainties and bleak outlooks.
-
The Following User Says Thank You to onimaru55 For This Useful Post:
Del1r1um (04-17-2010)
-
04-17-2010, 03:20 AM #3Wee Whisker Whacker

- Join Date
- Nov 2009
- Location
- New York
- Posts
- 760
Thanked: 177
Thanks for taking the time to go through these issues, Dave! They'll certainly be helpful to anyone doing a restoration.
You didn't cover how to fix the problem about the wedge, so I'll just add this in:
When making a wedge, you absolutely must temporarily attach the wedge to the scales (I use hex head pins) and file or sand it down to flush. I'd also recommend doing the hand sanding this way, too. As you do the final pinning, make sure it's twisted right before locking in the pins with the last few whacks. Doing a different order has never proved successful for me, but I suppose YMMV.
As for scales that aren't perfectly sized, they really should be taped together for all of the finishing sanding. It's the best way to make them identical.
Brad (Undream) has taken the time to make some excellent videos that shows how to do all of this. As Dave said, these are the details that take a "good" project over the top and make them "great."
-
The Following User Says Thank You to BingoBango For This Useful Post:
Del1r1um (04-17-2010)
-
04-17-2010, 03:55 AM #4Comfortably Numb
- Join Date
- Jan 2009
- Location
- Charlotte, NC
- Posts
- 2,095
Thanked: 668
Thanks for the catch, I agree that the best way to get your fit right is to temporarily assemble everything and finish it as a whole (although using a "mock tang" may be a good idea for major parts, in order to avoid the chances of dinging your blade). Thanks for the save! Originally Posted by BingoBango

-
04-17-2010, 04:50 AM #5At this point in time...


- Join Date
- Jun 2007
- Location
- North Idaho Redoubt
- Posts
- 27,053
- Blog Entries
- 1
Thanked: 13249
And the best part is it is a THISTLE !!!!!
Great shavers huh...
Nicely done Dave, and your team of scientists rock man
-
The Following User Says Thank You to gssixgun For This Useful Post:
Del1r1um (04-17-2010)


 Reply With Quote