Results 1 to 8 of 8
  1. #1
    Senior Member RobertH's Avatar
    Join Date
    Jan 2010
    Location
    Fall River, NS
    Posts
    266
    Thanked: 58

    Default First restore complete

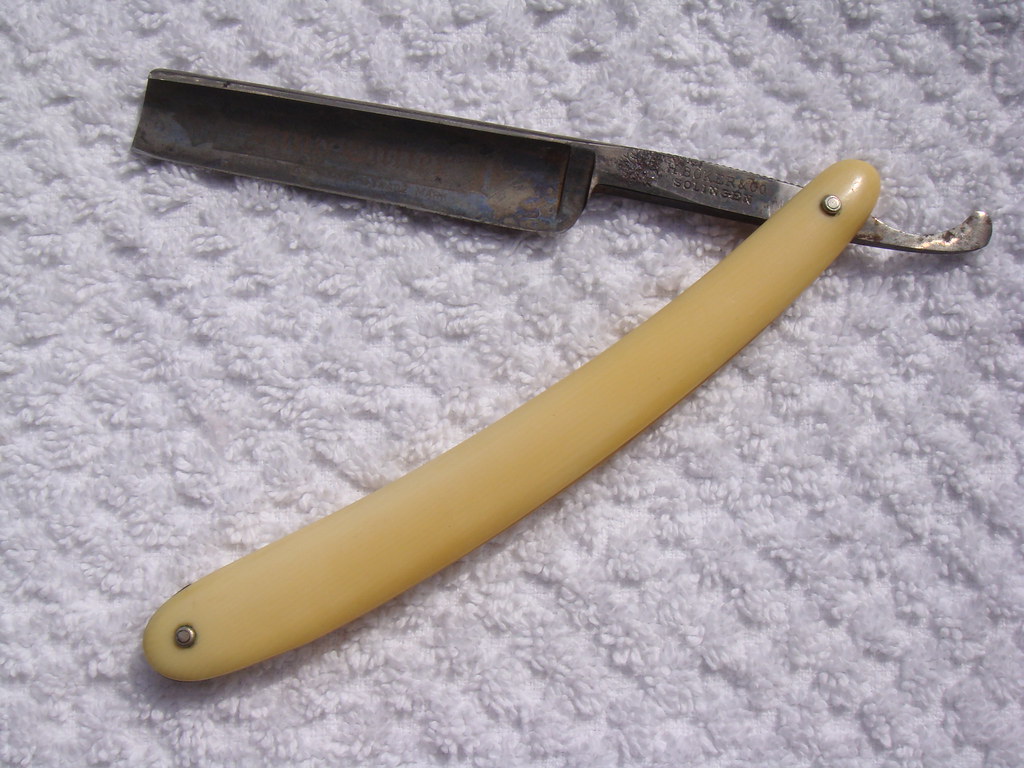
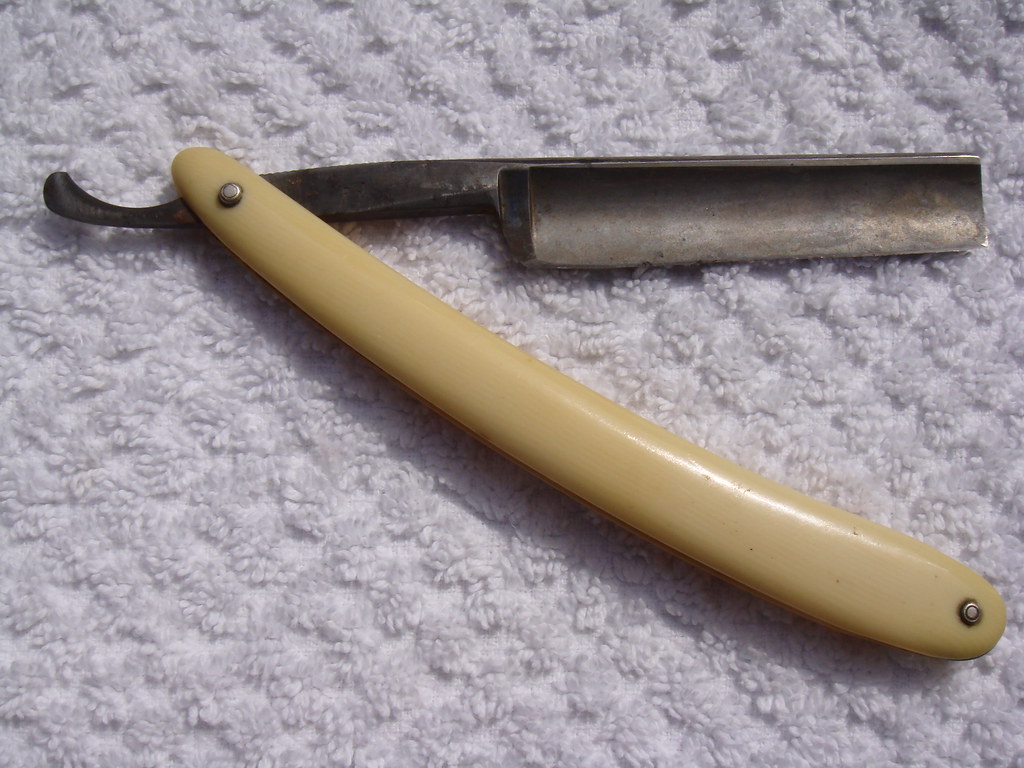
    Well I repinned my first razor yesterday. I've got the blade as clean as I want to get it, besides getting into the pits and stamp that I'm still working on the technique for.

    The blade is nice and snug in the scales, I had it centered when I first put it together, but once I'd finished it was a little off center. It closes nicely though so I think it will be ok.

    Unfortunately this is the razor I learned to use the drill press method over the dremel method for removing pins as I guess I have a hand shake and dinged the scales a bit.

    Thanks for all the advice and knowledge on this site guys, it was a great deal of fun to bring this one back.


    Before:


  2. #2
    Newbie Desdinova's Avatar
    Join Date
    Mar 2010
    Location
    Canada, eh
    Posts
    337
    Thanked: 88

    Default

    excellent job!

  3. The Following User Says Thank You to Desdinova For This Useful Post:

    RobertH (05-11-2010)

  4. #3
    At this point in time... gssixgun's Avatar
    Join Date
    Jun 2007
    Location
    North Idaho Redoubt
    Posts
    26,960
    Thanked: 13226
    Blog Entries
    1

    Default

    I think it turned out just fine....How did you polish it????

  5. #4
    Senior Member RobertH's Avatar
    Join Date
    Jan 2010
    Location
    Fall River, NS
    Posts
    266
    Thanked: 58

    Default

    For this one there wasn't much rust on the blade, but lots on the tang and spine.

    First I used a brass wire dremel attachment to clean the rust out of the jimps (and tried it a bit on the boker tree logo too hoping it would get inside but not much luck there). The rust cleaned up, but as mentioned in the posts that people recommended the method for me it left a thin brass plating. I have a stainless steel brush I'm going to try next time. I think i'll try with a bit slower speed, and being careful to keep only the tips of the brush on the blade and hopefully it won't gouge it. I have a destroyed blade from a razor I bought for $10 just for its scales that I can test my methods on now so I'll try it on that first hehe.

    Then I followed your hand sanding guide (sort of) and sanded out the rust. I didn't have all the steps of sand paper, I think I did 320, 800, 1000, 1500, 2000. At each step I would sand dry first, then I would sand with 3-in-1 in an opposite pattern to try to prevent moving on with deep gouges the next grit wouldn't be able to sand out. So I'd sand side to side first dry let's say, then with the 3-in-1 I'd do swirls. I only sanded the tang and spine.

    Once all the rust was gone I switched to mother's chrome polish, first by hand and then with a dremel and then back to by hand. I did many many many passes of this till I got the whole blade where I was comfortable with it. If you look close there's still the odd stain, and the pits and stamps still have gunk in them, but it got to a point where I decided the potential gains from trying more things no longer outweighed the risk of destroying the blade by nicking it with the dremel or sanding too much in one spot or anything like that.

    The blade lays nice and flat on my table, so I think it will hone up nicely. I've got a Norton 220/1000 combo, so I'm going to try taping the spine to set my first bevel. Then I'll go to Lynn's pyramid technique on my Norton 4000/8000. I don't have a polishing stone yet, so I'll have to just hope chromium oxide on the webbed material of my SRD strop will put a nice enough polish on it. How's that sound?
    Last edited by RobertH; 05-10-2010 at 06:15 PM.

  6. #5
    Senior Member claytor's Avatar
    Join Date
    Sep 2007
    Location
    Orlando Florida
    Posts
    364
    Thanked: 83

    Default

    I think you did a great job. I like the idea of changing sanding directions within the grit to not get deep scratches but a more uniform removal sanding.

    I have a Boker like that and she's a great shaver. Enjoy the nicely restored razor.

  7. The Following User Says Thank You to claytor For This Useful Post:

    RobertH (05-10-2010)

  8. #6
    aka shooter74743 ScottGoodman's Avatar
    Join Date
    Sep 2009
    Location
    SE Oklahoma/NE Texas
    Posts
    7,285
    Thanked: 1936
    Blog Entries
    4

    Default

    I don't know what it looked like when you started, but it looks like a very useable razor. On the tape, some use it, some don't. If that razor were mine, I wouldn't use tape, I'd just hone it. Adding a layer of tape will not hurt a thing though.
    Southeastern Oklahoma/Northeastern Texas helper. Please don't hesitate to contact me.
    Thank you and God Bless, Scott

  9. The Following User Says Thank You to ScottGoodman For This Useful Post:

    RobertH (05-11-2010)

  10. #7
    Senior Member RobertH's Avatar
    Join Date
    Jan 2010
    Location
    Fall River, NS
    Posts
    266
    Thanked: 58

    Default

    Oh I took another look at my scraps and it was actually 320, 400, 600, 800, 1000, 1500, 2000 for the sand paper progression.

    Yeah from reading this forum and Lynn's DVD I think it's a good candidate for the tape, it already has hone wear that I don't need to make worse. I'm still learning honing so I'm sure it will take me several tries to get it right, and I'd rather not turn the hone wear into something disastrous.

  11. #8
    Senior Member paco's Avatar
    Join Date
    Aug 2008
    Location
    Russellville Ar. from NEW ORLEANS, LA.
    Posts
    1,035
    Thanked: 172

    Default

    Looks really good, much better than i did on my first. Keep up the good work. It's great to shave with one that you did yourself. I know with mine i almost got cut trying to pat myself on the back. hahah
    Consider where you will spend ETERNITY !!!!!!
    Growing Old is a necessity; Growing Up is Not !

  12. The Following User Says Thank You to paco For This Useful Post:

    RobertH (05-11-2010)

Posting Permissions

  • You may not post new threads
  • You may not post replies
  • You may not post attachments
  • You may not edit your posts
  •