
Results 1 to 10 of 17
Thread: Removing metal from the hollow
 LinkBack URL
 About LinkBacks
-
05-16-2010, 03:41 PM #1Senior Member

- Join Date
- Aug 2009
- Location
- New Orleans, La
- Posts
- 176
Thanked: 22 Removing metal from the hollow
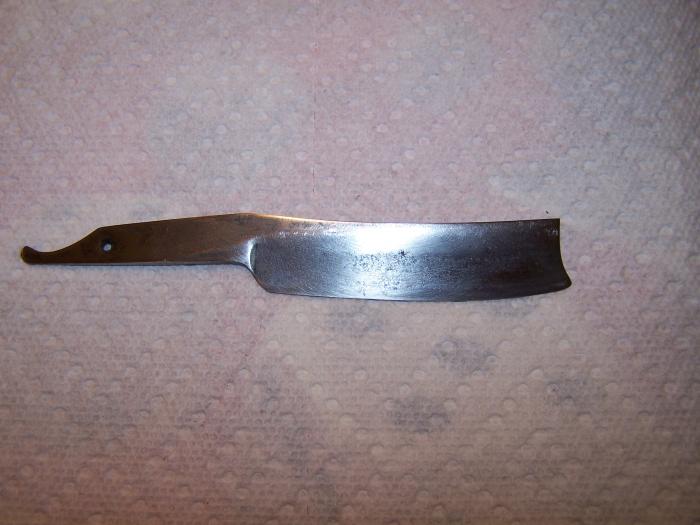
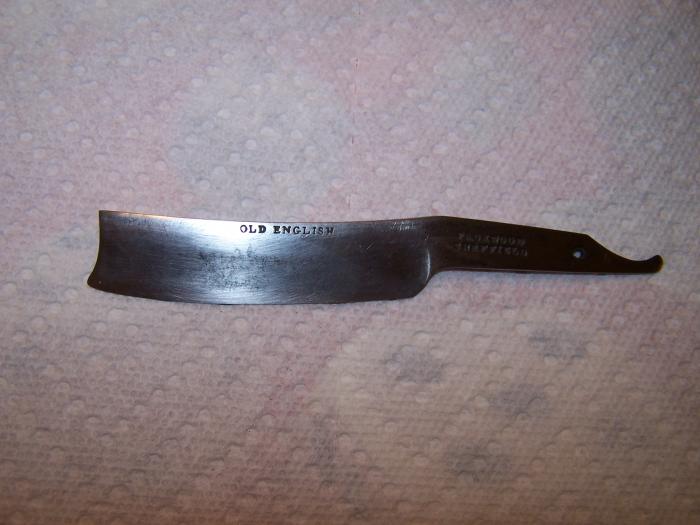
Does anyone have any idea on how to remove an excessive amount of metal with some type of either power tool or by hand. I have been sanding by hand in the hollow of the blade in the attached pics. As you can see, there is pitting that needs to ge sanded out. The problem is, I've been sanding for the last three days and have barely made any progress. As you can see, by the last pic, it is almost a full wedge, so I'm not worried about how much metal I remove. I thought about using my dremel with a sanding paddle wheel. Does anyone have any other suggestions?
Thanks,
-
05-16-2010, 03:46 PM #2The Shell Whisperer


- Join Date
- May 2008
- Location
- Sin City
- Posts
- 5,597
Thanked: 3384
For starters can you tell us what sandpaper and grit you used for the past 3 days?
əˌfisyəˈnädō | pərˈfekSH(ə)nəst | eS'prəSSo | düvəl ləvər
-
The Following User Says Thank You to Maximilian For This Useful Post:
kcarlisle (05-16-2010)
-
05-16-2010, 03:49 PM #3Senior Member

- Join Date
- Feb 2008
- Location
- Athens, GA
- Posts
- 691
Thanked: 192
What grit sandpaper are you using? Seems like the work should go faster than that if the grit is low enough.
EDIT: Oops - hey, Max.
-
The Following User Says Thank You to northpaw For This Useful Post:
kcarlisle (05-16-2010)
-
05-16-2010, 05:25 PM #4Senior Member


- Join Date
- Feb 2008
- Posts
- 32,564
Thanked: 11042
Here is an old thread by Bruno with 'how to'. I've heard of some guys using rubber tubing to wrap the paper around it get the contour.
Be careful how you treat people on your way up, you may meet them again on your way back down.
-
The Following User Says Thank You to JimmyHAD For This Useful Post:
kcarlisle (05-16-2010)
-
05-16-2010, 05:38 PM #5Senior Member

- Join Date
- Jul 2009
- Posts
- 186
Thanked: 58
Handsanding takes an incredible amount of time.
Contour Sanding Pads - Woodcraft.com
I found these made the job a little easier.
The first blade I handsanded was in decent condition and I thought I was going to be able to sand it in a few days. It took around 2 months of working at it a little each night.
-
The Following User Says Thank You to jimmyfingers For This Useful Post:
kcarlisle (05-16-2010)
-
05-16-2010, 05:45 PM #6Senior Member
- Join Date
- Feb 2008
- Posts
- 32,564
Thanked: 11042
I just don't have the patience for it. A friend of mine who did fantastic restores when he was still into it told me it would be like 10 hours handsanding before he went to buffers and paste. He would do a lot of it in front of the TV while watching a movie. I just don't have the tenacity for that. My hat is off to those that do.
Be careful how you treat people on your way up, you may meet them again on your way back down.
-
The Following User Says Thank You to JimmyHAD For This Useful Post:
kcarlisle (05-16-2010)
-
05-16-2010, 06:03 PM #7Senior Member
- Join Date
- Aug 2009
- Location
- New Orleans, La
- Posts
- 176
Thanked: 22
220 is what I sanded with for several hours. BTW-I'm sorry if I was misleading by saying 3 days. It's probably more like 3 or 4 hours over the last 3 days. Maybe I'm being too impatient and expecting it to go faster than it is. My main concern is the pitting in the hollow which seems to be unchanged from this much sanding. Since this is an almost true wedge and I don't have to be too concerned with how much metal is removed, I was wondering if anyone has used anything to speed it up. I don't mind hand sanding but there's no sense in needlessly sanding until your fingers are sore when there is an easier way.
From and experienced restorer's point of view, judging by the pics, how much time in hand sanding can I expect?
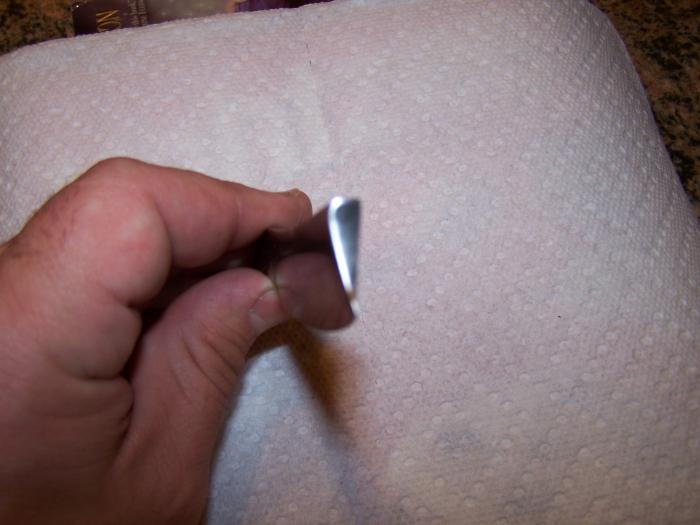
BTW-A little something I discovered when un-pinning this razor that I would like to pass along. The scale that was on this razor is beautiful and I wanted badly to re-use it. I filed down the hinge pin until it was so close that I would have started marking up the scale. The washers still would not pop loose so I got a #117 high speed cutter dremel bit and was able to finish it that way. I used the lowest speed (5000 rpm) and was able to pin point the bit on the exact center of the pin until the washers popped loose. Viola!
-
05-16-2010, 06:09 PM #8Senior Member
- Join Date
- Aug 2009
- Location
- New Orleans, La
- Posts
- 176
Thanked: 22
Thanks everyone! My question to how long to expect hand sanding to take was being answered while I was posting the last reply. It sounds like I should be able to do push ups on my finger tips with my wife sitting on my back when I finish-HUH! LOL!
-
05-16-2010, 06:15 PM #9Master of insanity

- Join Date
- Jul 2009
- Location
- London
- Posts
- 1,663
Thanked: 504
Keep at it, thats a nice blade, very nice. What are the original scales like - u have any pics?
-
The Following User Says Thank You to Scipio For This Useful Post:
kcarlisle (05-17-2010)
-
05-16-2010, 06:51 PM #10Senior Member
- Join Date
- Aug 2009
- Location
- New Orleans, La
- Posts
- 176
Thanked: 22
I started using 150 grit since I first posted the thread. It's still going slow but I'll keep everyone posted with some pics when I finish. I'll pick up some 80 grit tomorrow and start with that. Thanks so much for everyone's info. I really didn't think it would take me that long to sand with this much pitting. It will be worth it when I finish though!
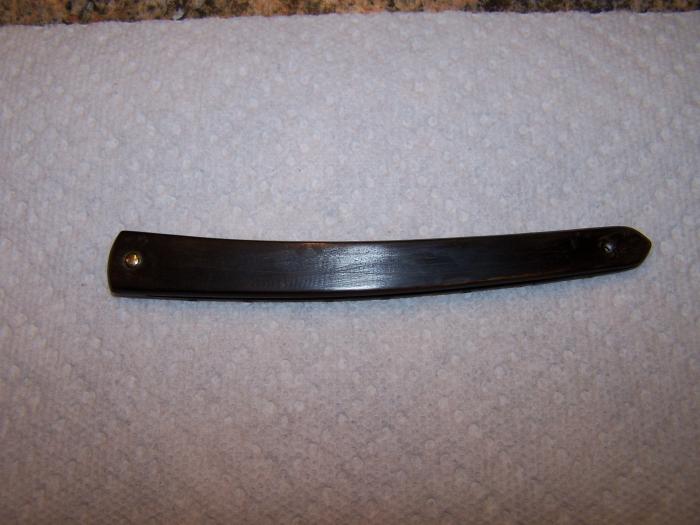
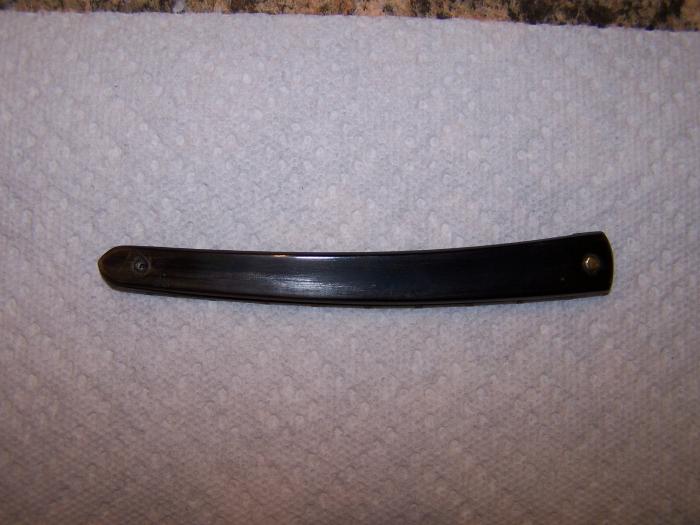
The blade is in beautiful shape and has very little wear. I think age has been the culprit with this one. Here is a pic of the scale that came off of it. I think it's bone. It looks like I did mark it with the file when I was filing down the pin. I didn't notice until I just took the pics.
Last edited by kcarlisle; 05-16-2010 at 06:54 PM.
-
The Following User Says Thank You to kcarlisle For This Useful Post:
Scipio (05-16-2010)


 Reply With Quote