Results 1 to 5 of 5
Thread: My basic restoration kit
-
01-15-2011, 07:06 PM #1Senior Member

- Join Date
- Aug 2009
- Location
- New Orleans, La
- Posts
- 176
Thanked: 22 My basic restoration kit
I’m actually posting this for another member who asked me about a “Basic restoration kit” but, of course, anyone is more than welcome to view them and add their comments. Furthermore, I welcome any suggestions or criticism to help me with my current methods and tools to aid me in my future endeavors. I’ve only been at this for about a year so I am by no means an accomplished razor restorer. The below tools and methods are, through my research, what has worked well for me and is by no means “Razor restoring law”. Of course, use good common sense, and safety glasses while performing any work on your razor. Oh! And don’t forget your work piece is extremely sharp! It’s kind of funny when you think about it. Usually, it’s the tool you are working with that is sharp….Not the work piece.
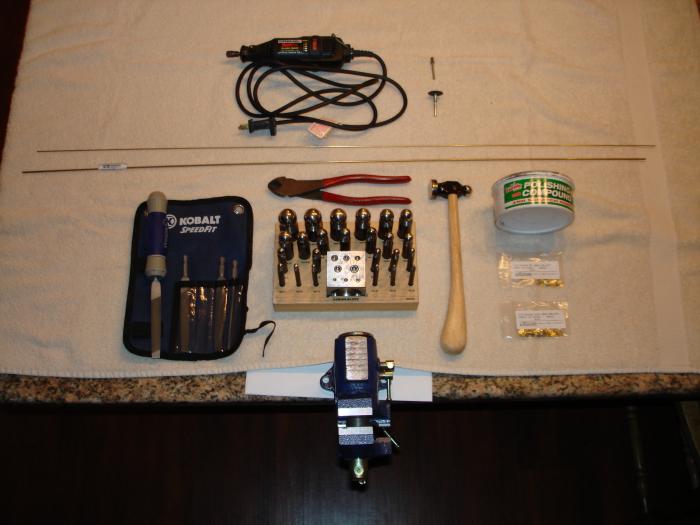
The first pic shows everything in “My basic restoration kit” starting left to right then top to bottom.
Dremmel Tool – DO NOT USE FOR REMOVING RUST, STAINS AND BLEMISHES ON A BLADE! To me, there is only one way to remove rust and blemishes on a blade….By hand, with sandpaper. A dremmel can ruin a perfectly good blade and can be dangerous because of it possibly catching the blade’s edge and throwing it across the room. There are only two reasons I have a use for the Dremmel in restoration of a razor. Please see below in the description of the Dremmel bits for the explanation.
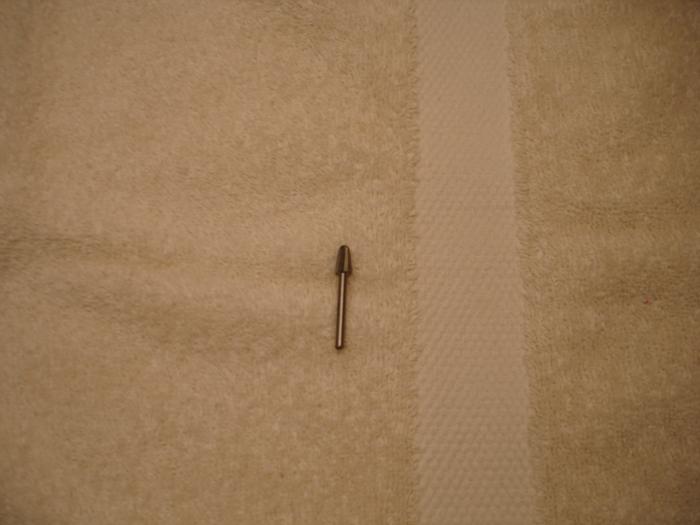
Dremmel bit #117 High speed cutter – I found this to be a very useful aid with un-pinning the razor. I do not recommend using it as the only means to un-pin the razor. First, use a small file to remove as much of the pin as possible, on one side of the razor, without risking marking up the scale…Assuming you want to save the original scale. Once you have removed as much of the pin as you can with the file, use the Dremmel, on low speed, and lightly tap the pin. DO NOT USE VERY MUCH PRESSURE! Keep tapping the bit to the pin in a slightly different spot each time until the domed keeper washer will pop loose from the pin.
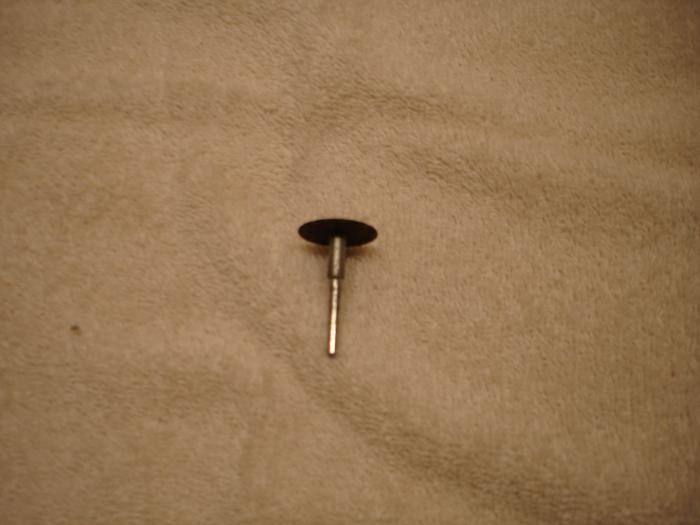
Dremmel cut off wheel – I use it to cut the brass tubing for bushings. You will find a lot of razors have an extremely large pivot hole in the tang. The brass tubing can be used as a bushing in these really large holes. I find the cut off wheel works great for this since you are only cutting off about a 1/8” piece of the tubing.
1/16” brass rod – Used for pins and is available at some hobby shops.
3/32” brass tubing – Used for bushings and is available at some hobby shops as well. I found this and the brass rod at a hobby shop that specializes in remote control cars, boats and planes. I’m not sure what their use is for it but it works well for bushings!
Small file – For filing down pins to un-pin the razor. I found this one at Lowes.
Wire cutters – For cutting brass rod. If you use these to cut the brass rod, just make sure to file down the cut end to square it off before you peen it.
Doming set – Used for doming your #0, .065 x .125 x .017 brass flat washers and is available at Harbor Freight. Make sure to check out the cost of the set at Harbor Freight before you buy one from somewhere else. I found one online that would have cost about 8 times as much.
Jewelers chasing hammer – Used for 2 things. Peening the brass rod and flattening out your .062 x .188 x .015 wide brass flat washers for spacers between the scale and tang. I ordered this one and another called a half dome. If I had it to do all over, I would have only gotten the one pictured because I haven’t found a use for the half dome.
Polishing compound – Used for the finishing touch once you have completed the long drawn out task of sanding on the blade to your liking.
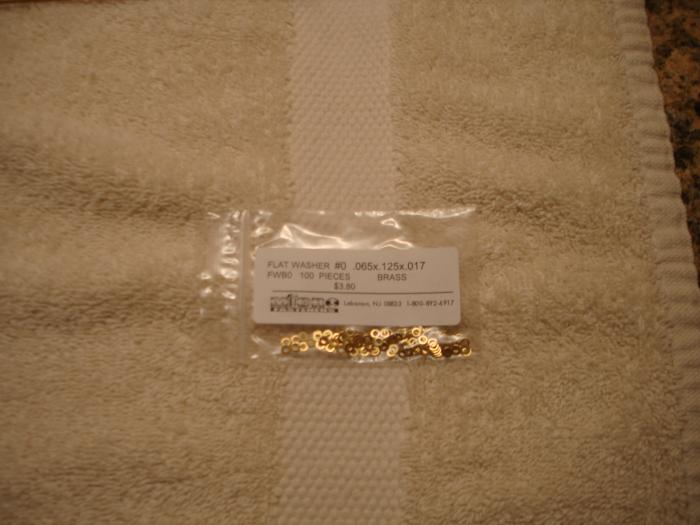
#0, .065 x .125 x .017 brass flat washers – Used for making the “Keeper” domed washers. Available from micro fasteners.
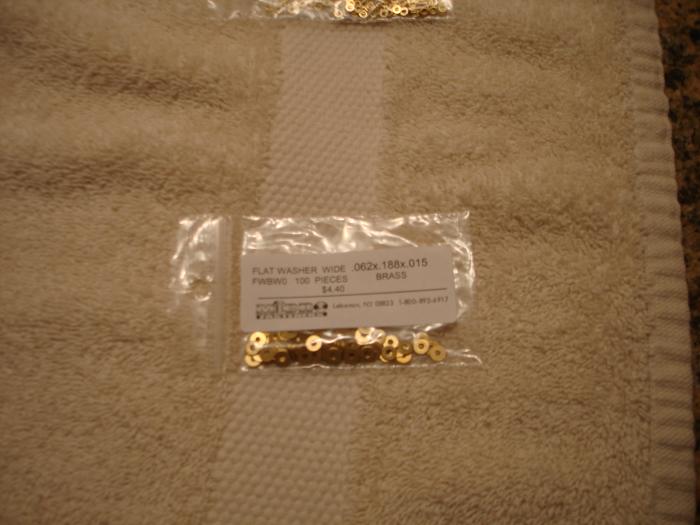
.062 x .188 x .015 wide brass flat washers. Used for spacers between the scale and tang. I found a post by one of the experienced restorers in here that said he flattens them out just a little bit with the jewelers hammer. I tried it and it worked great. Only takes a few wacks of the hammer with the washer on the anvil of the vise and, viola, you have a spacer!
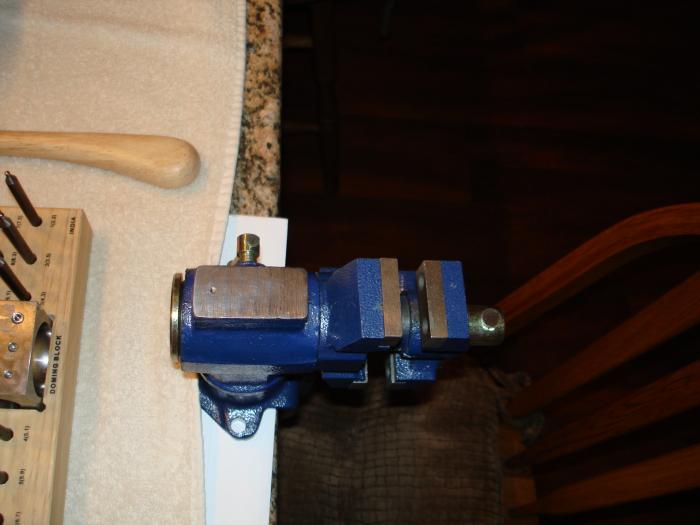
2-1/2 table swivel vise – Used for a little of everything from holding pins for cutting and peening to using the anvil for flattening spacer washers and peening the final side of pins. This particular one is available at Harbor freight. Item number 97160. Here are the things I find so useful with this one: It has both a grip (cross hatched) jaw and a smooth jaw. The smooth jaw is extremely useful to hold the brass rod, without damaging it, for peening. Please notice in the close up pic the little dimple I drilled into the anvil. It also has a clamp where you can easily clamp the vise to any table or counter top. This is used to place the opposite side of the pin you are peening into. Without the dimple, as you are peening on one side, the other side will want to flatten out on the anvil.
Not pictured – Plenty of sand paper in quite a few different grits. Make sure it’s for use with sanding metal. You will want start with at least 120 for your course grit and finish with at least 1500 grit for your finest. 80 or 100 is better for the course grit but all I could find locally was 120 and it has worked fine and just takes a little extra sanding.
Well, now that I have written a book, I hope the below pics help any of you who are wanting to get into restoring razors. With the exception of the dremmel tool, all the items pictured shouldn’t cost much more that $100.00.
Basic restoration kit
Dremmel #117 high speed cutter bit
Dremmel cut off wheel
#0 flat washers
Wide flat washers
2-1/2" table swivel vise (see the dimple on the anvil)
-
The Following User Says Thank You to kcarlisle For This Useful Post:
str8dave (02-21-2011)
-
01-15-2011, 07:08 PM #2

Nice set up and so clean. Mine looks like a bomb when off in there.
-
01-15-2011, 07:15 PM #3

Thanks, That is a good start!
Respectfully
~RichardBe yourself; everyone else is already taken.
- Oscar Wilde
-
01-15-2011, 07:41 PM #4

Kirk, you never cease to amaze. Time to head to Harbor Freight! Now i can put a picture to the words. Thanks again.
-
01-15-2011, 09:25 PM #5Senior Member

- Join Date
- Aug 2009
- Location
- New Orleans, La
- Posts
- 176
Thanked: 22 Hones
Hones
Sorry, but, I kind of failed to mention about hones. I was mainly focused on just getting a razor shiny that I forgot to mention hones. I'm sure if anyone wants to go through all the trouble to restore a razor, they will want a set of hones to make thier prided workpiece shave ready. Just look around and see what you would like best. I have a set of Norton stones 220/1000, 4000/8000 & lapping stone and have been perfectly happy with them. I also have a 12K Naniwa.


 1Likes
 LinkBack URL
 About LinkBacks


 Reply With Quote


