
Results 11 to 20 of 24
 15Likes
Thread: Some Can and Some Try......
 LinkBack URL
 About LinkBacks
Threaded View
-
06-23-2011, 02:48 AM #1Senior Member


- Join Date
- Dec 2010
- Location
- South Florida
- Posts
- 13,530
Thanked: 3530 Some Can and Some Try......
My hat goes off to all the men & women who can refurbish razors and share their work with the rest of us.
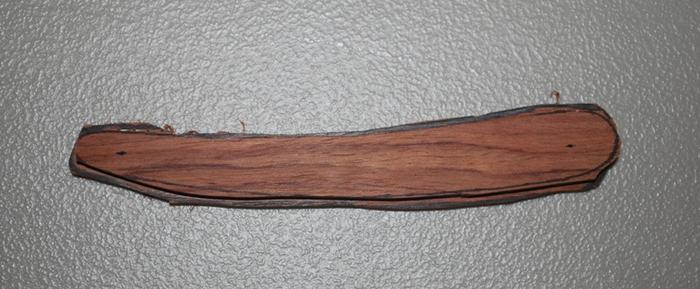
Today, I tried to cut my first set of scales.
Before you shake your head; I did not rush this experience. I have spent the last 4 months learning , by reading and watching all the videos I could find. I bought the tools (scroll saw, grinder/buffer, drill press, sander) by recommendations on this forum. I cut a wedge, but it flew off the scroll saw( I live in a condo, off the balcony it went. I think it is too small to injury someone if it hit them on the head. It is somewhere lost in the yard.).
I know that it looks like I used a machete, but it took 45 minutes to cut it out. I have all my fingers and did not break a blade.
Tomorrow it is on to the sander.
Last edited by Hirlau; 06-23-2011 at 04:35 AM.
vvti713 likes this.


 Reply With Quote