
Results 1 to 8 of 8
Thread: First Razor Project
 LinkBack URL
 About LinkBacks
-
08-30-2011, 07:34 AM #1Member

- Join Date
- Jul 2011
- Posts
- 44
Thanked: 1 First Razor Project
Hey Guys,
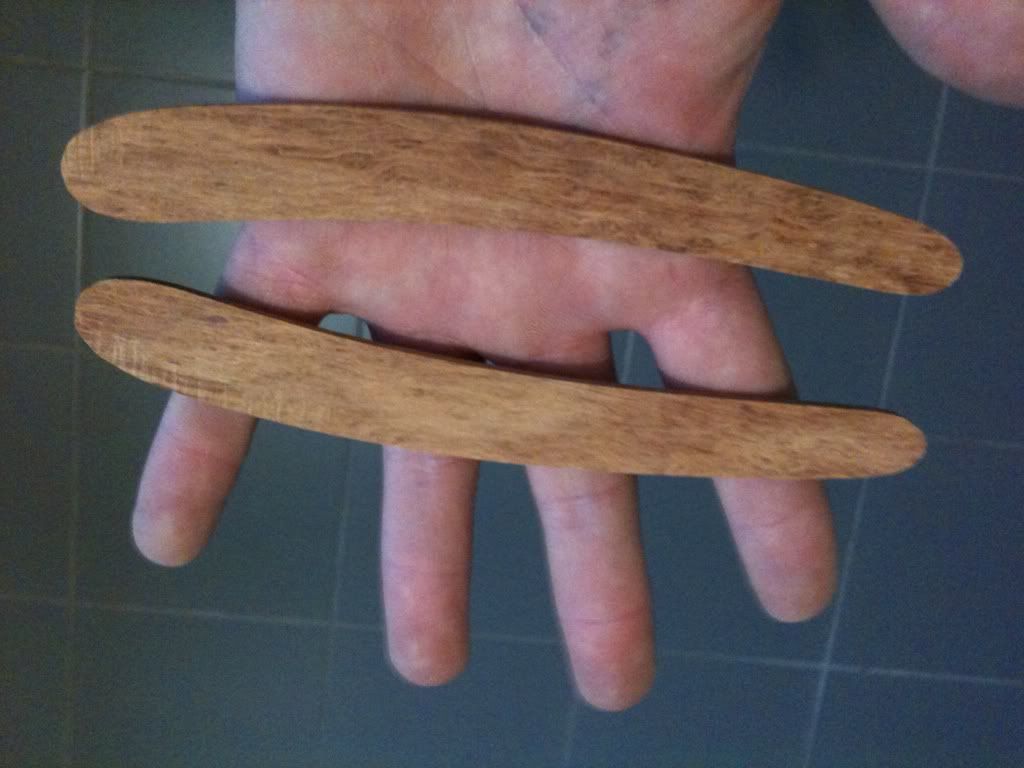
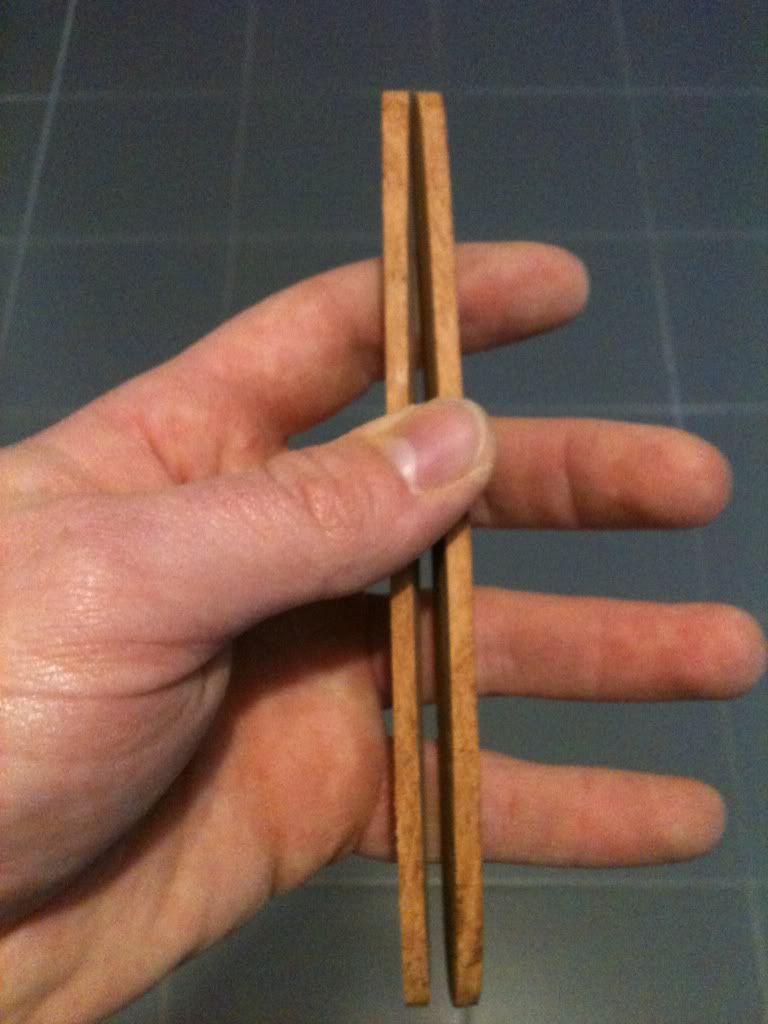
I started making my first set of scales tonight. I'm having trouble sanding them to an even thickness throughout? Any pointers?
It took about 20 mins to get to this stage.
Cheers,
Aaron.
-
08-30-2011, 07:44 AM #2Senior Member
- Join Date
- Jul 2011
- Location
- Jacksonville, FL
- Posts
- 142
Thanked: 20
Double sided tape, stick them together. Do you have a belt sander? If not, then make a sanding block, using a flat piece of wood and glue a piece of sandpaper to it, then try to keep them flat as you thin them down evenly.
Not bad for a first set, although it looks like one scale is a little larger than the other... It can be fixed by sticking them together with tape and then shaping them evenly together. Good luck.
-
08-30-2011, 09:37 AM #3Member

- Join Date
- Apr 2011
- Location
- Brisbane, Australia
- Posts
- 1,434
Thanked: 642
+1 to the double sided tape Aaron. Just cut your rough scale shapes first to 'roughly' the same shape and size. Clean the two 'internal' surfaces and stick them together with the double sided tape. Then you shape both scales together. Check out Brad's video, its really good.
Straight Razor Restoration: Start to Finish (Part 7) - YouTube
Good luck mate.
Stu


 Reply With Quote
08-30-2011, 08:01 PM
#4
- Join Date
- Jul 2011
- Posts
- 44
Thanked: 1
Thanks fellas! I watched that vid last night, but will sit and watch the series today.
I believe that the scales are the same size. It's hard to see, but in my first photo, I have them both clamped together whilst sanding the edges.
I think I'll go with another approach to getting them the same thickness - by taping them side by side to a board, and sanding them simultaneously to equal depths. Then, drill holes, and then stick them together before rounding edges.
That being said - I'm a complete noob here - does this sound ok?
Cheers,
Aaron
08-30-2011, 08:10 PM
#5
- Join Date
- Jun 2011
- Location
- Torhout, Belgium
- Posts
- 473
Thanked: 41
Everyone prefers his own methods, but I do this:Originally Posted by austy

I begin with drawing the shape of the scales on the wood.
Then I saw them out and I stick them together with tape that sticks on both sides.
Now I drill the holes (because the scales are perfectly flat at this point).
Then I sand them together (the tape is still on) to the preferred thickness and shape.
Sanding the edges to round them of and then put some oil or so on it.
Just my 2cents
08-30-2011, 09:31 PM
#6
- Join Date
- Apr 2011
- Location
- Brisbane, Australia
- Posts
- 1,434
Thanked: 642
Try some different things and work out what is comfortable and effective for you. I personably like them stuck back to back so I can see both thicknesses next to each other while I sand. The board idea sounds like it would work if you could keep the board and your platen parallel. Give a lash and let us know how you go.
Stu
Edit: Oh, yeah....you shouild drill the pivot and wedge holes after you stick them together to make sure they line up when it all goes together.
Last edited by Str8Raz0r; 08-31-2011 at 07:43 AM.
09-01-2011, 03:21 AM
#7


- Join Date
- May 2005
- Location
- Saint Paul, Minnesota, United States
- Posts
- 8,023
- Blog Entries
- 1
Thanked: 2209
Putting them on a board is what I started with but with one difference.
1. Take flat board,
2. Put down doubled sided tape and place the insides of the scales down
3. Next to the scales put down a piece of known thickness material, say 1/8", metal, to the left and right of the scales. These become your gage/depth guide blocks.
4. Glue sandpaper to a stick long enough to span the gage blocks and start sanding.
I hope this makes sense, it does work. Maybe someone can draw a diagram of what I am talking about.
Randolph Tuttle, a SRP Mentor for residents of Minnesota & western Wisconsin
09-01-2011, 04:08 AM
#8
- Join Date
- Apr 2011
- Location
- Brisbane, Australia
- Posts
- 1,434
Thanked: 642
Great idea
