
Results 1 to 8 of 8
 2Likes
 LinkBack URL
 About LinkBacks
-
11-05-2011, 10:32 PM #1Member


- Join Date
- Aug 2011
- Posts
- 97
Thanked: 18 Mooney's Blue Steel + Grinder! = ???
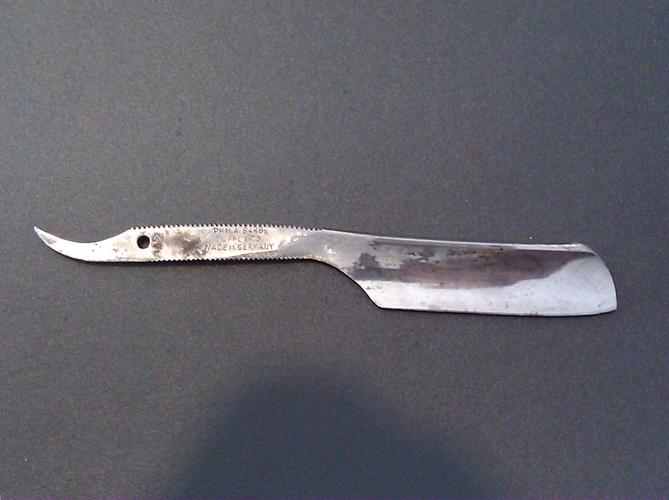
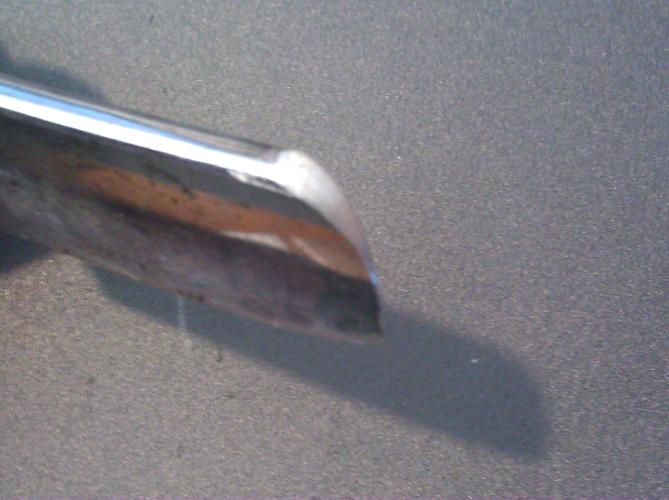
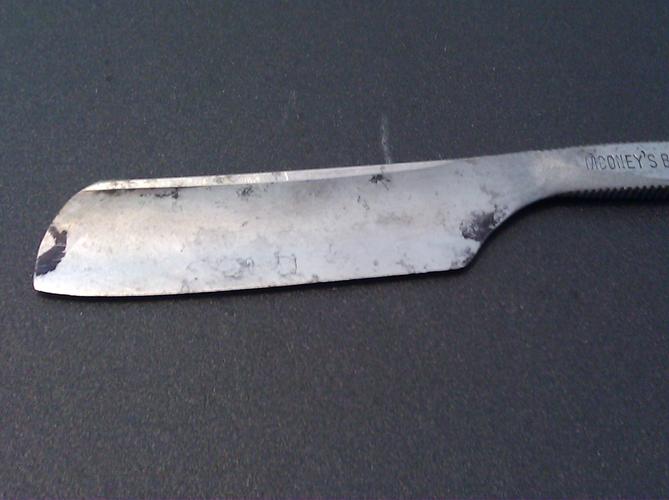
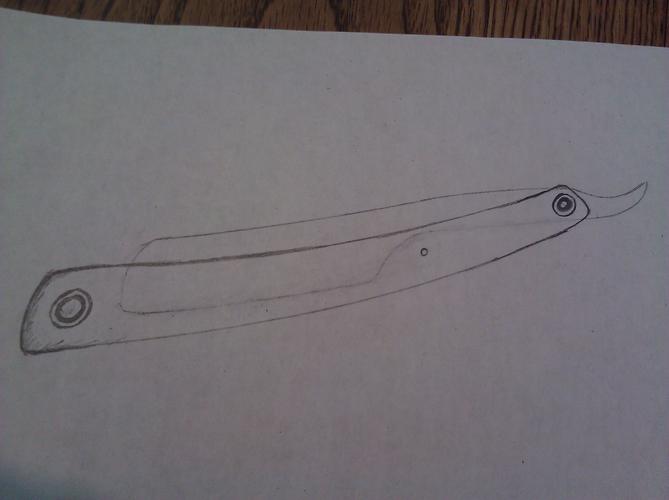
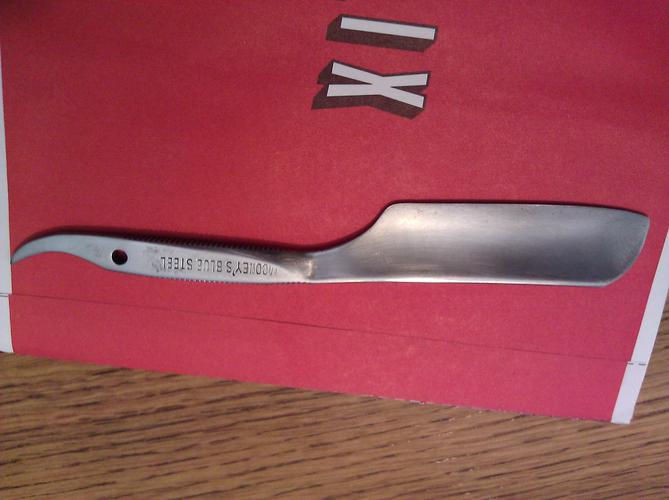
Ok, before I hear anything about doing this to a hundred year old razor... let me assure you, this thing was f#%ked 8 ways to the weekend. It had quarter inch cracks in the heel. However, I didn't want to throw the thing away, so I thought to myself, "I have a bench grinder and a Dremel... and free time." So here's what came out of it. I took a little off the tang as well; just enough to give it a sharper look. Obviously I haven't done anything except for basic shaping yet, but I'll be taking the paper to it soon, then I'm going to build some custom scales for it. I plan on hollowing out the pin hole jus a little and using small silver nickle tubing for the pin, with a washers. And I think for the other pin, I'll use slightly larger tubing and washers. You can see kinda what I mean in the drawing I did for the scales. Be gentle on the criticism, it's my first attempt at something of this sort. haha

 regularjoe likes this.
-
11-05-2011, 10:50 PM #2Member
- Join Date
- Aug 2011
- Posts
- 97
Thanked: 18
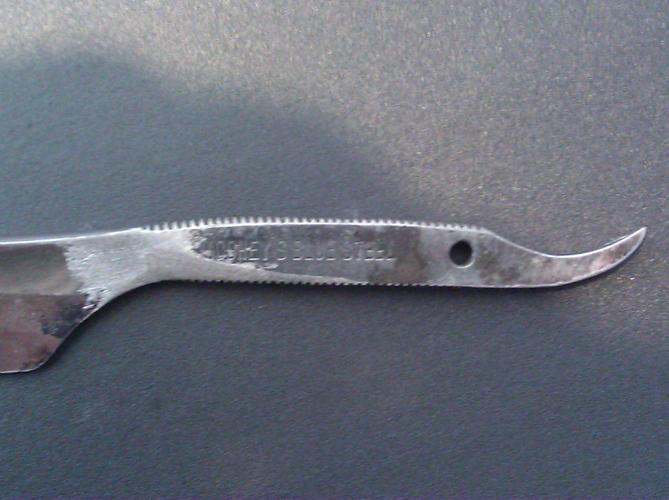
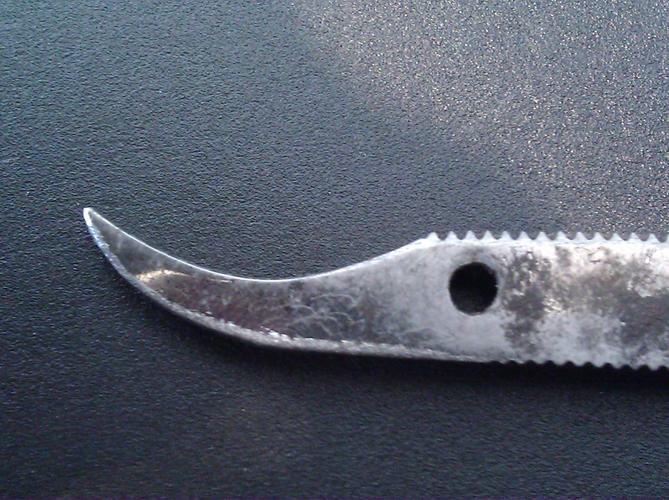
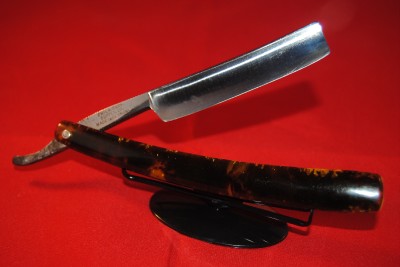
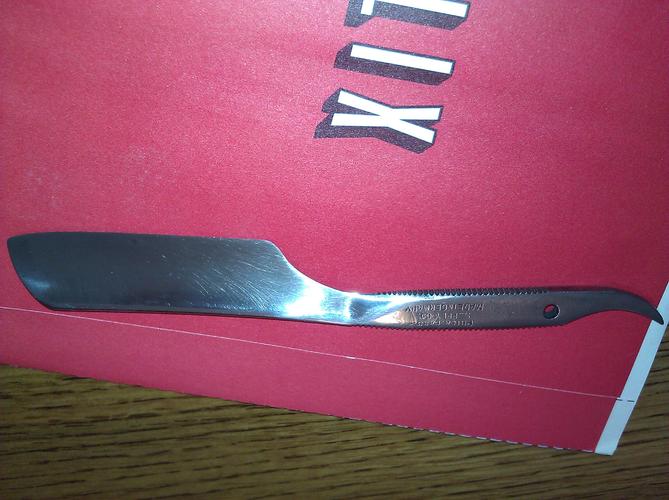
Here's a picture I found of what the blade originally looked like... imagine it with several cracks and you'll know what my blade looked like. haha
 regularjoe likes this.
-
11-07-2011, 02:40 AM #3Senior Member

- Join Date
- Sep 2011
- Location
- Tillsonburg, Ont
- Posts
- 1,511
Thanked: 423
 I like what you are doing with this!
Don't crush'em ... restore'em. Even if they are reshaped as long as they shave and sometimes when the stars align ... you get an awsome result like yours.
keep posting your progress!
Thanks!
Mike
-
11-07-2011, 04:01 AM #4Senior Member


- Join Date
- Apr 2010
- Location
- Yakima, Wa
- Posts
- 1,955
Thanked: 494
It looks good, but I worry about your edge. It looks like you have some pitting. There is still a chance and it could just be in the photos. Let us know how it comes our either way.
-
11-07-2011, 12:55 PM #5Member
- Join Date
- Aug 2011
- Posts
- 97
Thanked: 18
It's just the pictures. Most of the marks on the blade are black magic marker that I used to kinda shape out what I wanted on the blade so I could have a guideline to go off of when I took it to the grinder. Other than a little discoloration, the blade was structurally in pretty good shape. Well... as long as you don't count the big cracks that were in it. haha Originally Posted by deighaingeal

I just finished with the 220 grit yesterday, so I'll probably move up to the 400 today hopefully, if I get a little time before work. At any rate, I need to find some silver nickel tubing somewhere around here, and order some pearloid guitar pickguard material so I can start putting some scales together, too. I'll keep pics coming as things progress though. Thanks guys.
-
11-11-2011, 09:47 PM #6Member
- Join Date
- Aug 2011
- Posts
- 97
Thanked: 18 New PICS!!
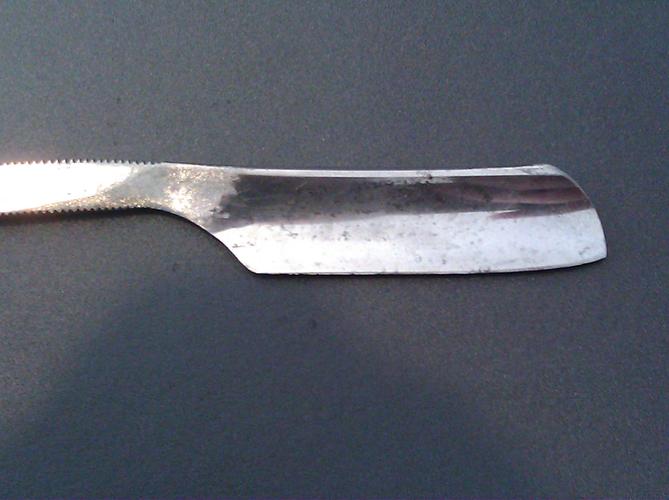
Alright, finally got a little time to sit down with some 220 and attack the grinder marks a bit. There's still some staining on the blade that I need to work on, and a little bit of rough areas in some of the grooves that need to be smoothed out... but after a little polishing to see where I'm at so far, I'm pretty stoked. This thing's gonna be awesome.

-
11-12-2011, 12:14 AM #7Senior Member

- Join Date
- Sep 2007
- Location
- longville, louisiana
- Posts
- 436
Thanked: 62
put it in some scales and hone it up and you will get a great shave, i did the same thing with some gold dollars and all i cna say is what a diffrent razor it made great shaves and smooth as can be.
-
11-12-2011, 12:42 AM #8Senior Member
- Join Date
- Sep 2011
- Location
- Tillsonburg, Ont
- Posts
- 1,511
Thanked: 423
that thing is looking great!
cant wait to see her finished
Mike


 Reply With Quote