Page 1 of 3 123 LastLast
Results 1 to 10 of 24
Like Tree26Likes

Thread: One Piece Scales - Problems and Solutions

  1. #1
    At this point in time... gssixgun's Avatar
    Join Date
    Jun 2007
    Location
    North Idaho Redoubt
    Posts
    26,957
    Thanked: 13223
    Blog Entries
    1

    Lightbulb One Piece Scales - Problems and Solutions

    So after making my first set of one piece scales

    Name:  IMG_2803.jpg
Views: 881
Size:  23.8 KB


    Name:  IMG_2805.jpg
Views: 914
Size:  22.8 KB

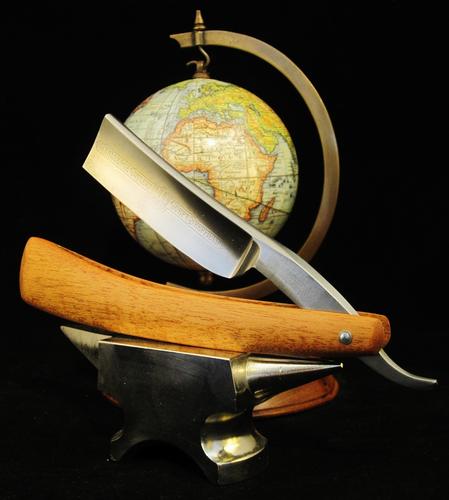
    I was working through a set today for a rather large tanged W&B this one has a nearly 1/4 inch thick tang so now the problems with a set of one piece scales rises it's ugly head...
    I looked through SRP and found that the problem has come up before with some solutions

    1. Cut the slot at two angles to create the "flair" at the pivot end
    2. Use wider material and a wider Kerf blade to cut the razor slot
    3. Use a band saw and cut the "flair" into the scales.

    Although these solutions can work they leave me wanting a neater cleaner look

    So how to create a flair like from a wedge yet not have the ability to make the wedge

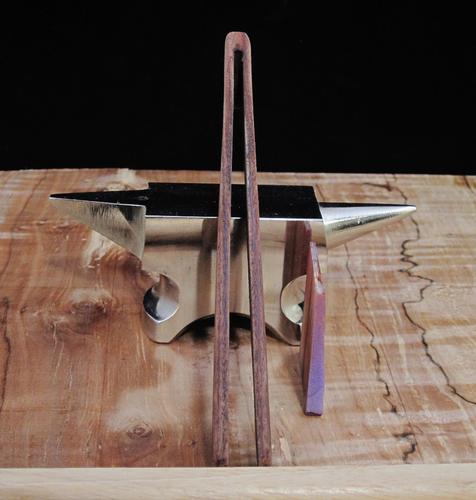
    I wanted a nice even straight cut with equal thickness on the sides of the scales, so this is my solution to the problem..

    I put in a wedge sorta
    I made a wedge out of acrylic, after the scales were shaped, sanded, and cut, so basically they would be ready for a smaller tanged razor, but with out the coats of final finish.. I pushed the wedge down into the razor slot as far as I could, it was about 1 inch shy of the end.. I took this and placed it over a boiling pot of water on top on a splatter screen so it was right in the steam.. After about 3 minutes I pushed the wedge deeper, and put it back in the steam, another 3 minutes and the wedge hit bottom... I left the whole thing in the steam for about 5 more minutes, I let it cool completely and this is where I am at now.. It looks like steam shaping might be working.

    The flair is there just like a two piece set of scales, I'll put it all together tomorrow and see how the fit works...

    Name:  One Piece Scales 004.jpg
Views: 858
Size:  28.2 KB

    Name:  One Piece Scales 003.jpg
Views: 882
Size:  25.8 KB

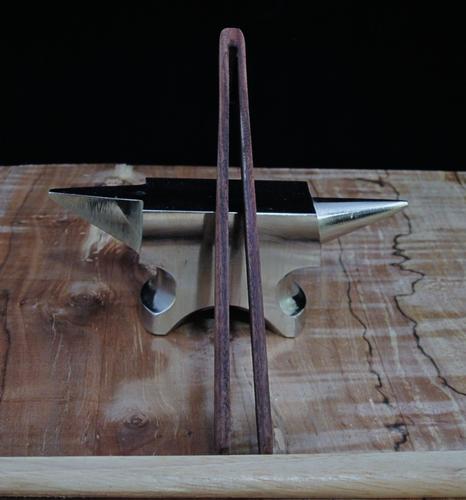
    Hopefully the flair will stay "set" in the wood to create a bowed effect that I am after.
    Last edited by gssixgun; 01-30-2012 at 02:58 PM.

  2. The Following 9 Users Say Thank You to gssixgun For This Useful Post:

    BKratchmer (01-31-2012), cudarunner (07-18-2012), DoughBoy68 (12-12-2020), Laurens (03-21-2013), lz6 (01-31-2012), RayCover (01-31-2012), ScottGoodman (01-30-2012), skipnord (03-21-2013), WillN (02-02-2012)

  3. #2
    Obsessive compulsive EisenFaust's Avatar
    Join Date
    Feb 2010
    Location
    New Zealand
    Posts
    1,315
    Thanked: 323

    Default

    Very interesting! can wait to see the results after pinning - have always wanted some one piece scales...

  4. #3
    Senior Member
    Join Date
    Mar 2011
    Location
    Corcoran, Minnesota
    Posts
    665
    Thanked: 170

    Default

    There may be a bit of spring back as it dries, but with my experience long ago with bending snowshoes, I am betting your method will work. Looking forward to seeing the finished product. Thanks for posting this.

  5. #4
    At this point in time... gssixgun's Avatar
    Join Date
    Jun 2007
    Location
    North Idaho Redoubt
    Posts
    26,957
    Thanked: 13223
    Blog Entries
    1

    Cool Second day

    I tried out the fit from yesterday's attempt, and there was a good improvment but I figured that it could get better..
    I re-adjusted the wedge a bit on the grinder then re-steamed it and used so cut down toothpicks to adjust the flair a bit more.
    I was pleased enough with the outcome to go ahead and apply some Teak oil finish, I figured nif I still don't like the fit after this I will add a 3rd pin..

    Name:  IMG_2864.jpg
Views: 801
Size:  33.0 KB

    Name:  IMG_2865.jpg
Views: 808
Size:  34.2 KB

    BTW the scales are Bolivian Rosewood

  6. #5
    Scale Maniac BKratchmer's Avatar
    Join Date
    Mar 2009
    Location
    Decorah, IA
    Posts
    2,671
    Thanked: 641

    Default

    Very clever! I have used a mitre gauge and done two cuts on the scales before, but it takes a lot of work to get it set right for the kind of perfect result guys like us crave... especially trying to get the top-to-bottom taper too...!! Leaves something to be desired in the safety department as well-- lot of blade and throwing power on a 10" tablesaw for something to small.

    I'm going to try this out...

  7. #6
    Senior Member RayCover's Avatar
    Join Date
    Oct 2011
    Location
    Festus, MO
    Posts
    377
    Thanked: 113

    Default

    Glen,

    Did you put any kind of clamp on the "wedge" to protect it from splitting while you were wedging it?

  8. #7
    At this point in time... gssixgun's Avatar
    Join Date
    Jun 2007
    Location
    North Idaho Redoubt
    Posts
    26,957
    Thanked: 13223
    Blog Entries
    1

    Default

    Quote Originally Posted by RayCover View Post
    Glen,

    Did you put any kind of clamp on the "wedge" to protect it from splitting while you were wedging it?
    No I did not. I just went really slow and didn't force it, not a bad idea though if I am understanding you right you are talking abot clamping the very end of the scales at the "wedge" end for a bit of safety???

  9. #8
    At this point in time... gssixgun's Avatar
    Join Date
    Jun 2007
    Location
    North Idaho Redoubt
    Posts
    26,957
    Thanked: 13223
    Blog Entries
    1

    Default

    Quote Originally Posted by BKratchmer View Post
    Very clever! I have used a mitre gauge and done two cuts on the scales before, but it takes a lot of work to get it set right for the kind of perfect result guys like us crave... especially trying to get the top-to-bottom taper too...!! Leaves something to be desired in the safety department as well-- lot of blade and throwing power on a 10" tablesaw for something to small.

    I'm going to try this out...
    I agree Ben that 10 inch saw gets a bit dicey around this small stuff we do, I started out with a 9 in long piece on this one to give me a bit of safety space, I figured waste 3 inches of wood rather then a finger or two

  10. #9
    Senior Member RayCover's Avatar
    Join Date
    Oct 2011
    Location
    Festus, MO
    Posts
    377
    Thanked: 113

    Default

    Thats what I was thinking Glen. Just as a safety net. That end grain is getting pretty short back there.

    Great Idea BTW, I like that method for two reasons. 1> you can use a smaller block of material to begin with and 2> You don't have to expose end grain that may feather or even break on some woods by making a V cut wide enough to get the job done. Good job using your noggin there.

  11. #10
    Scale Maniac BKratchmer's Avatar
    Join Date
    Mar 2009
    Location
    Decorah, IA
    Posts
    2,671
    Thanked: 641

    Default

    Quote Originally Posted by gssixgun View Post
    I agree Ben that 10 inch saw gets a bit dicey around this small stuff we do, I started out with a 9 in long piece on this one to give me a bit of safety space, I figured waste 3 inches of wood rather then a finger or two
    Absolutely! Always better to lose some material-- however pricey-- than risk injury to save a few dollars!

Page 1 of 3 123 LastLast

Posting Permissions

  • You may not post new threads
  • You may not post replies
  • You may not post attachments
  • You may not edit your posts
  •