
Results 1 to 10 of 28
 3Likes
Thread: Beginning First restore
 LinkBack URL
 About LinkBacks
-
02-02-2012, 07:02 PM #1Senior Member


- Join Date
- Dec 2011
- Location
- East Haven, CT
- Posts
- 418
Thanked: 53 Beginning First restore
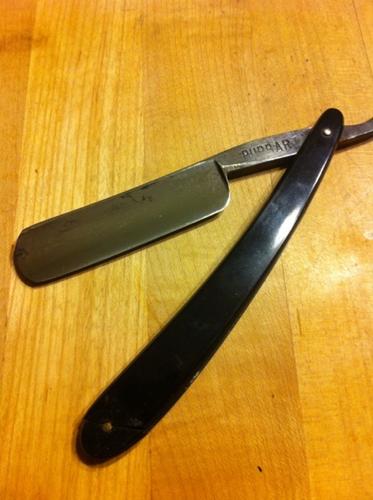
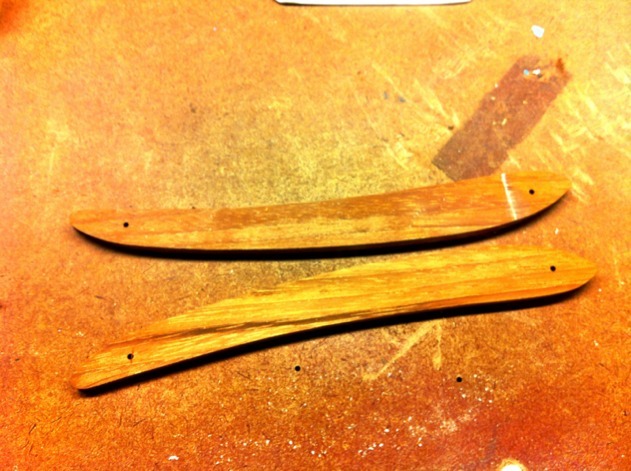
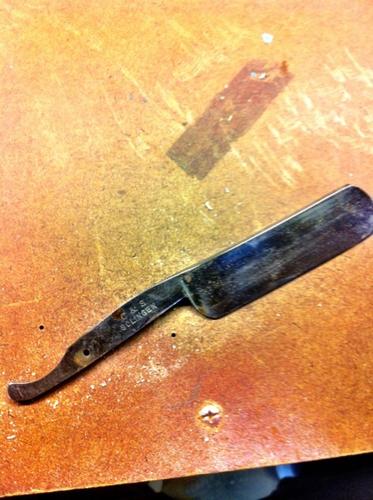
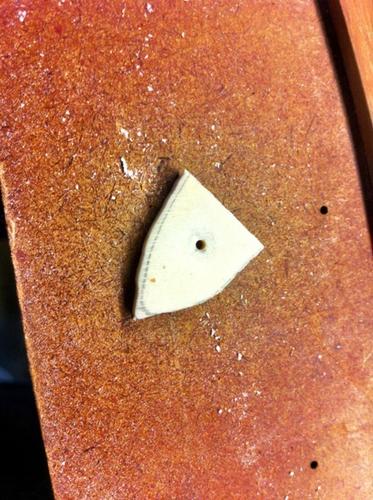
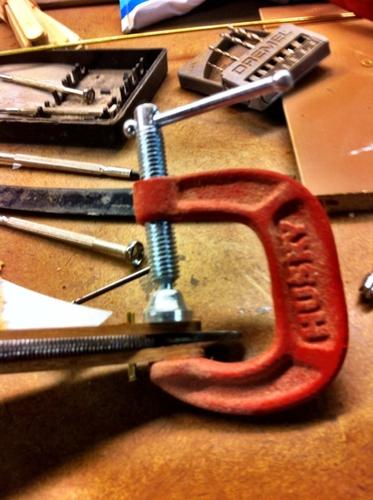
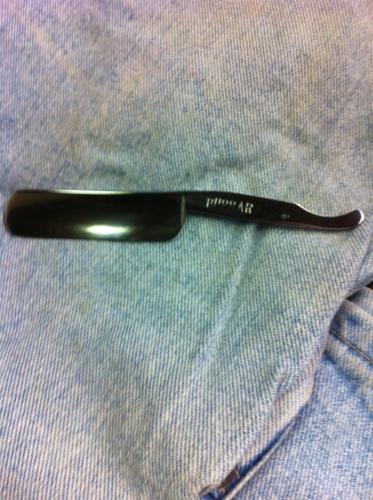
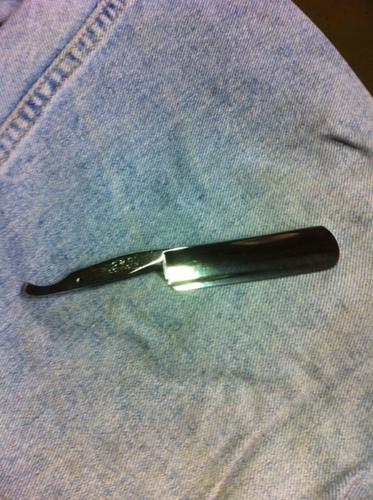
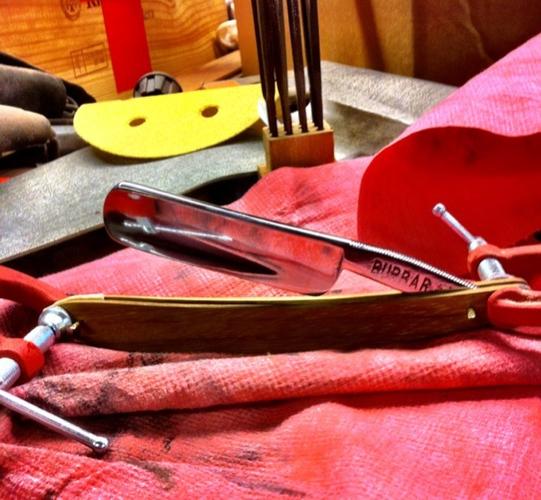
Here are some beginning shots of my first restore. It's a C&S Sollingen
Babbar. the new scales are Pearwood and the spacer is deer antler.
Any suggestions greatly appreciated.

 regularjoe likes this.
-
02-03-2012, 02:13 AM #2Member

- Join Date
- Apr 2011
- Location
- Brisbane, Australia
- Posts
- 1,434
Thanked: 642
Looking good, keep the pics coming as you progress.
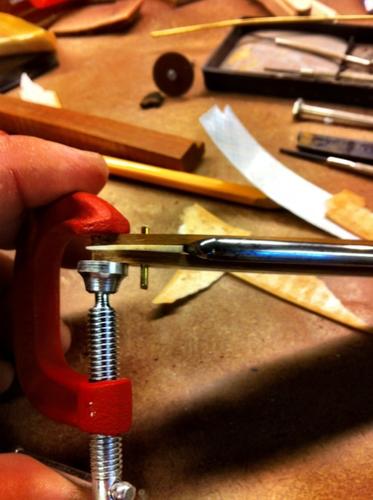
If you want your wedge (spacer) to be nice and tidy, I would pin the razor together with some microfasteners and carefully shape it to the scales.
StuLast edited by Str8Raz0r; 02-03-2012 at 02:16 AM.
-
02-03-2012, 02:25 AM #3Senior Member
- Join Date
- Dec 2011
- Location
- East Haven, CT
- Posts
- 418
Thanked: 53
Thanks, way ahead on that one. Lol got a lot of thinning of the scales to do. They didn't look all that thick but the are. I think if I was to do it again I would make the scales one piece.
-
02-03-2012, 06:06 PM #4Senior Member
- Join Date
- Dec 2011
- Location
- East Haven, CT
- Posts
- 418
Thanked: 53
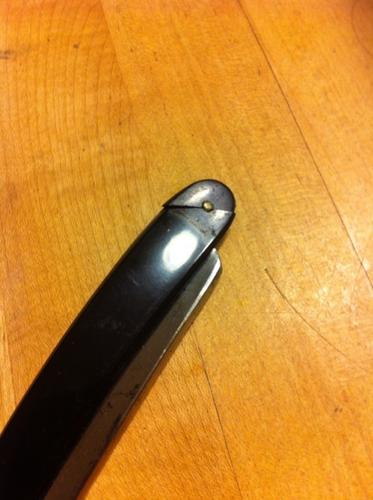
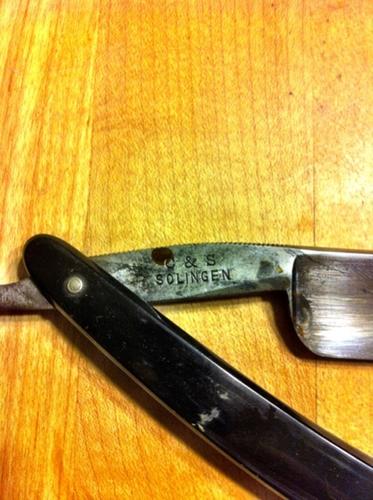
Here's an update:
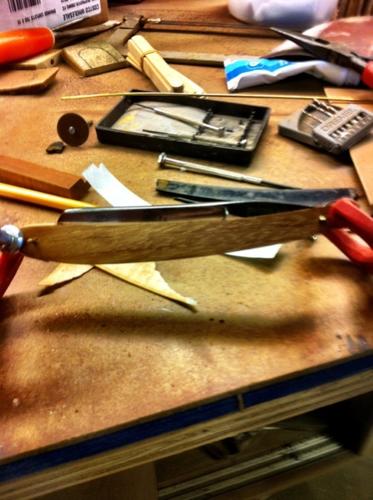
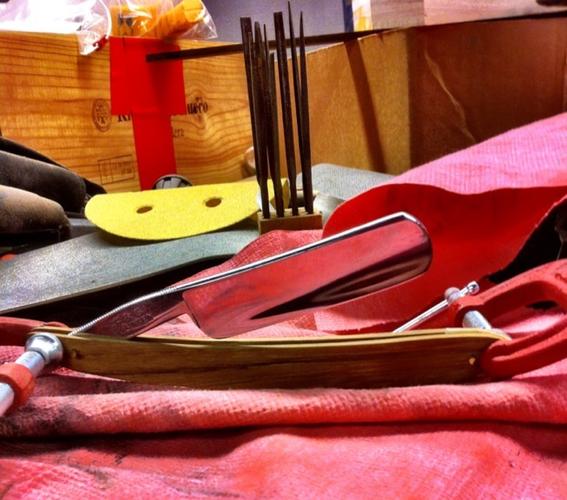
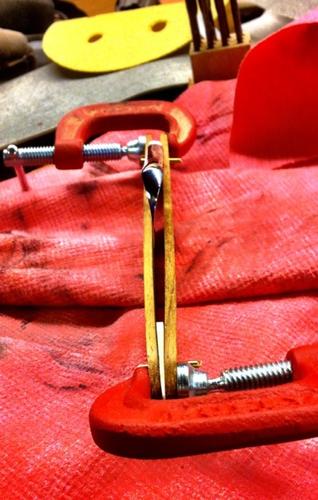
Just fitting the blade( which I will restore last) and the bone wedge to the new Pearwood scales. Just checking clearances and how the blade sits to see if any adjustments will be needed.
-
02-03-2012, 06:16 PM #5Senior Member

- Join Date
- Apr 2011
- Location
- Porter, TX
- Posts
- 235
Thanked: 20
Nice work! I can't wait to see the finished product.
-
02-03-2012, 07:00 PM #6Senior Member
- Join Date
- Dec 2011
- Location
- East Haven, CT
- Posts
- 418
Thanked: 53
Thanks! And neither can I !!!
-
02-06-2012, 05:52 PM #7Senior Member
- Join Date
- Dec 2011
- Location
- East Haven, CT
- Posts
- 418
Thanked: 53
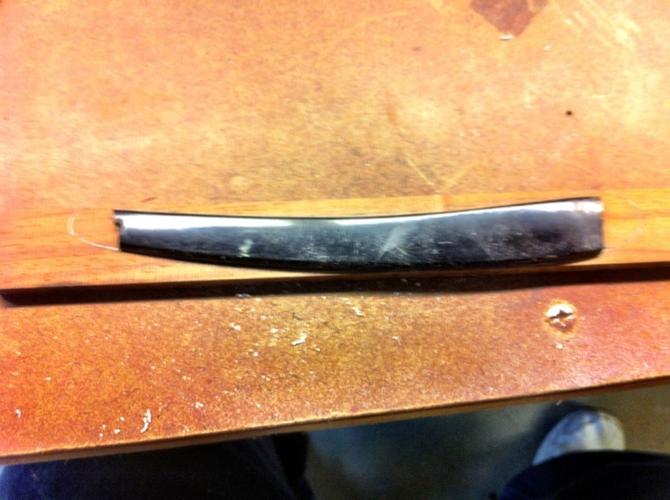
*UPDATE*
Well I tool the blade and began to sand and sand. Here it is after 350g
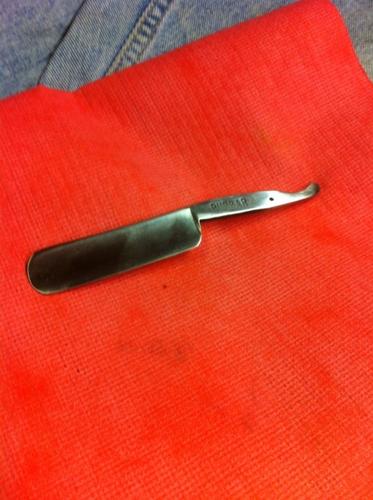
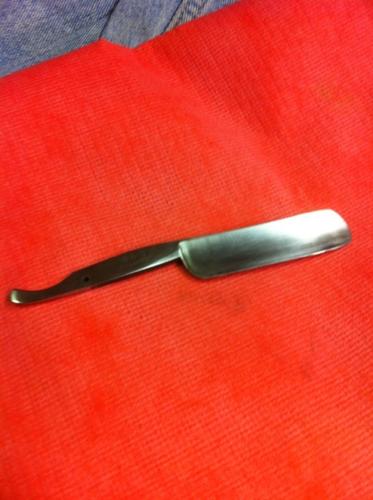
I then moved to 600 then 1000 and finally 1500. So although I left a few faint pits due to the fact that major contouring would need to be done I instead left them. Here is the finished blade ready to go into the new scales.
-
02-06-2012, 06:08 PM #8Senior Member
- Join Date
- Dec 2011
- Location
- East Haven, CT
- Posts
- 418
Thanked: 53
Some more pics
-
02-06-2012, 07:22 PM #9Senior Member
- Join Date
- Dec 2011
- Location
- East Haven, CT
- Posts
- 418
Thanked: 53
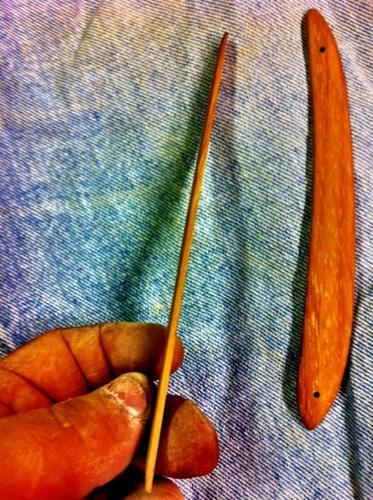
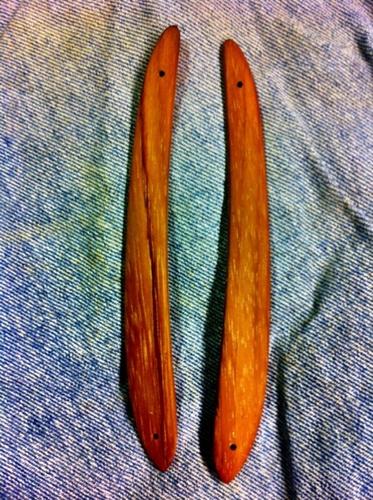
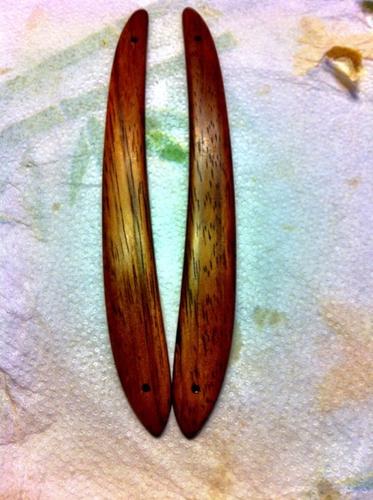
Here are the finished scales. I was going to go high gloss but decided that a nice oiled satin look was more in line with the simple blade. First 2 pics are the scales shaped and sanded to 1500 grit. Nice and thin!
The second pic is with the oil finish just waiting to dry.
 niftyshaving and regularjoe like this.
-
02-06-2012, 11:39 PM #10Senior Member

- Join Date
- Jul 2010
- Location
- Michigan
- Posts
- 735
Thanked: 104
Looking good!!


 Reply With Quote