Results 1 to 6 of 6
Thread: Tilletson Chopper Resto DONE!
Threaded View
-
03-18-2012, 08:55 PM #1Member

- Join Date
- Feb 2010
- Posts
- 62
Thanked: 5 Tilletson Chopper Resto DONE!
Hey all,
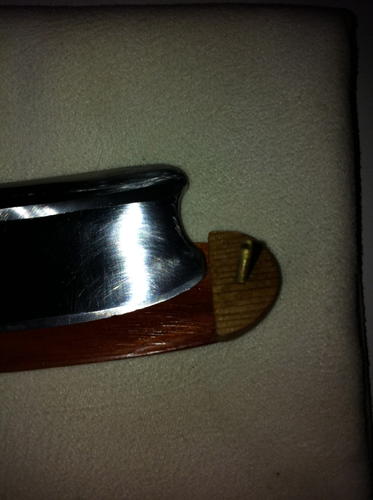
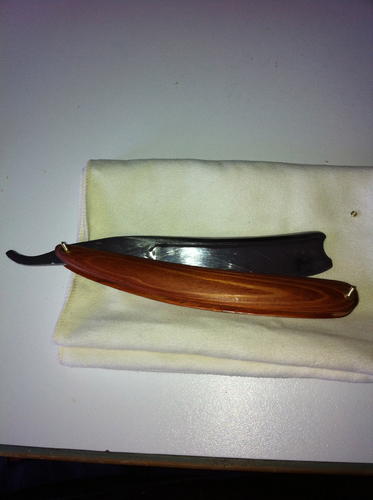
Wanted to share with you a resto that I just finished. This is a razor that I picked up about a year and a half ago. I did a partial restoration on the existing scales, but I found that this razor gave me the best shave of any of my razors. Something about a big ol wedge chopper just works magic on my face, and you really cant beat that vintage sheffield high carbon. So short of shelling out big bucks for a W&B (something that I will probably get around to buying sometime soon) I thought that this razor deserved a thorough cleanup.
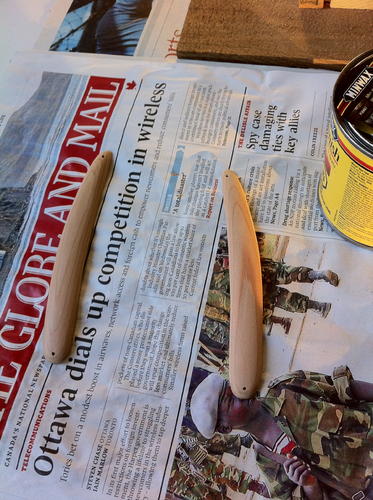
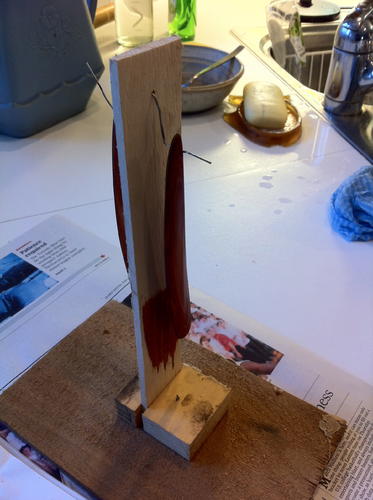
I took pictures at various points along the way; but I didn't really feel like snapping photos every single minute of the job. I figure there are more than enough photos for step by step restorations posted by other members, so I only took a few at landmark spots in the process.
Info:
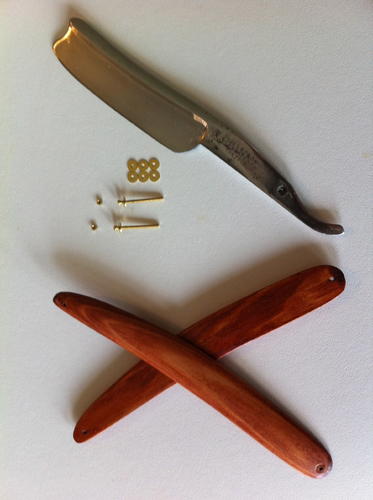
8/8 wedge- Tilletson Sheffield
Scales are of Cedar
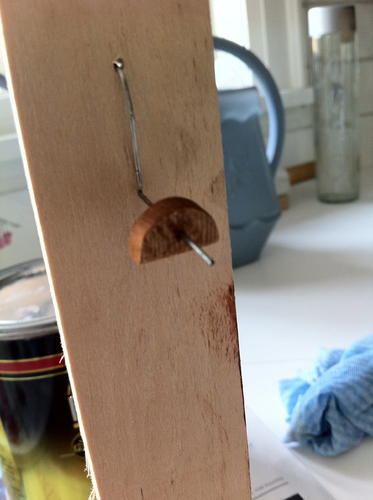
Wedge is of Pine
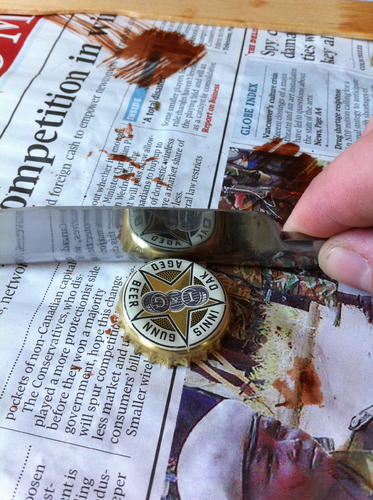
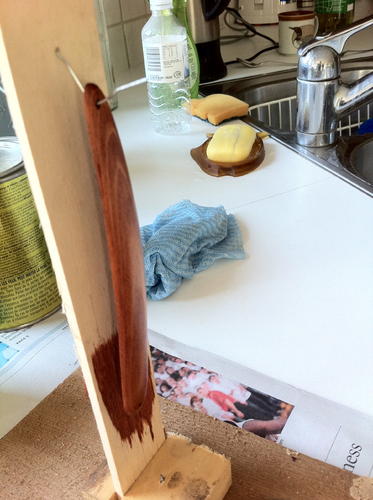
Finish is three coats of Gunstock poly stain followed by 8 coats of polyurethane sealer.
As a note to start things off, I really do not recommend that anyone use cedar for scales! Cedar, although it is naturally quite resilient to rot, is quite light in weight. It doesn't do very much to counterbalance the weight of the razor- which in this case is quite substancial. Reason I used cedar is that I happened to have just built a cabin of cedar, and I had some extremely high quality stock available. I might machine a brass wedge at a later date to add some heft to the scales on the back end.
Here is a photo of what it looked like before I touched anything:
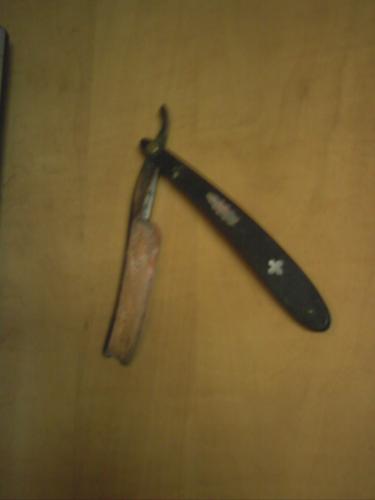
Im really sorry about that being such a small photo. Im not sure how to go about posting a full size version of it. Needless to say, its in rough shape.
There was significant pitting and a small amount of patina.
I snapped of the scales and burned them. They were so warped that they would have been impossible to save. I also hated the shape of them. I doubt that they were original anyways- and if they were than they were extremely poorly done.
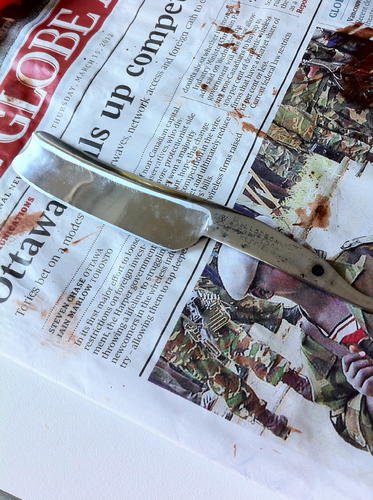
I used a 120 grit flapwheel and lots of hand sanding to get down to the good metal below the pitting. All in all, I really didnt have to remove that much metal. I tried to preserve the inscriptions on the tang.
I then used a cotton wheel and jewelers rouge to shine her up. Overall I am happy with the blades finish, but the blade isn't quiiiiiite mirror. There are still very noticeable sand paper marks but it is infinitely better than it was.
I really need to get a proper grinding wheel and some compound so i can get it perfect next time.


 2Likes
 LinkBack URL
 About LinkBacks


 Reply With Quote