
Results 1 to 10 of 11
 4Likes
Thread: Aluminum scales, Chapter 1.
 LinkBack URL
 About LinkBacks
-
03-23-2012, 09:28 PM #1Senior Member


- Join Date
- Sep 2011
- Location
- Nova Scotia
- Posts
- 265
Thanked: 30 Aluminum scales, Chapter 1.
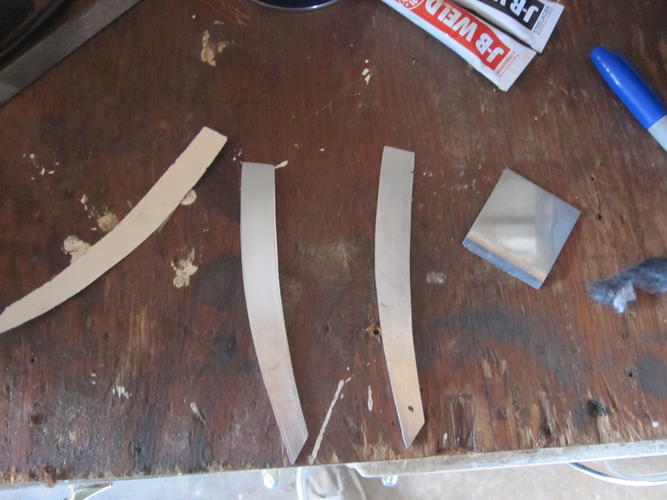
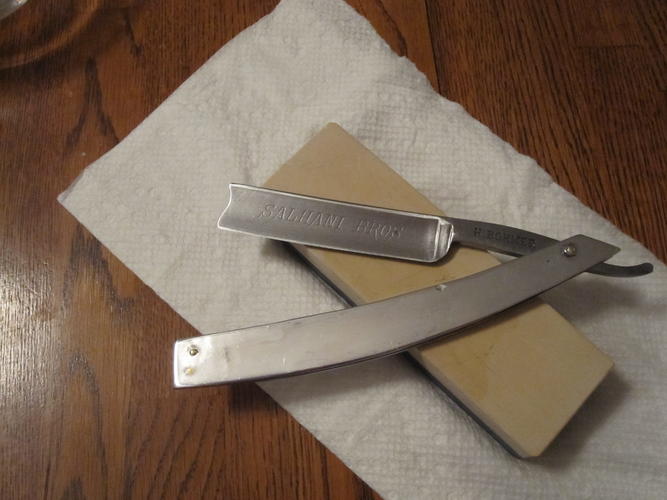
So I decided to attempt to create some aluminum scales for a razor that I'm trying to make into a rough travel razor.
It turns out that I'm not very good at metalwork at all. I only have a scroll saw and flat file right now, so these aren't going to be pretty. I'm hoping for functional though.
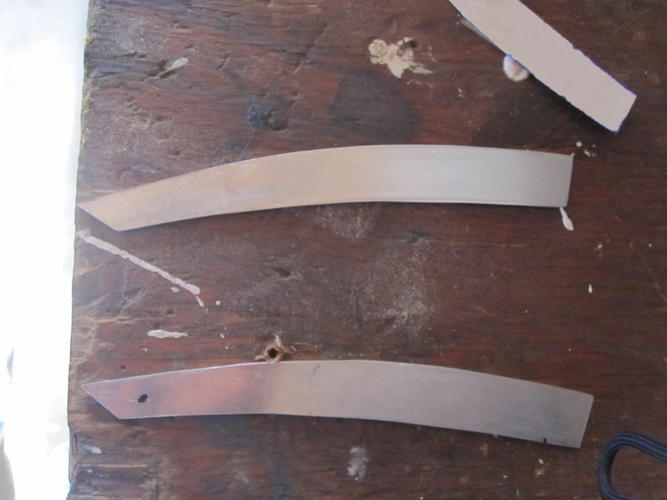
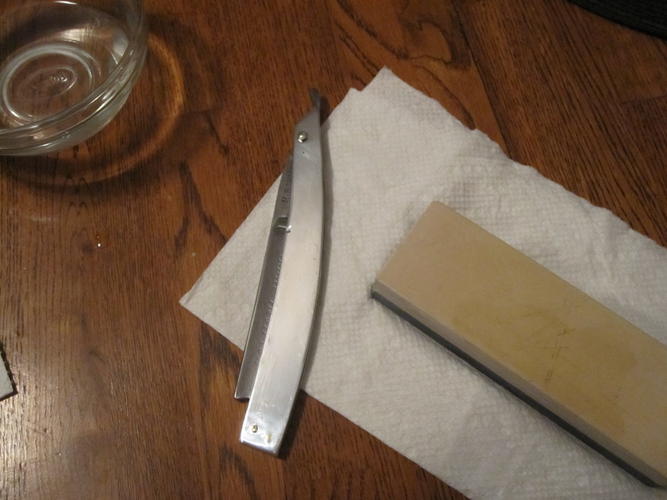
Here are a pics of the blanks that I've created so far.
Tonight, I'm making a flat spacer because I cant figure out how to file a wedge that has flat sides to fit flush between the scales.
Once that's built and true, I'm epoxying everything together and double pinning the spacer in the scales.
Hopefully tomorrow is polishing and installing the blade.
 spazola likes this.
-
03-23-2012, 10:31 PM #2Senior Member


- Join Date
- Oct 2010
- Location
- 50 miles west of randydance
- Posts
- 9,696
Thanked: 1354
I have made some scales from aluminium and like them a lot. From your pictures it looks like you are making the scales separately. If so I would recommend using 2 sided tape and taping the scales together and taping the pattern to one side. Cut, shape, and drill everything together.
I used a flat wedge and it works fine. Especially if you are double pinning I think that the epoxy is overkill. Not that it would be terrible. Mine polished up well but is easily scratched. Since your intent is a rough and ready travel razor maybe a matt finish would be best.
You can see mine here. http://straightrazorpalace.com/custo...aluminium.html
Looking forward to seeing your finished project.
Tim
-
03-23-2012, 11:21 PM #3Senior Member
- Join Date
- Sep 2011
- Location
- Nova Scotia
- Posts
- 265
Thanked: 30
Wow 32t, I just checked out the scales you did. Love the finished product!
I did cut my scales out separately. Tonight I used some clamps to hold them together and flat filed all the edges until every thing was perfectly even.
Then I cut out a wedge, clamped it in and flat filed it again to make sure the wedge was matched.
Im SURE that the epoxy is overkill, the only reason I did that was to make drilling the holes by hand a little bit easier to guess at.
I have the wedge in and the epoxy is setting overnight tonight. Tomorrow, I drill and pin the whole thing and give it a final polish.
The only thing I'm worried about now is getting the pin holes for the blade square so that it actually closes properly. I'm still trying to figure that little maneuver out.
Any suggestions would be appreciated, So far I've destroyed 3 sets of oak scales that I made by not getting that hole square enough.
-
03-24-2012, 03:32 AM #4Still Learning

- Join Date
- Sep 2008
- Location
- manitoba canada
- Posts
- 393
Thanked: 41
i think the answer is to drill the pivot holes before you put the wedge in.
-
03-24-2012, 08:31 AM #5Member

- Join Date
- Apr 2011
- Location
- Brisbane, Australia
- Posts
- 1,434
Thanked: 642
A great way to make scales is to use double sides tape as Tim said. I normally roughly cut my scales to near the right shape first. Then I use the double side tape to put the two scales together. Once I am happy that the two pieces lined up I glue a paper template of my scales. I then drill both pivot and wedge pin holes. After that I shape the scales. Once I have fully shaped and sanded the scales I pry them apart and finish the final clean up.
This makes sure both scales are the same and the pins are square.
Hope this helps.
Stu32t likes this.
-
03-24-2012, 10:54 AM #6Senior Member
- Join Date
- Sep 2011
- Location
- Nova Scotia
- Posts
- 265
Thanked: 30
That makes a lot of sense.
I'll try it that way the next time I make a set. Probably in a few weeks.
Hopefully I'll be able to make everything square enough on this set.
Pics are coming soon!
-
03-24-2012, 11:17 AM #7Lookin like a crim


- Join Date
- Apr 2009
- Location
- Coffs Harbour Australia, Home of the Big Banana
- Posts
- 2,706
Thanked: 1072
looking forward to seeing the finished product, good luck
Grant"I aint like that no more...my wife, she cured me of drinking and wickedness"
Clint Eastwood as William Munny in Unforgiven
-
03-27-2012, 07:12 PM #8Senior Member
- Join Date
- Sep 2011
- Location
- Nova Scotia
- Posts
- 265
Thanked: 30
Alright, Sorry for the delay in posting this. Life always gets busy!
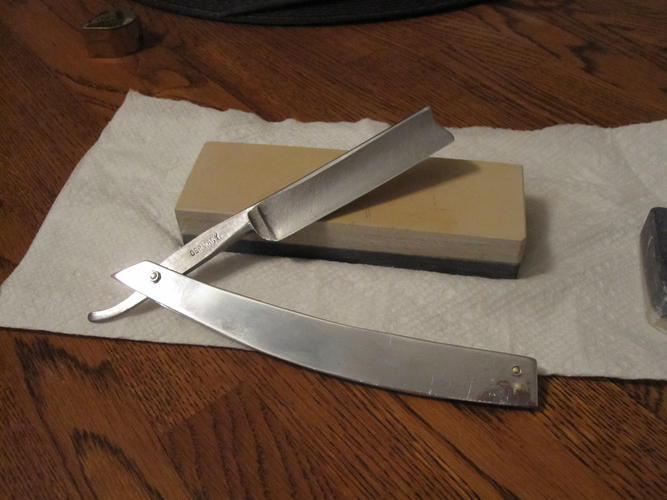
So I got everything put together, and realized that I didn't like one of the pins in the base of the handle. I drilled it out, polished everything and then
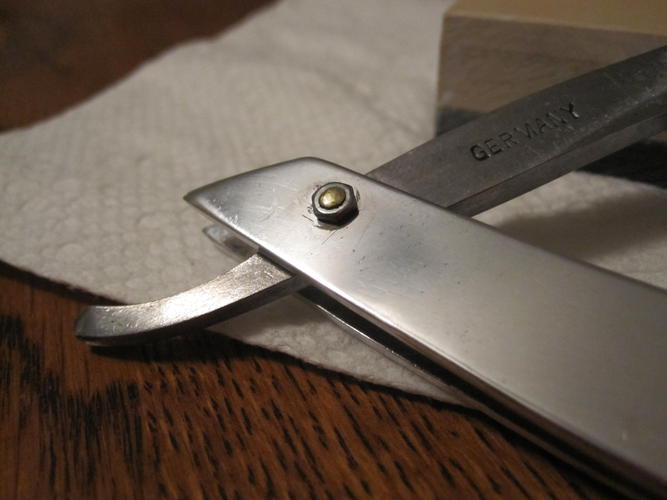
drilled and mounted the blade. Just to be different, I drilled out 2 zinc nuts to use as washers on the outside of the scales. I think it looks kinda cool.
THANKFULLY the blade alignment was almost perfect. It's a tiny bit off centre, but the blade closes smoothly and the cutting edge is nowhere near the scales.
Like I sad earlier, this is just a rough set of scales for my 'beater' razor that I'll use for travel/field work, so I didn't spend as much time on fit-and-finish and most people would have.
Overall, it's functional and tough as nails now.
Have a look, feedback is always welcome.
-
03-27-2012, 09:13 PM #9Senior Member
- Join Date
- Oct 2010
- Location
- 50 miles west of randydance
- Posts
- 9,696
Thanked: 1354
I like your nut/washer.
-
03-27-2012, 09:28 PM #10Senior Member
- Join Date
- Sep 2011
- Location
- Nova Scotia
- Posts
- 265
Thanked: 30
I had to read that twice, hilarious!
Thanks for the compliment too
Last edited by ironsidegnr; 03-27-2012 at 10:36 PM.


 Reply With Quote