Results 11 to 17 of 17
-
05-13-2012, 06:47 PM #11

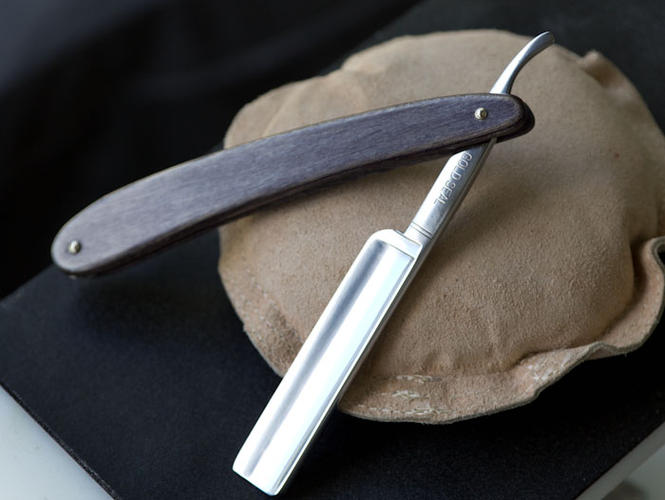
I ordered some replacement scales and sanded the blades. It turns out the cell rot had caused quite a bit of pitting along both faces of one blade, so what I'd thought was mostly a buffing job turned into a long evening of sanding (600 through 2000 WD, then a pack of microabrasive pads). There are still a couple of pits on the tang, but they're ancient artifacts rather than active rust, so I'm leaving them for now.
I pinned the thing up (surprisingly easy to do) and it turned out pretty well. I'm not a fan of pakka wood in general, and blue pakka is pretty bizarre, but this is a tool and not a showpiece. Besides, the blue pakka had the virtues of being cheap and in-stock. Also, dispensible, if something went horribly awry. At the very least, I've rescued this blade from certain doom and turned it back into a useful tool. I can always rescale this blade with something a little more upmarket in the future.

Its twin brother is presenting a different set of problems. I got rid of all the active rust around the pivot, and cleaned off the residual gold wash. There was no cell-rot on this blade, which saved time, I thought. Wrong! I pinned it in its new stainless-steel scales and all it flopped all over the place. I unpinned it and discovered that the pivot hole is elongated and enlarged almost -- but, crucially, not quite -- to 3/32. The basic brass sleeve trick isn't going to work here, so I'm still pondering my next move. Currently, I'm thinking of making some sort of clenched bushing. It's an interesting challenge.
-
05-13-2012, 06:54 PM #12Senior Member


- Join Date
- Jan 2011
- Location
- Roseville,Kali
- Posts
- 10,432
Thanked: 2027
Drill it out to 3/32 exact,make a bushing to fit.
-
05-13-2012, 08:15 PM #13

You're right. I was hoping for one of my usual hideously-overcomplicated contraptions, but I think the only sane way is to just drill the thing out.
-
05-13-2012, 10:51 PM #14

Haven't done it myself, but I've read about using JB weld to fill the hole, then re-drill. Seems easier than drilling the tang.
-
05-14-2012, 12:57 AM #15

The drilling actually took about 2 seconds. It was no more difficult than drilling anything else, even with my cheap drill. Then I cut and installed the bushing. Sanded and polished the whole blade and pinned it into the new scales. The fit is nice and tight, with exactly as much resistance as I want. Next time I have the scales off the other one, I'll do the same thing to it.
So I think this has been a pretty successful project. I have two new razors in the rotation and picked up some new skills.
-
05-14-2012, 05:33 AM #16Senior Member

- Join Date
- Feb 2012
- Location
- Victorville, CA
- Posts
- 112
Thanked: 10
-
05-15-2012, 02:22 AM #17

Drilling the tang took literally all of 2 seconds, not including finding the drill, clamping the blade down, etc. Down, up, done. Cutting and installing the bushing was maybe another minute of actual effort. Although I'm generally in favor of the most complex possible solution, elegance and ease won out this time. The blade no longer wobbles, which is what I was aiming for. The razor is scaled, honed and scheduled for its trial run tomorrow morning.


 6Likes
 LinkBack URL
 About LinkBacks


 Reply With Quote
