Results 1 to 10 of 15
-
05-17-2012, 01:19 AM #1
 Carbo Magnetic refresh with steampunk inspired scales
Mods, feel free to move, I took pics along the way, so I thought I'd outline what I did and hopefully help someone out along the way if need be.
First, I have to say Thank You to tumtatty. He was really helpful with all the questions I had. This was inspired by his steampunked scales.
This is my first attempt at any kind of restoration. I tried to fix a broken set of celluloid scales, but failed. Learned a lot along the way though. I've been SR shaving for 5 months now, and got into it for the cleaning up and the 'restoring history' aspect. Plus, it keeps me out of trouble. I don't know the story of this specific blade, grabbed it at an antique store for $5. I picked out this blade and style for my brother for his birthday. I hate to part with it, but hey, my brother's pretty cool, and I think he'd get a kick out of this. This post is for him too, I'm going to send him the link to this when I send off the razor.
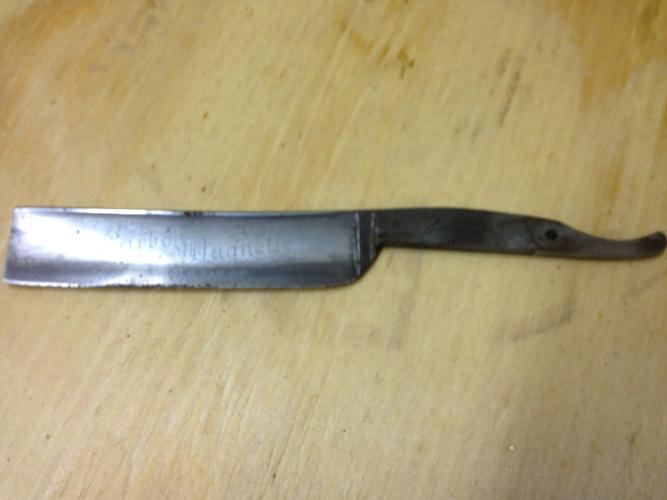
This is a before pic, not too shabby a blade to start with, the big work came with the scales.
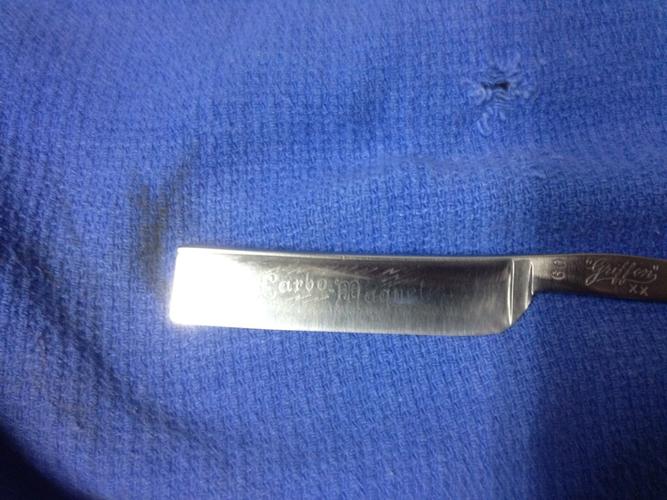
All cleaned up and waiting to be dressed.
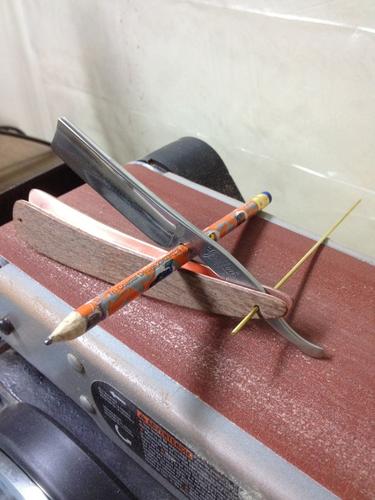
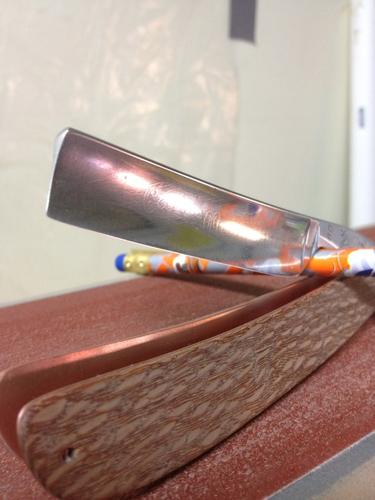
I forgot about pics for a bit because I was happy with how things were going. Here's what I did: I cut out the scales on the wood, rough shaped them, used them to trace the outline on a copper sheet, then attached the four blanks (2 wood and 2 copper) together for final shaping. I mocked it up about fifty times along the way to make sure I wasn't missing something.
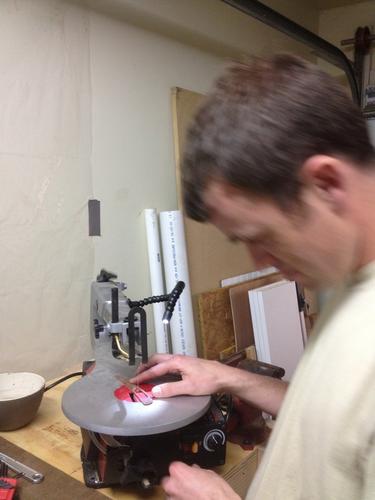
I pulled everything apart to cut out the "window" for the gears I would be putting in there.
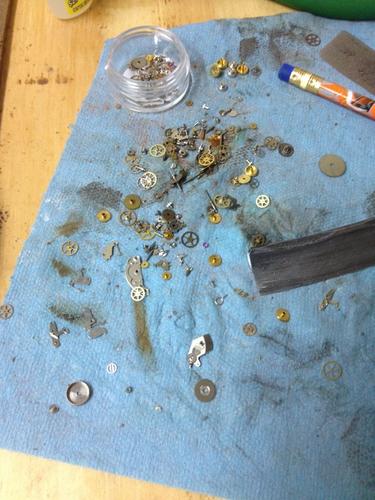
I CA glued the copper to the leopard wood, and all that was left was putting the puzzle together. I used the CA glue for the gears too.
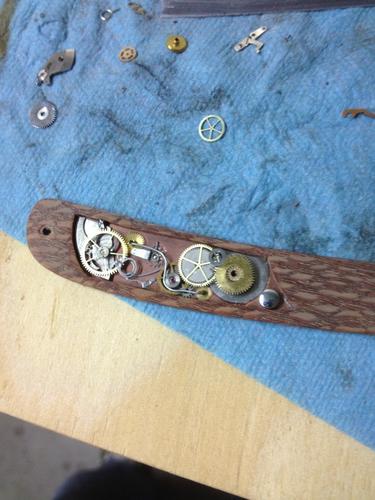
Since this was my first attempt at making scales, I didn't do anything too crazy. Just enough to be unique.
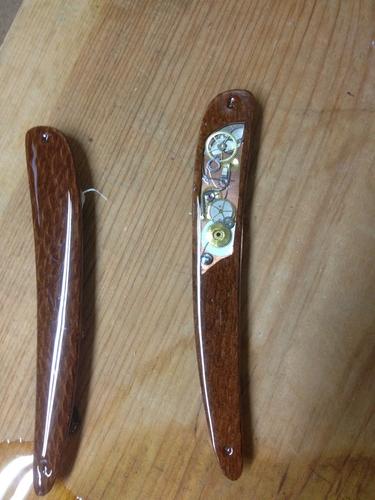
I only did the window on one side. I figured since there was only one etched side of the blade, I'll do it simple and just do the one.
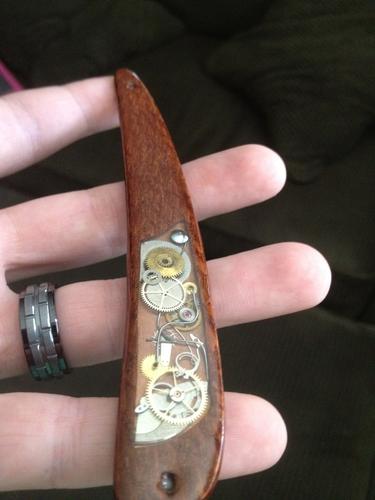
Here's a close-up after one coat of epoxy. I didn't like some of the dimples (notice the pin hole) so I did a second coat of epoxy.
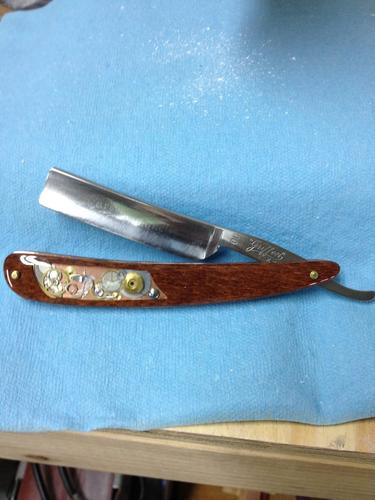
Aaaaaaand mocked up again. I ended up putting in a third pin to push the scales out a little bit more.
So, that's where I'm at right now. I ended up dislocating my finger which put a damper on things for a while. That little problem made me miss my brothers birthday. I had to video chat with my brother (we're in different states, not because of the finger I'm not that big of a pansy) and asked if he wanted to see his gift. He's a good sport, gave me some flak about my finger, and is patiently awaiting his late birthday gift. He wanted to see it though, and is totally excited about learning to shave with it. Yikes! Now I better hone up my honing!Last edited by Ducksfan; 05-17-2012 at 01:26 AM.
-
05-17-2012, 01:42 AM #2

Cool work, I like the mix of gears and the bit of wire. I was thinking of working up something similar, wonder what kind of gizmo I could add that would power a LED for a bit....
-
05-17-2012, 01:53 AM #3

The wire was just a twist tie with the paper pulled off. It needed something to "connect" all the gears. It was there, so I used it.
For the LED, you could hide the battery in the wedge.
-
05-18-2012, 08:44 PM #4

I Love It! Nicely done.
-
05-19-2012, 06:02 AM #5
-
05-22-2012, 12:33 AM #6

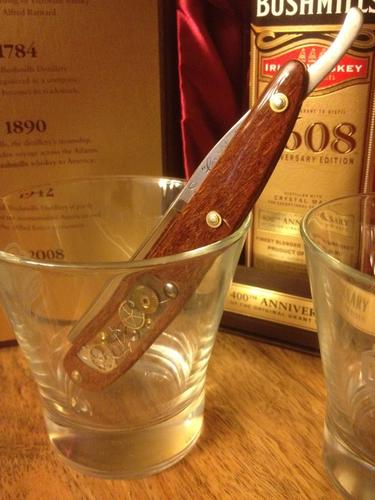
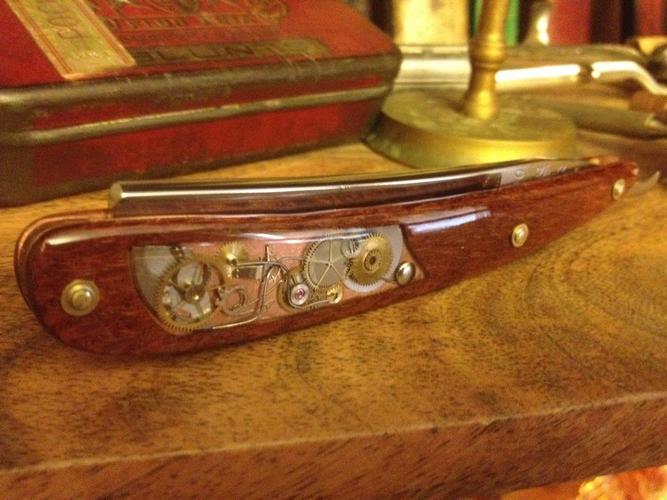
It is a heavier than normal set of scales, but I like it. Hopefully my brother likes it too. He plans on shaving his head with it.
I just finished up honing it, and did a test shave. Now I really don't want to give it away. I'll have to get another Carbo Magnetic for me.
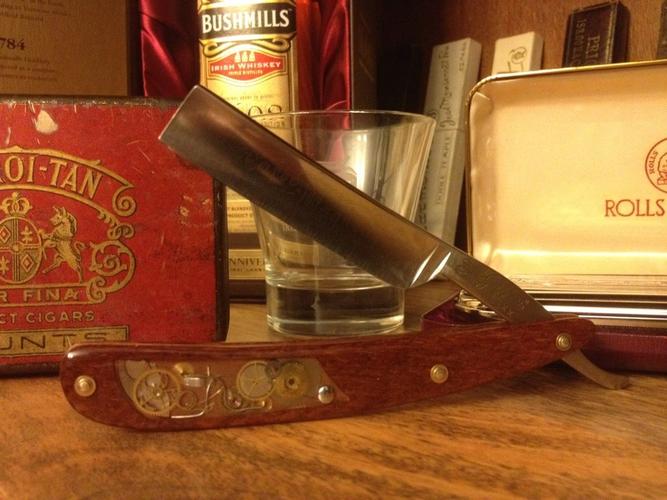
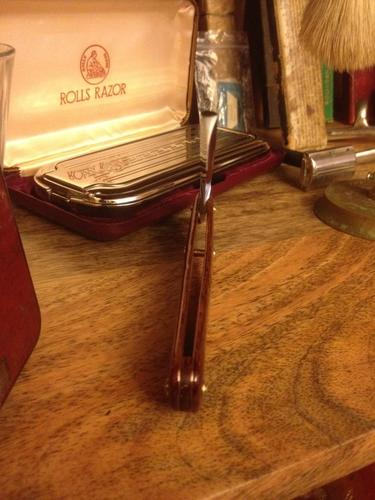
Here's some more pics of it all finished up...
-
05-24-2012, 02:14 AM #7Senior Member


- Join Date
- Aug 2010
- Location
- Between Owensboro and Bowling Green KY
- Posts
- 236
Thanked: 31
Very nice work. I really like that style. How did you eliminate air bubbles/pockets from under the gears?
-
05-24-2012, 01:17 PM #8

I was nervous about that too, but the two part epoxy I used (here's the link: Shop Famowood 32 Oz. Clear at Lowes.com) was slow drying enough that air bubble weren't an issue. I poured slow into the gears first, then tipped the scales around to make sure the epoxy covered everything in there before I covered the rest of the scales with the epoxy.
I used the "stilts" like what's shown here: Razor Restoration Tutorial: Using CA Finish
And a word of caution... the epoxy ended up covering most of the underside of the scales too even though it was even. I think the problem was me, using too much of it. It ended up sealing the scales to the stilts, but they popped up pretty easy with a little pressure. I ended up using my belt sander to get the epoxy off of the copper I used for inside the scales.
I hope that answers your questions, let me know if there's anything else I missed explaining.

-
05-25-2012, 12:17 AM #9

That is one fantastic looking set of scales. Love the steampunk theme. If your brother doesn't like it...

-
05-25-2012, 12:23 AM #10Senior Member


- Join Date
- Aug 2010
- Location
- Between Owensboro and Bowling Green KY
- Posts
- 236
Thanked: 31
Thanks Ducksfan, that pretty much answered it. I seem to be a master of iinfo gathering, but slow on the makin it happin. Goin to go make some more hours in the day. Thanks for sharing. Keep it up.


 12Likes
 LinkBack URL
 About LinkBacks


 Reply With Quote

