
Results 21 to 28 of 28
 15Likes
Thread: Hope I don't screw this up...
 LinkBack URL
 About LinkBacks
-
11-04-2012, 11:49 PM #21Senior Member


- Join Date
- Dec 2010
- Location
- South Florida
- Posts
- 13,530
Thanked: 3530 ............
 Originally Posted by unit

 lz6 likes this.
-
11-05-2012, 02:28 AM #22< Banned User >
- Join Date
- May 2012
- Location
- Forest Park
- Posts
- 282
Thanked: 44
Here's a tip (as I work almost exclusively in stabilized burl blocks like this) Originally Posted by unit
1. Use a band saw (or scroll saw) to cut a 3/8" thick slice of the wood off, to minimize waste.
2. Use a table top scroll saw (or jig saw) or coping saw to cut out one scale from your 3/8" piece.
3. Pretend like each face of this one scale is the left and the right scale. Do all your sanding now: make both sides perfect.
4. This one's for all the gold: split this scale in two using a scroll saw or band saw. Use a belt sander to flatten and smooth out the inside faces of the scales.
THATS IT! Now don't put much pressure on when hand sanding between CA coats (or similar) because there's a chance you'll break a scale in two..
-
02-10-2013, 12:52 AM #23Learning something all the time...


- Join Date
- Jul 2012
- Location
- Central Missouri
- Posts
- 1,690
Thanked: 247
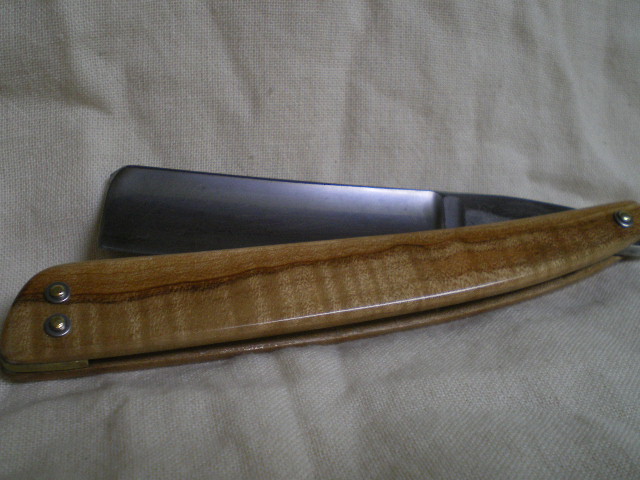
It has taken a while, but here is the progress thus far. I actually got two out of that block, but the other one cracked and I am attempting repair (face palm).
Almost done (need to get some good wax and polish them up a bit).
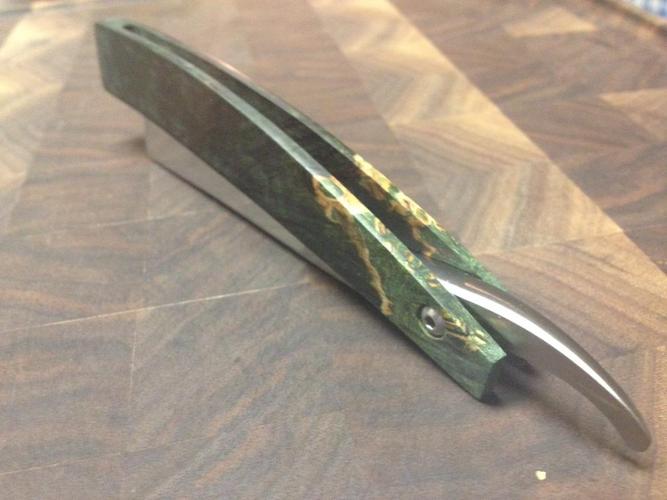
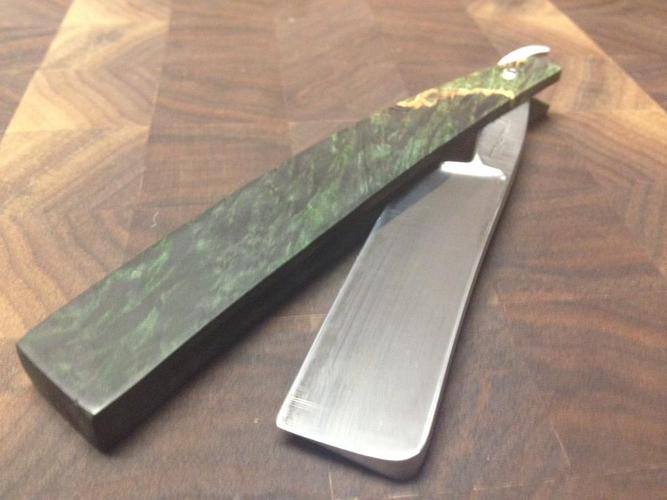
Wow, now that I see these on the big screen, I realize these photos are horrible! Hopefully, I will be able to convince my wife to loan me the good camera tomorrow (fingers crossed)
-
02-10-2013, 03:28 AM #24Senior Member

- Join Date
- Mar 2012
- Location
- Tulsa, Oklahoma, United States
- Posts
- 1,031
Thanked: 163
Looks good unit!
When the Dude is recognized in the world, unDudeness will be seen everywhere--- the Dude de Ching
-
02-10-2013, 04:38 AM #25Learning something all the time...
- Join Date
- Jul 2012
- Location
- Central Missouri
- Posts
- 1,690
Thanked: 247
Thanks! Originally Posted by maddafinga
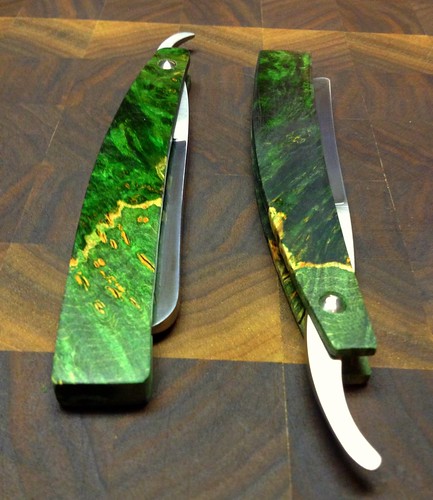
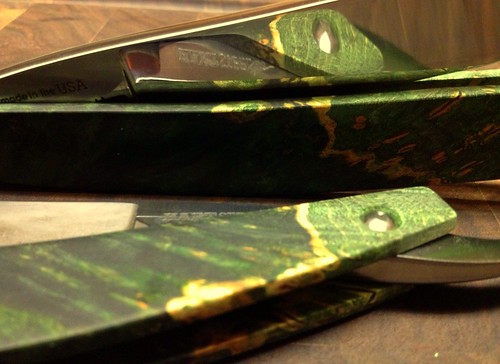
Turns out the repair went quite well also
-
02-10-2013, 08:24 AM #26Senior Member

- Join Date
- Feb 2012
- Location
- Menominee,MI
- Posts
- 1,624
Thanked: 325
Wow the colors are really vibrant compared to the other photo. Very nice.
-
02-10-2013, 12:24 PM #27Learning something all the time...
- Join Date
- Jul 2012
- Location
- Central Missouri
- Posts
- 1,690
Thanked: 247
As I polish them they keep "popping" with more vibrant colors. I am almost there
maddafinga likes this.
-
02-10-2013, 02:55 PM #28
One notices some nice figuring and sets a piece aside instead of putting it in the woodstove. There were some nice pcs this wk, but I'm too busy/lazy to do all the saw work. Originally Posted by Bruno


 Reply With Quote