
Results 21 to 30 of 33
 21Likes
 LinkBack URL
 About LinkBacks
-
06-24-2014, 06:40 AM #21Member...


- Join Date
- Dec 2013
- Location
- Lakewood, WA
- Posts
- 845
Thanked: 305
Thanks for all the 50 loft recommendations. I'll start there.
I use shaving cream and lather in a large scuttle.
I've read about using a little silicon first for a few test drive before making permanent with epoxy. Is this an OK idea with what I'm working with? I don't mind the clean up if it will let me fine tune the loft.
I found where this brush was originally an Old Spice brush. Does anyone know the date range for that and did anyone else have an earlier version? Looks like something that could from the 30' or 40's.
-
07-01-2014, 05:19 AM #22Member...
- Join Date
- Dec 2013
- Location
- Lakewood, WA
- Posts
- 845
Thanked: 305 completed
The 20x65 HMW knot arrived today. After over thinking it to death I went for a 49mm loft and it went together just fine. All I had to do was remove a couple mm from 20mm wooden handle. I can easily see and understand the soft tips and variable backbone depending on depth of set now. I found that very enlightening.

I'll start breaking this puppy in tomorrow morning. Finally a scritch free brush.
Thanks for all the input.
I said I would not buy or try to fix up any razors till I become proficient at shaving. Well I still got a ways to go on that but I did find two other older wooden handle brushes that I'm going to fix up when they get here. pixelfixed and HARRYWALLY like this.
-
07-01-2014, 11:28 PM #23I love Burls....... and Acrylic


- Join Date
- Mar 2012
- Location
- Baden, Ontario
- Posts
- 5,475
Thanked: 2284
Looks great. Glad it all came together without a hitch. Let us know what you think of it when you put it to face.
Burls, Girls, and all things that Swirl....
-
The Following User Says Thank You to HARRYWALLY For This Useful Post:
jmercer (07-02-2014)
-
07-02-2014, 11:18 PM #24Member...
- Join Date
- Dec 2013
- Location
- Lakewood, WA
- Posts
- 845
Thanked: 305 Morning Wood (^;
Thanks for helping me learn to fish and fixin' brushes.

Got a new old woody this morning that might take up to a 28mm knot. Having been born in Texas bigger is better. Wheeeee
Any tips on cleaning the old rubberized sleeve? My thought was something like auto/car paint rubbing compound.HARRYWALLY likes this.
-
07-02-2014, 11:48 PM #25Senior Member

- Join Date
- Jan 2011
- Location
- Roseville,Kali
- Posts
- 10,432
Thanked: 2027
The stuff they use for headlight lenses.
jmercer likes this.CAUTION
Dangerous within 1 Mile
-
The Following User Says Thank You to pixelfixed For This Useful Post:
jmercer (07-02-2014)
-
07-02-2014, 11:56 PM #26Member...
- Join Date
- Dec 2013
- Location
- Lakewood, WA
- Posts
- 845
Thanked: 305
Perfect. I have a left over kit from doing my old '97.
GAWD! I love this place.
Thank you pixelfixed.
-
07-03-2014, 06:25 AM #27Member...
- Join Date
- Dec 2013
- Location
- Lakewood, WA
- Posts
- 845
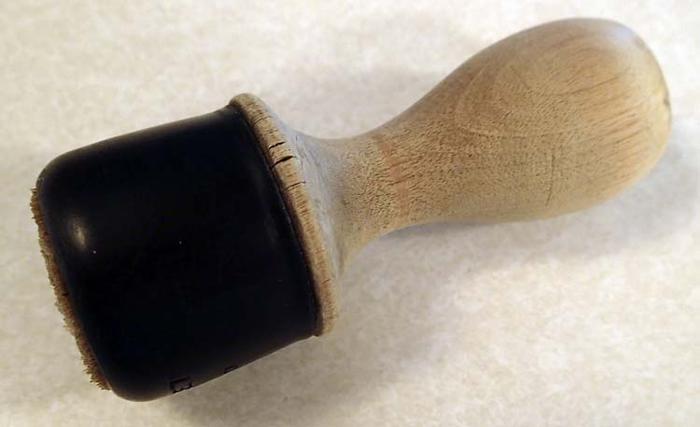
Thanked: 305 brush pron
It came apart and cleaned up rather quick and easy so I added the pic. It'll take a 26mm knot with up to 18mm of depth without modification. Now to refinish the wood and restore the rubber sleeve.
Last edited by jmercer; 07-03-2014 at 06:27 AM.
-
07-03-2014, 07:06 AM #28Senior Member

- Join Date
- Jun 2014
- Location
- Eads, TN
- Posts
- 1,042
Thanked: 161
I have one like that that just came in on todays mail. I'll be watching your progress.
jmercer likes this.
-
07-12-2014, 01:46 AM #29Member...
- Join Date
- Dec 2013
- Location
- Lakewood, WA
- Posts
- 845
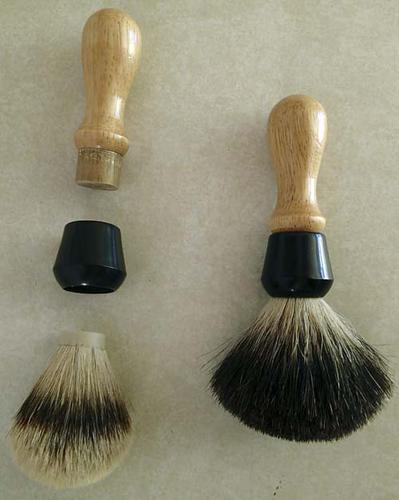
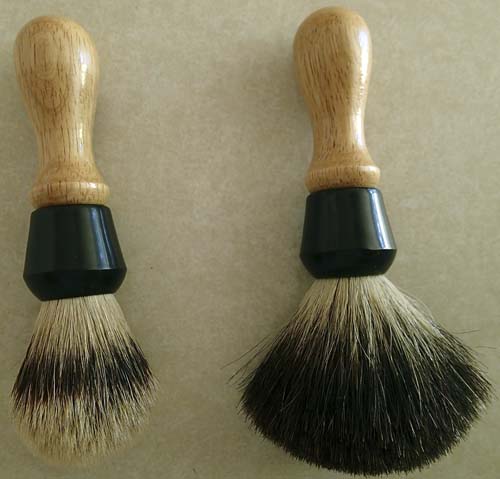
Thanked: 305 completed brush #2
I completed brush #2 a Certifyd #5 with a HMW 26mm set in 27mm hole by 50mm loft. Sealed the wood in a dozen coats of marine grade varathane and left the rubber as it was. Nice contrast from high gloss to satin to course hair. It instantly became my favorite brush after one use.
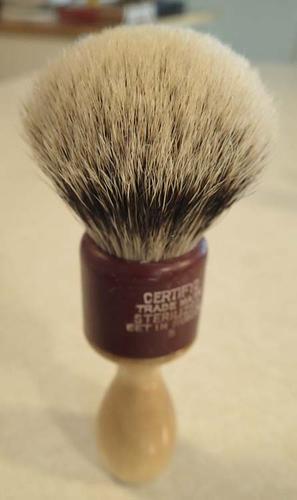
The beginning of my woodhandle brushes.
and brush #3 a Rubberset #4 to start on. It's a bit older (40's?) and rougher shape and more bulbous..
 HARRYWALLY likes this.
-
07-24-2014, 11:11 PM #30Member...
- Join Date
- Dec 2013
- Location
- Lakewood, WA
- Posts
- 845
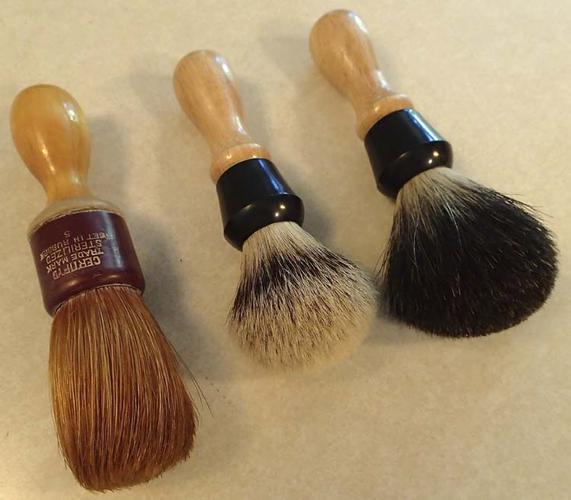
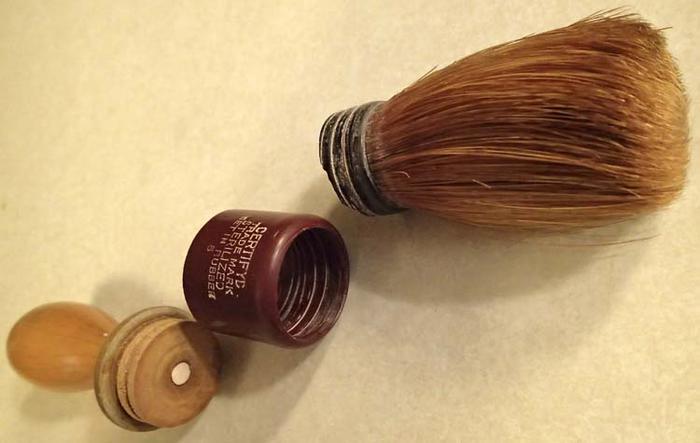
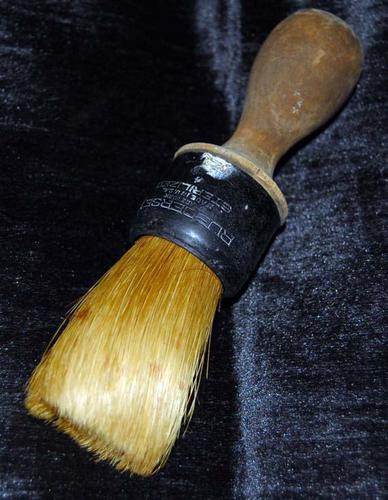
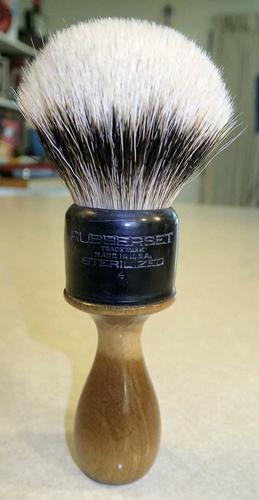
Thanked: 305 finished brush #3
A forties vintage Rubberset with horse hair bristle.
Before:
Cleaned up showing brass sizing ring.

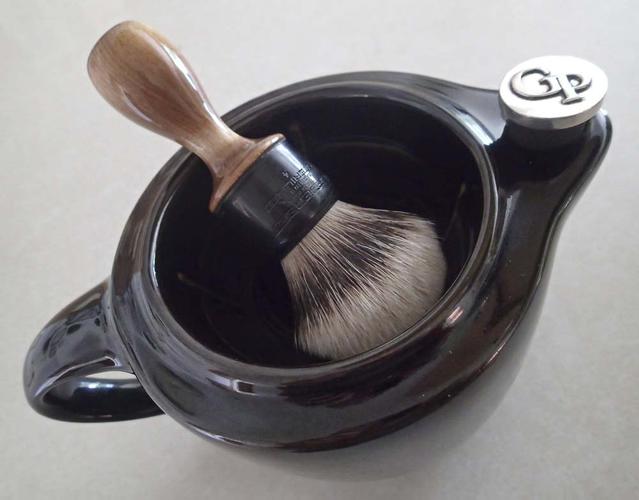
HMW 28mm set to 50mm
Perfect for my black G-20.
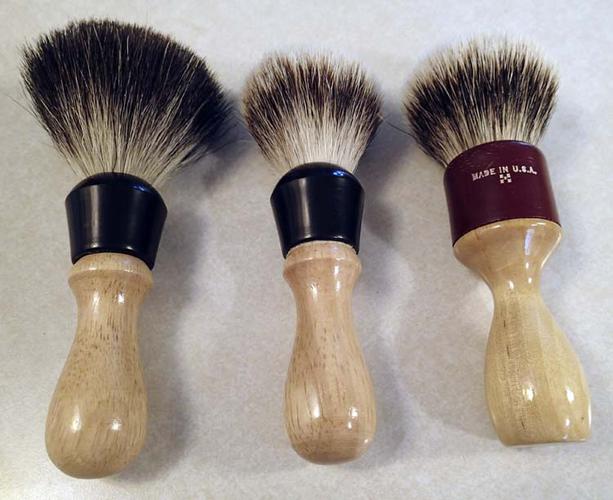
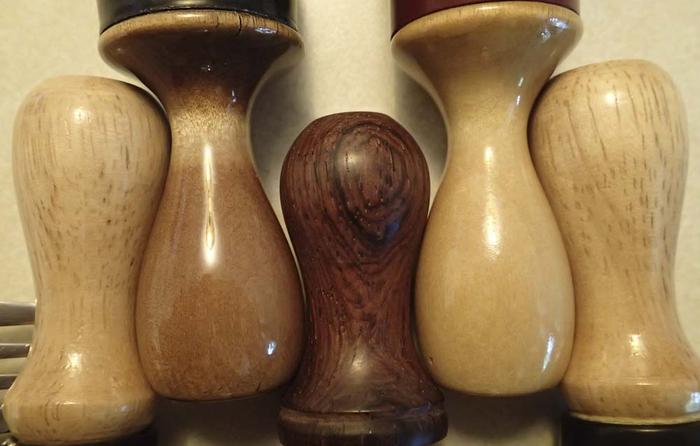
The wood collection so far. I flat spotted the rounded ends for upright display after hang drying.
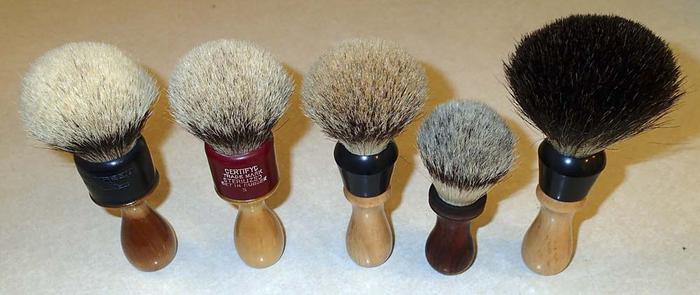
wood pron


 Reply With Quote