
Results 1 to 10 of 20
 36Likes
 LinkBack URL
 About LinkBacks
-
11-16-2013, 08:25 PM #1Member

- Join Date
- Jun 2013
- Location
- Berkshire, UK
- Posts
- 62
Thanked: 19 Yes, yet another Wade & Butcher...Celebrated Hollow Ground!
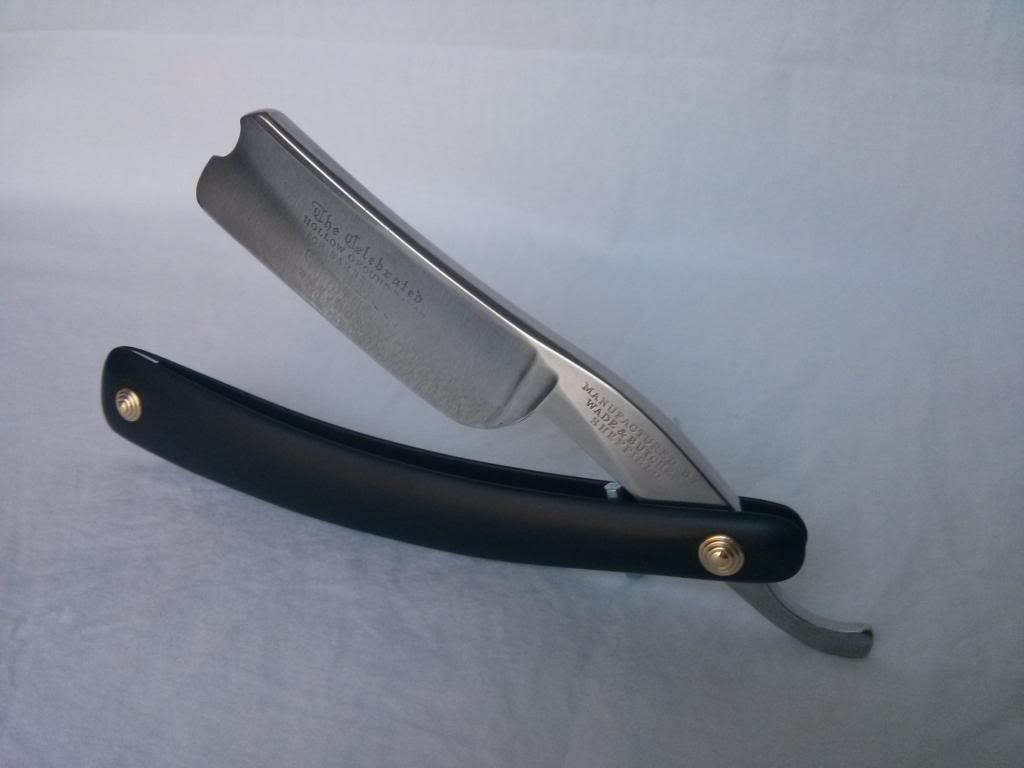
This is my first 'restore', and although the blade didn't take too much work, the effort I put into the scales has given me a real sense of achievement. That said, if I hadn't kept making mistakes, I could have been done much sooner!
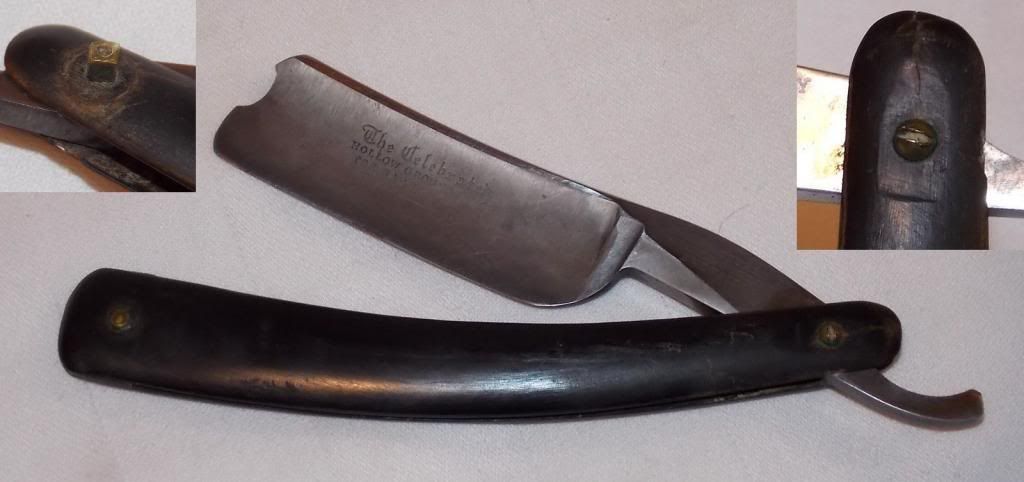
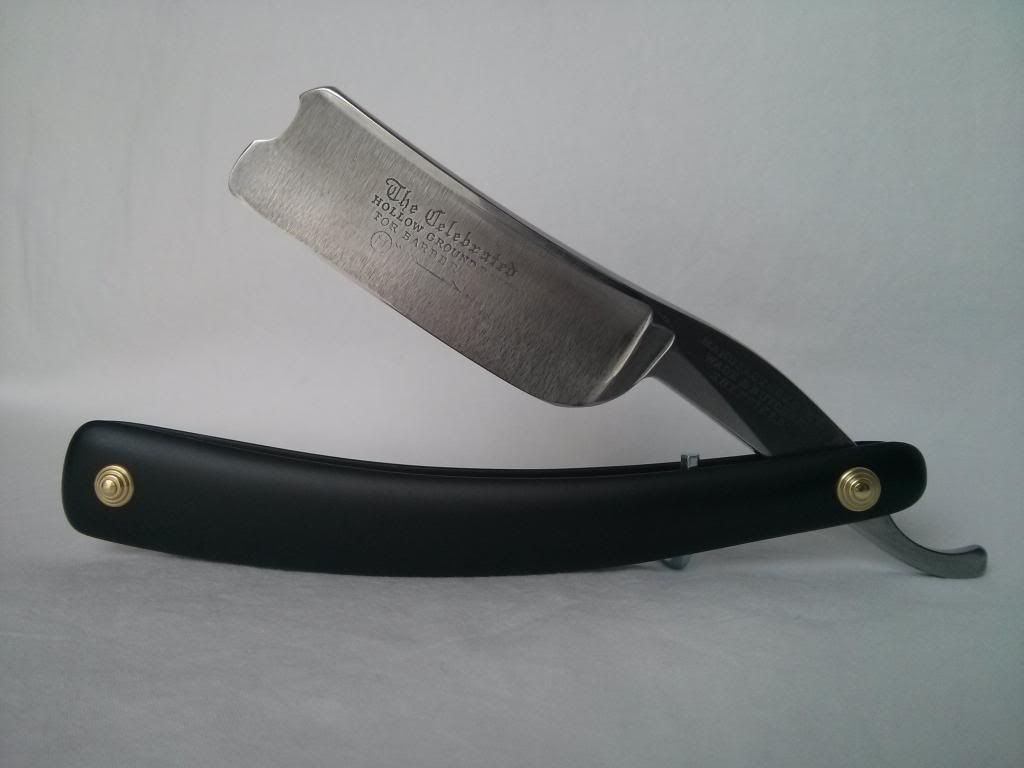
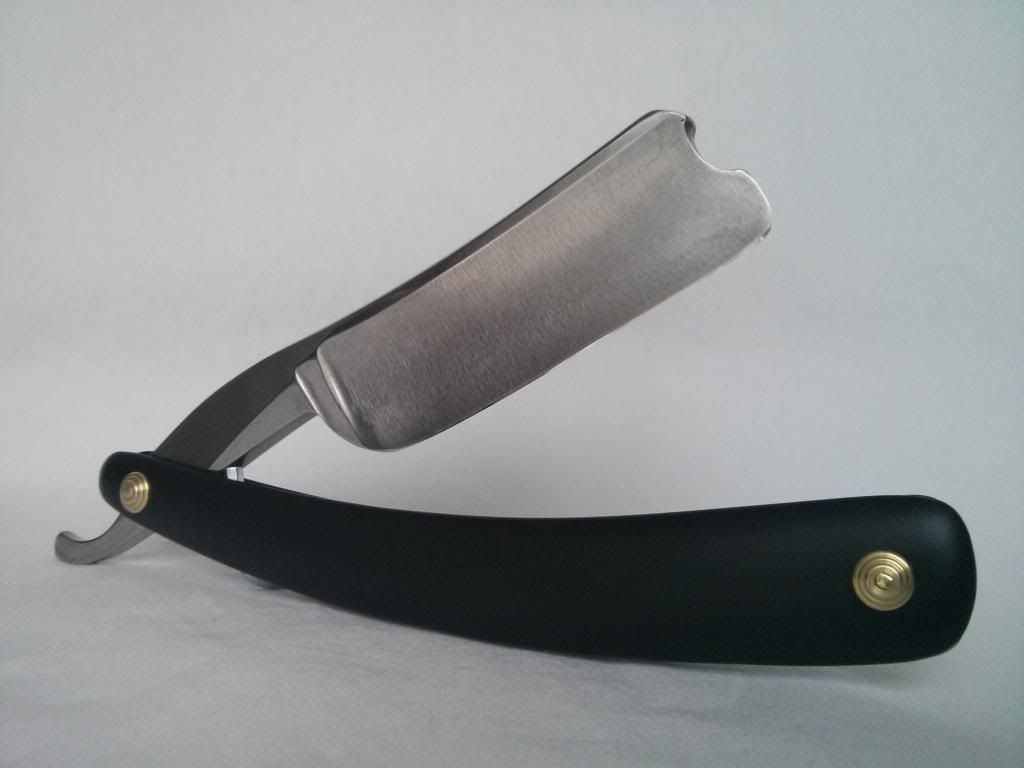
Got the razor from a Canadian ebay seller - and received it a week ago. First action was to remove the scales, which as the first picture shows were cracked and been bolted! The blade itself was in pretty good condition, so I simply spent some time hand sanding with micro-mesh starting on 1500 grit, through to 12000. Only took an hour or two maximum. I deliberately didn't work the ground part of the blade too hard, mostly because of the etching which is already worn, but also because I really like the marks of the grind.
The scales were obviously the part that would take some work. I sanded them, and applied Unibond power epoxy to the crack, both on the inner and outer side - basically covering an area about an inch or so back from the pivot end. Here started a week long run of repair, try to improve repair, ruin repair, start again, repair, try to improve repair, ruin repair...you get the idea! I'd end up sanding the epoxy and then be unhappy with tiny tiny part of it, keep sanding and strip too much of it away from the scale...start again and repeat exactly the same problem! Once I did get them how I wanted them, I chose to spray them, but chose the wrong paint - it simply wouldn't dry, just remaining slightly tacky. Eventually realised I should be using enamel paint on animal horn - so once I got the right paint I was sorted...wrong! Lacquer wouldn't dry evenly! Big grey areas everywhere! Managed to solve that bit by bit.
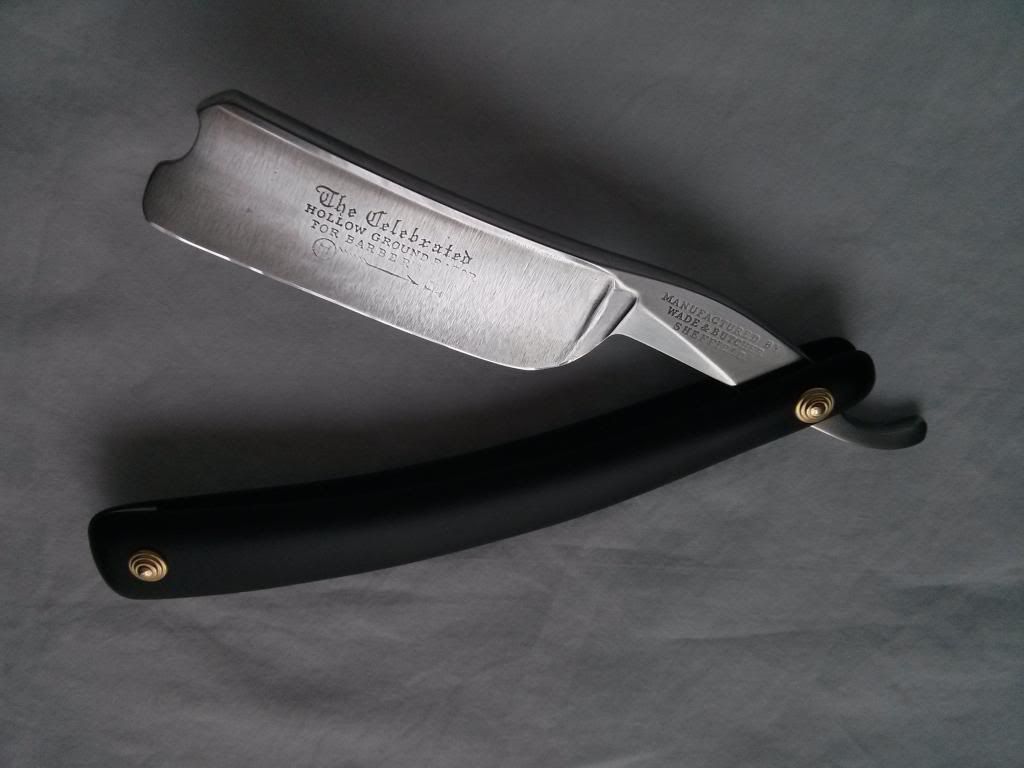
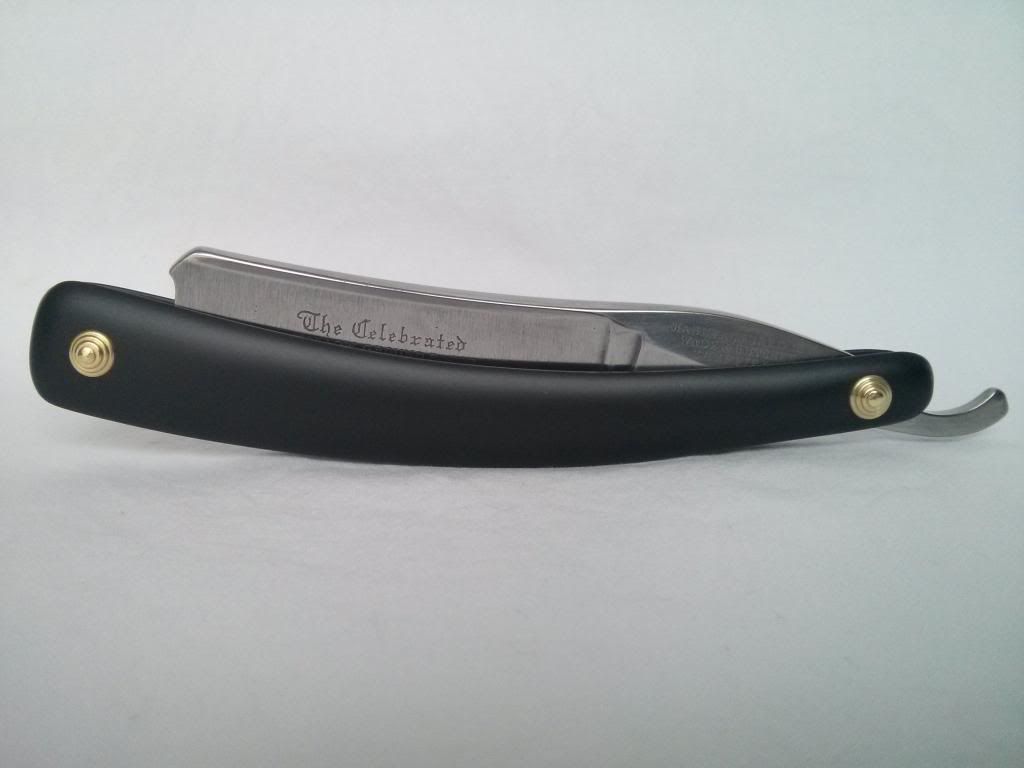
And this morning, I put it all together! At least that went pretty smoothly, but as the first razor I've assembled, the peening was perhaps not the best! The branded side peens are much better than the other side...I did the non-branded side first, and should have made them larger, like I subsequently did on the branded side...learning curve!
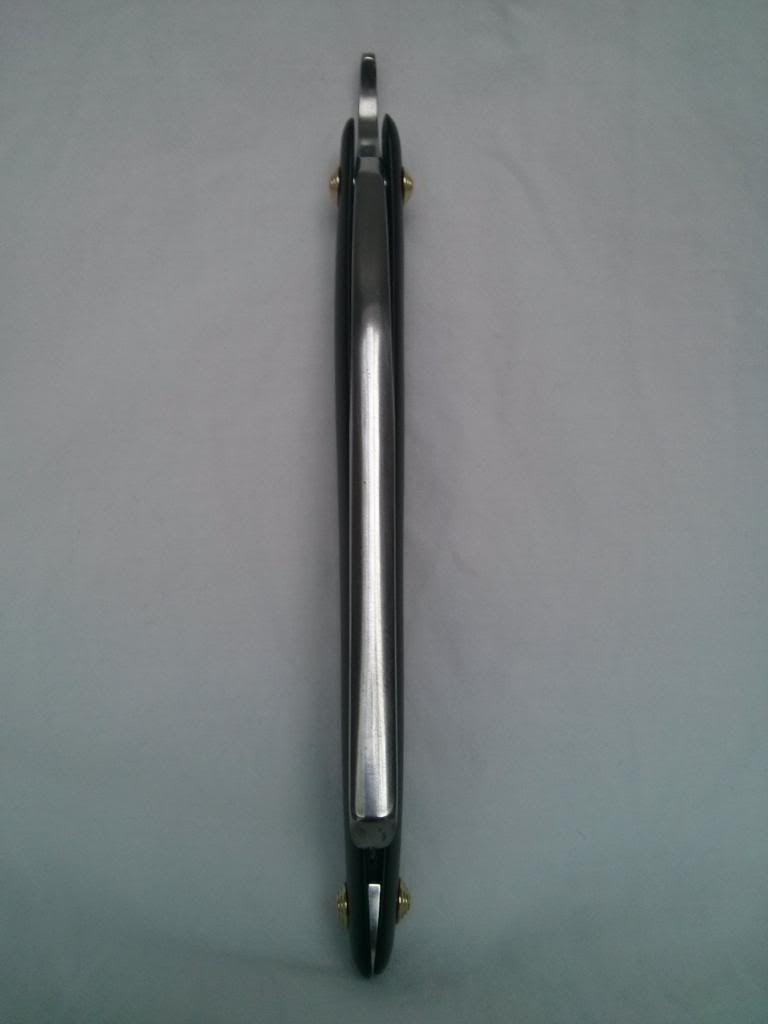
It all turned out pretty well, and I'm very happy with the result. You can see from the last picture that the right hand scale is slightly larger at the pivot end, where it has the epoxy - but I can live with it! I honed on Naniwas, 1k, 2k, 5k, 8k, 12k. Then .5 crox on balsa.
So, enough of writing...some pictures! I'm no photographer, and these are taken with my phone, so apologies for the quality.
Last edited by KrytonsJaw; 11-16-2013 at 08:37 PM.
-
11-16-2013, 08:43 PM #2Senior Member

- Join Date
- Jan 2011
- Location
- Roseville,Kali
- Posts
- 10,432
Thanked: 2027
Very nice resto,thx for not polishing it to death

-
11-16-2013, 08:46 PM #3Member
- Join Date
- Jun 2013
- Location
- Berkshire, UK
- Posts
- 62
Thanked: 19
Thank you sir! Yes, I much prefer the 'slightly worked' finish, to the mirror shine. Originally Posted by pixelfixed
 Wullie likes this.
-
11-16-2013, 08:50 PM #4Senior Member

- Join Date
- Mar 2010
- Location
- Ireland.
- Posts
- 411
Thanked: 105
Beautiful razor. Congrats
Maciek.
-
11-16-2013, 08:53 PM #5Senior Member


- Join Date
- May 2012
- Location
- The Lone Star State
- Posts
- 1,710
Thanked: 382
+1 on the not buffing all the character out of it.. Originally Posted by pixelfixed
So how does it shave?Support Movember!
Movember https://mobro.co/markcastellana?mc=1
SRP Team USA https://moteam.co/srp-usa?mc=1
-
11-16-2013, 09:04 PM #6Member
- Join Date
- Jun 2013
- Location
- Berkshire, UK
- Posts
- 62
Thanked: 19
Sadly I've yet to find out! Shaved just yesterday, so will be a couple of days before I find out. Should have held out an extra day, but had nearly a weeks worth on there and it was driving me crazy! Originally Posted by MJC
-
11-16-2013, 09:58 PM #7Senior Member

- Join Date
- Mar 2012
- Location
- Thunder Bay, Ontario, Canada
- Posts
- 17,375
Thanked: 3228
Looks very well done, what is not to like.
BobLife is a terminal illness in the end
-
11-16-2013, 10:06 PM #8Senior Member

- Join Date
- Feb 2013
- Location
- South Carolina, USA
- Posts
- 1,181
Thanked: 162
I love the finish you left on her.
-
11-16-2013, 10:09 PM #9Senior Member

- Join Date
- Sep 2013
- Posts
- 121
Thanked: 17
I like the look of it, i have not used micro mesh before and would like to know more about what is available
-
11-16-2013, 10:14 PM #10Senior Member

- Join Date
- Jun 2013
- Location
- Gladstone QLD AUSTRALIA
- Posts
- 3,245
Thanked: 804
Very clean lines, love the satin look
Be proud of it well doneSaved,
to shave another day.


 Reply With Quote