
Results 21 to 30 of 40
 29Likes
 LinkBack URL
 About LinkBacks
-
03-11-2014, 11:22 AM #21Senior Member


- Join Date
- Feb 2014
- Location
- Corona De Tucson/Tucson, AZ Area
- Posts
- 270
Thanked: 32 I plan to use carpet tape.
 Originally Posted by UKRob

-
03-11-2014, 12:08 PM #22
Originally Posted by UKRob
Rubber Cement also works very well.
Rob is right, drill the holes while the scales are together.If you don't care where you are, you are not lost.
-
03-11-2014, 12:45 PM #23Senior Member


- Join Date
- Nov 2013
- Location
- Vernon Hills, IL
- Posts
- 388
Thanked: 90
I did tape them, but clamps just ensure them staying together. I will drill when close to getting thickness right. Thanks for suggestions. Originally Posted by UKRob
I am very appreciative of all the knowledge and sharing each and everyone has provided me with. Look forward to future endeavors with many of you.
Gonzo
-
03-12-2014, 03:31 AM #24Senior Member
- Join Date
- Nov 2013
- Location
- Vernon Hills, IL
- Posts
- 388
Thanked: 90
Closer to having scales completed.
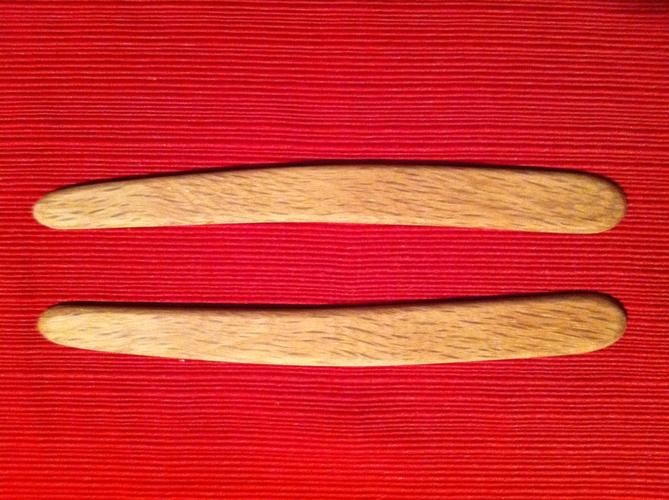
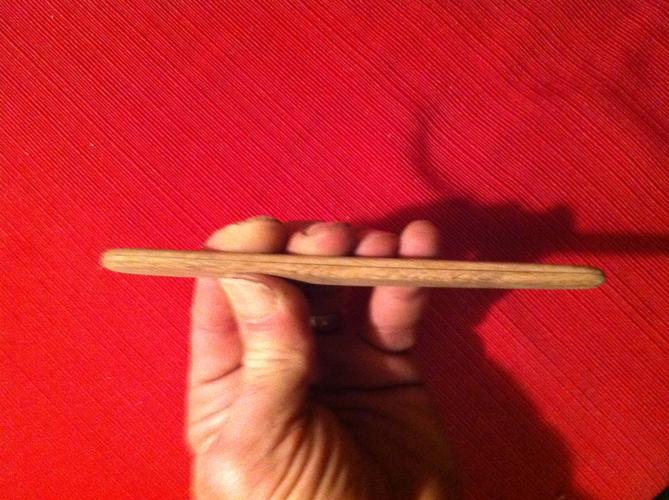
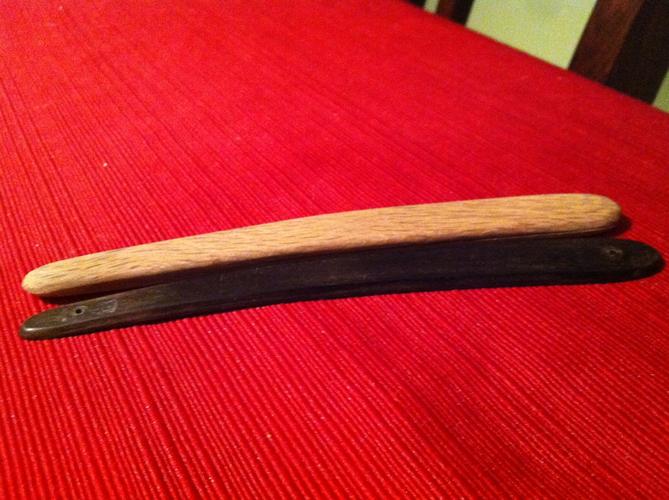
Photo 1, both scales, photo 2 both scales next to each other, and photo 3 both scales next to original one scale.I am very appreciative of all the knowledge and sharing each and everyone has provided me with. Look forward to future endeavors with many of you.
Gonzo
-
03-12-2014, 04:08 AM #25Senior Member


- Join Date
- Feb 2013
- Location
- Haida Gwaii, British Columbia, Canada
- Posts
- 14,443
Thanked: 4828
I usually drill my pivot hole and then mock up the blade with screws and then set the wedge with double sided tape to get the blade centered, remove the blade and drill the wedge hole, finish all my sanding etc and then glue the wedge and pin it together.
It's not what you know, it's who you take fishing!
-
03-17-2014, 01:00 AM #26Senior Member
- Join Date
- Nov 2013
- Location
- Vernon Hills, IL
- Posts
- 388
Thanked: 90
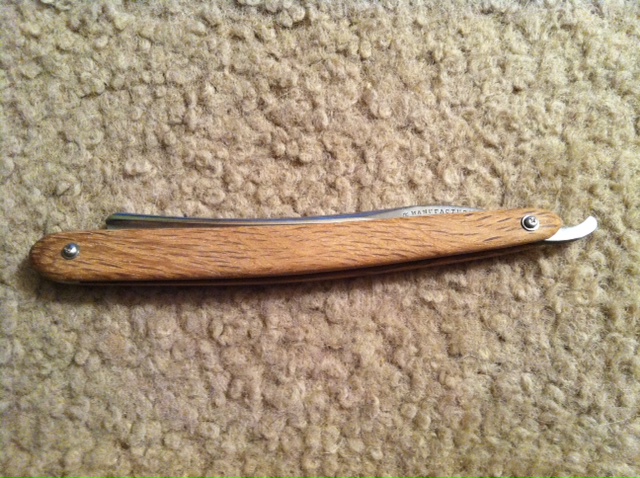
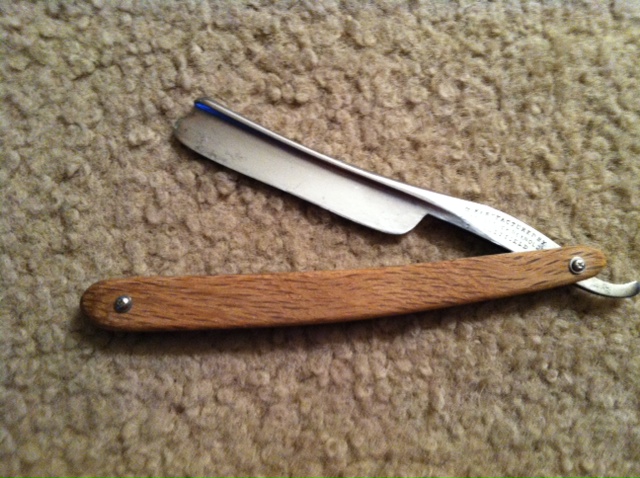
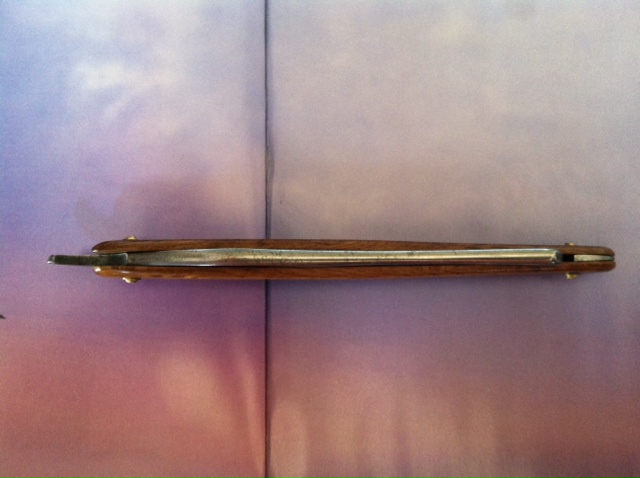
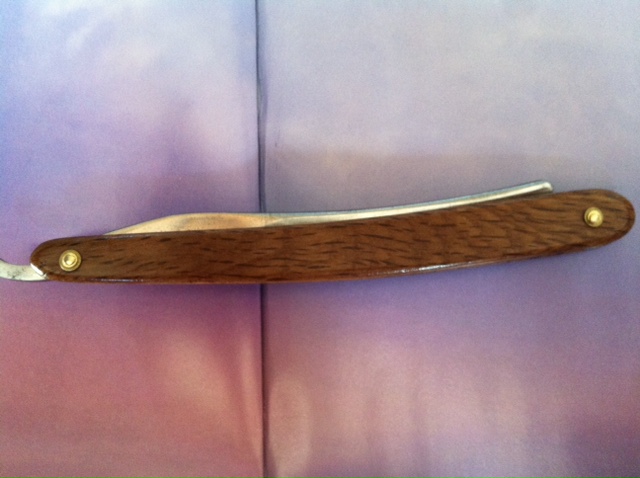
Testing scale fit to razor. Need to do some final sanding then finish them. I have size #0 washers coming tomorrow. I have brass stock. Getting excited. End is not to far out.
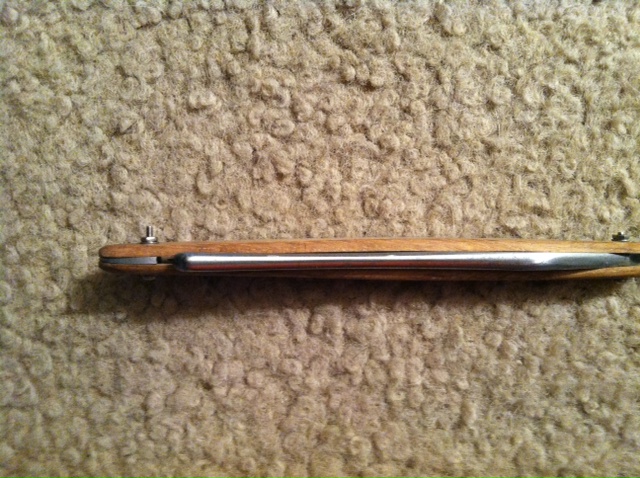

 I am very appreciative of all the knowledge and sharing each and everyone has provided me with. Look forward to future endeavors with many of you.
Gonzo
-
03-17-2014, 01:29 AM #27Senior Member
- Join Date
- Feb 2013
- Location
- Haida Gwaii, British Columbia, Canada
- Posts
- 14,443
Thanked: 4828
Looking good! Is that the original lead wedge. It looks like you have gotten them thin enough to get the wedge to do its job and the the scales bowing nicely. You may want to do with a double stack washer to help keep the washer from biting into the wood because the bottom washers will be wider giving more surface area against the wood. You are getting very close to woo hoo its done and looking good.
It's not what you know, it's who you take fishing!
-
03-17-2014, 01:37 AM #28Senior Member
- Join Date
- Nov 2013
- Location
- Vernon Hills, IL
- Posts
- 388
Thanked: 90
Yes that is the original lead wedge. I actually was thinking about the dual washer approach I have three different ones coming tomorrow. I am getting excited. Should not be much longer. Not sure how I will pin quite yet, but will watch some youtube videos and such and give it my best. Thanks for the support RezDog. Originally Posted by RezDog
I am very appreciative of all the knowledge and sharing each and everyone has provided me with. Look forward to future endeavors with many of you.
Gonzo
-
03-17-2014, 01:47 AM #29Senior Member
- Join Date
- Feb 2013
- Location
- Haida Gwaii, British Columbia, Canada
- Posts
- 14,443
Thanked: 4828
It took me quite a few attempts to get my pinning so that I was happy with it. One of my issues was starting to peen when the pins were just a tiny bit too long, and then bending the pin as a result. If your pin isn't peening enough to tighten down stop and file a tiny bit off. 1/32 of an inch can make a big difference. You can pin with very few tools, two hammers, wire cutters, file and a pair of vice grips and you should be golden. PM me if you have any questions after you watch the videos
It's not what you know, it's who you take fishing!
-
The Following 2 Users Say Thank You to RezDog For This Useful Post:
DennisBarberShop (03-17-2014), Gonzo4str8rzrs (03-17-2014)
-
03-23-2014, 04:24 PM #30Senior Member
- Join Date
- Nov 2013
- Location
- Vernon Hills, IL
- Posts
- 388
Thanked: 90
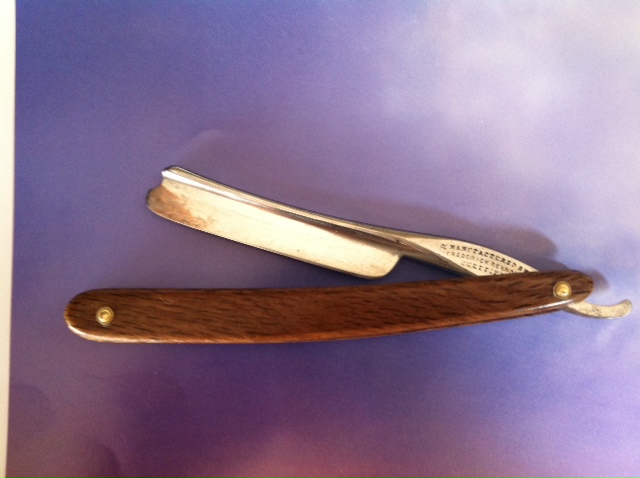
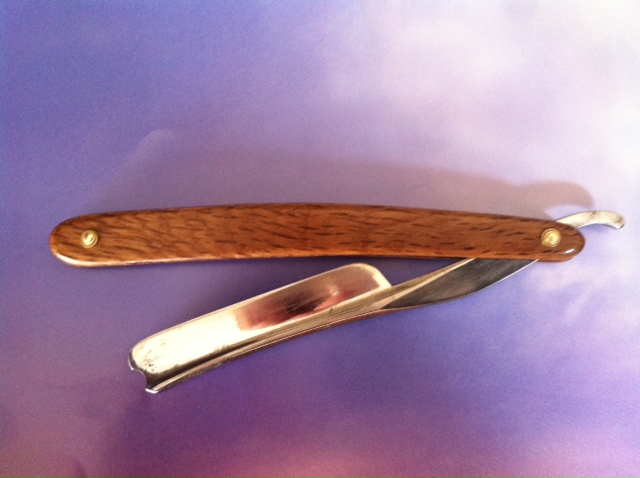
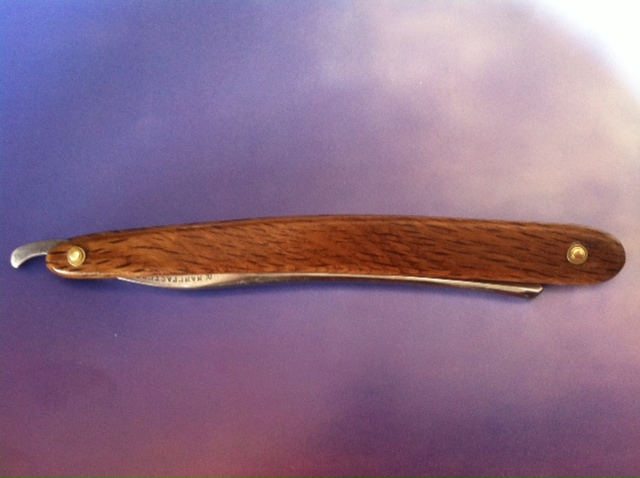
Here is the finished product. Learned a lot while working with this restore.I am very appreciative of all the knowledge and sharing each and everyone has provided me with. Look forward to future endeavors with many of you.
Gonzo


 Reply With Quote


