
Results 11 to 20 of 21
 26Likes
Thread: My first scales!! (Thanks)
 LinkBack URL
 About LinkBacks
Threaded View
-
05-30-2014, 02:51 AM #1Junior Member

- Join Date
- Jan 2014
- Location
- Brooklyn NY
- Posts
- 6
Thanked: 2 My first scales!! (Thanks)
After cleaning a bunch if oldies with the scales on I tried to take off the old ones on this Ontario Cultery. Of course I cracked them. But it gave me the opportunity to try my hand tools and your advise on something completely new, making scales! For a guy with six months wet shaving and no workshop im pretty satisfied for my first time out. Thanks for all the posts.
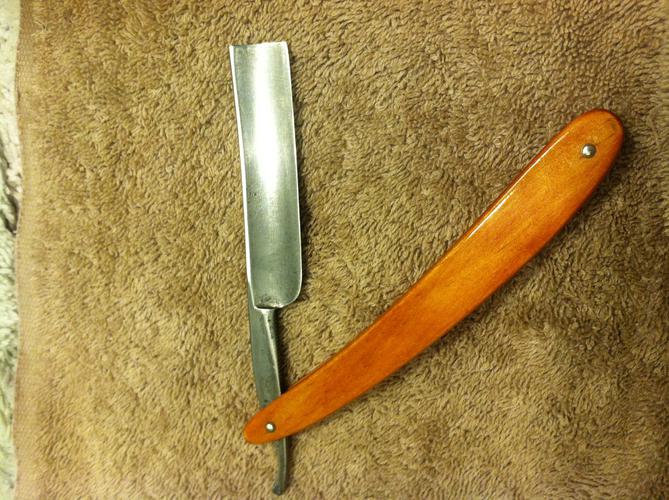
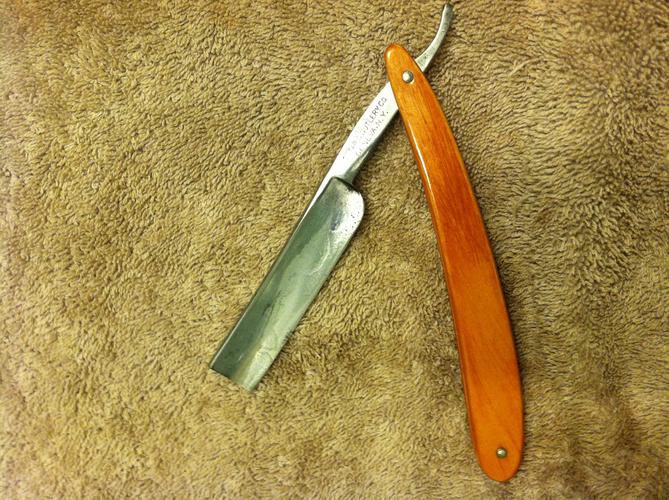
Thanks again
-MG
-
The Following User Says Thank You to MG144 For This Useful Post:
Steel (06-03-2014)


 Reply With Quote