
Results 1 to 10 of 68
 128Likes
Thread: Few restorations/modifications
 LinkBack URL
 About LinkBacks
Hybrid View
-
09-26-2014, 01:42 AM #1Aggressive Shaving Addict


- Join Date
- Feb 2014
- Location
- Kennett Square, PA
- Posts
- 157
Thanked: 12
Most impressive
-
09-26-2014, 03:49 PM #2Member
- Join Date
- Dec 2013
- Location
- Warsaw, Poland
- Posts
- 80
Thanked: 48
I hope so, below presentation of my last (so far) restoration will explain my idea of eching improvment.
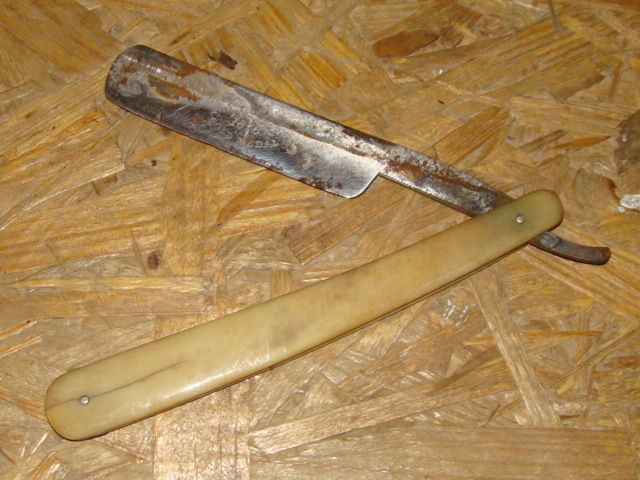
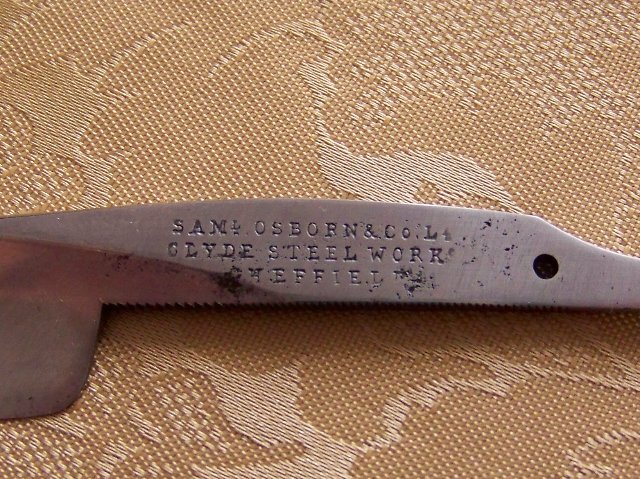
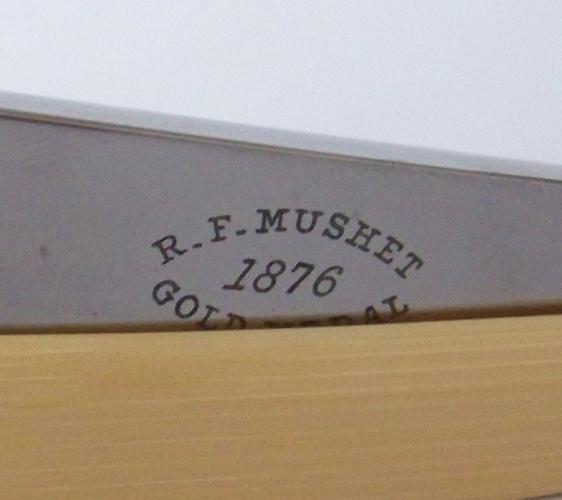
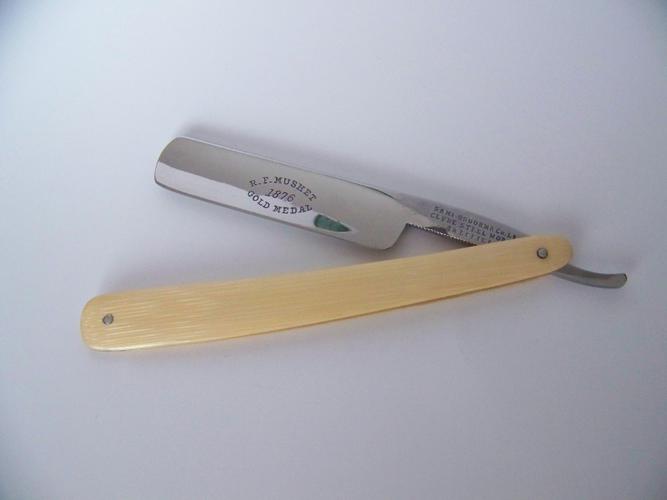
Straight Razor: Samuel Osborn & Co. Clyde Steel Works from Shefield
Original scales : ivory (cracked unfortunately)
Before:
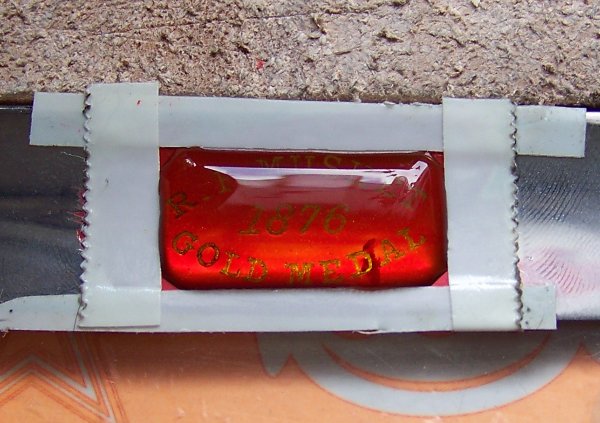
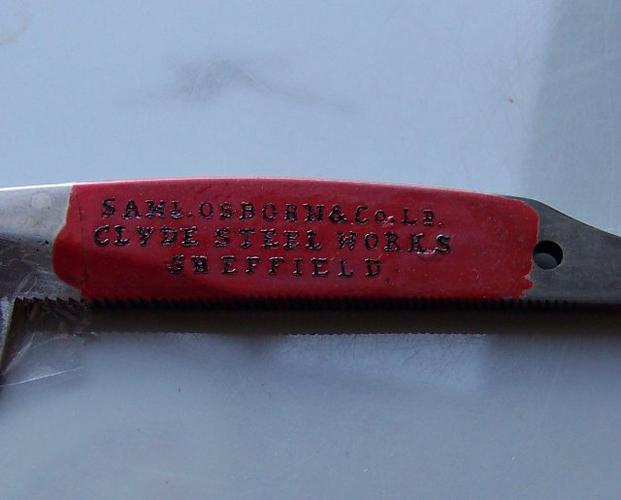
During operation:
Firstly I mask eching or stamp area by nail varnish.
After few minutes can start remove varnish in places intendent for eching. I made it with magnifier and using small needle. Character by character whole stamp or eching mus be uncovered

After that arduous job, I put FeCL3. Wait about 15 - 20 minutes. It depends on concentration of mixture.
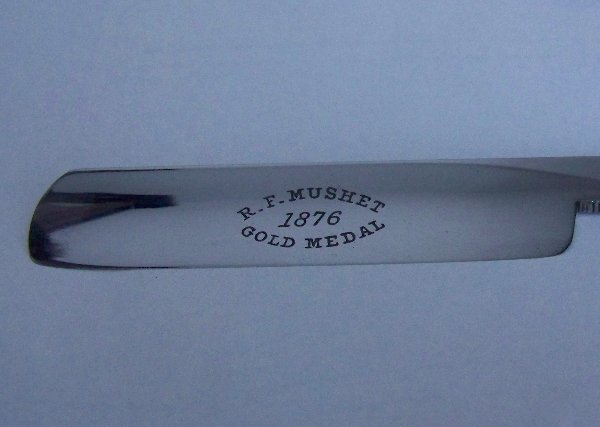
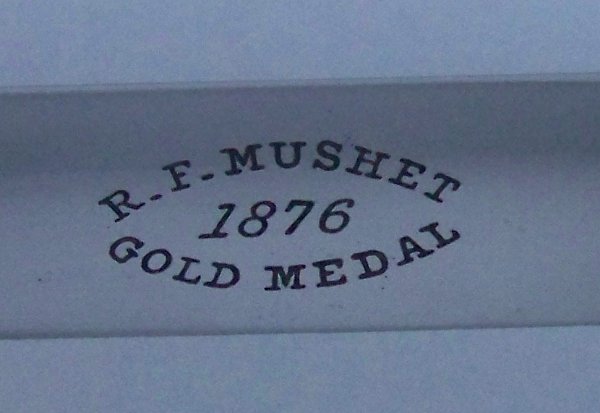
And achieved black and deep eching.
Before this method, I try electrolise (5volt supplier and brine) but this proces gives worse efects.
Like this:
Before, few characters vanished completely and had to reconstructed.
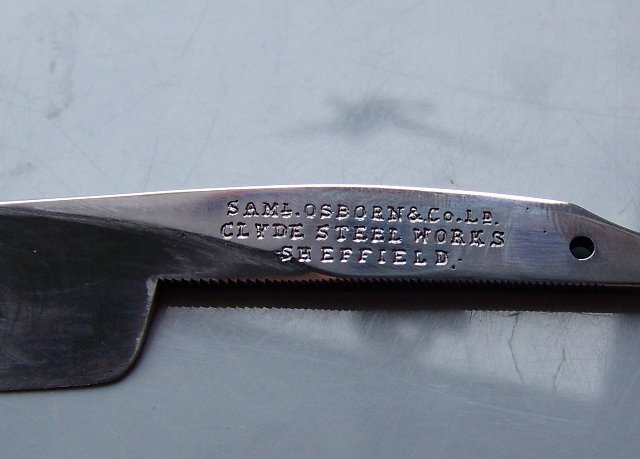
My MOSSTAMP razor was improved only by eching. This Sam Osborn by combine those two metods.
Actually I don't use electrolise.
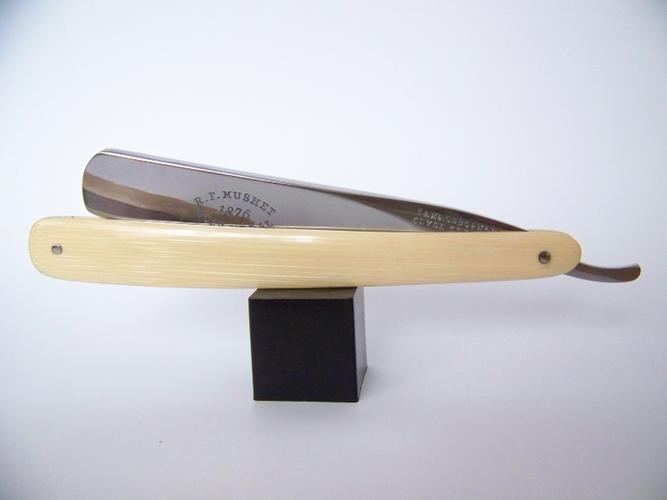
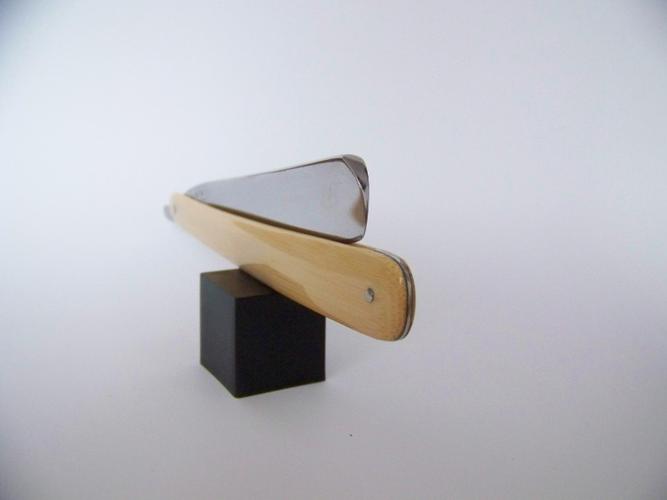
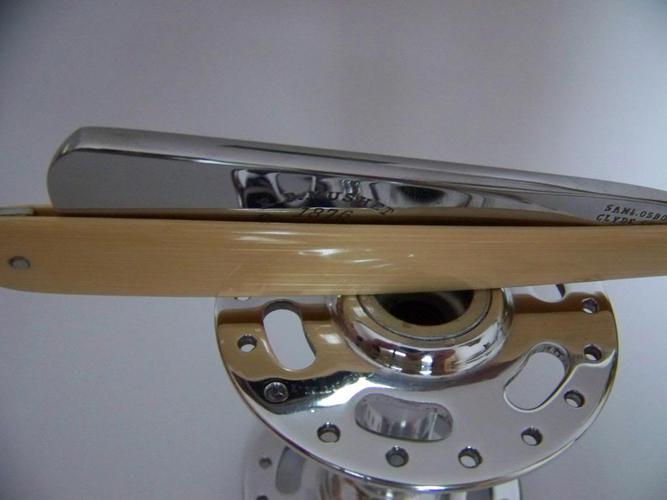
After restoration:
Scales: Bamboo finished by polished CA. It's my way for ivory replace
Pins: Stainless steel
Wedge: Piece of coin

Last edited by Lewy; 09-26-2014 at 04:10 PM.
-
The Following 17 Users Say Thank You to Lewy For This Useful Post:
1oldDago (08-31-2016), ajkenne (12-31-2015), dislocatedmoral (06-11-2016), dwCNY (01-08-2016), Geezer (12-12-2015), jmercer (12-12-2015), KindestCutOfAll (04-10-2015), ovidiucotiga (08-17-2017), Pithor (04-11-2015), Renspen (10-02-2014), RezDog (10-02-2014), Sandycrack (10-03-2014), sharptonn (09-27-2014), Slawman (06-11-2016), Substance (01-21-2017), WW243 (04-09-2015), xiaotuzi (08-12-2016)
-
09-26-2014, 04:20 PM #3Moderator


- Join Date
- Jul 2013
- Location
- Forest Grove, Oregon
- Posts
- 5,163
Thanked: 1229
Makes ya want to cry. Such meticulous work, such a good result. Bravo, dear sir, bravo!
Geezer likes this."The sharpening stones from time to time provide officers with gasoline."
-
09-26-2014, 04:27 PM #4Senior Member

- Join Date
- Feb 2014
- Location
- Corona De Tucson/Tucson, AZ Area
- Posts
- 270
Thanked: 32
That is a great technique for the etchings and overall beautiful work.
*Insert deep thought/profound statement here*
-
09-26-2014, 09:40 PM #5Senior Member


- Join Date
- Jun 2013
- Location
- Gladstone QLD AUSTRALIA
- Posts
- 3,245
Thanked: 804
Very nicely done
Great write up on the processsharptonn likes this.Saved,
to shave another day.
-
09-26-2014, 10:57 PM #6
Thank you Lewy! A great technique and fabulous workmanship!
~RichardBe yourself; everyone else is already taken.
- Oscar Wilde
-
09-27-2014, 01:20 PM #7Senior Member

- Join Date
- May 2014
- Location
- Canberra, Australia
- Posts
- 257
Thanked: 43
im not sure i understand. so you
1. coat the area with nail varnish
2. scratch out the etch (what you want more defined is now 'exposed')
3. mask the varnished area with tape
4. put on a few drops of FeCL3 (which is what exactly?)
5. wait 15-20 minutes
6. wipe off and finish sanding an polish
is this right? i think i might want to use this method
also fantastic restos by the way! i am very impressed
-
04-09-2015, 05:22 PM #8Senior Member

- Join Date
- Jun 2014
- Location
- sweden
- Posts
- 194
Thanked: 16
hi Sir! Originally Posted by Lewy

is it the same scales or New one, if its not New one, how you fix the crack on it, because i have some Ivory scales that have same crack like Yours and i tried to fix them With epoxy and some dust of Ivory but never got same color. Nice job mannnn!!!!!
-
04-09-2015, 06:12 PM #9Member
- Join Date
- Dec 2013
- Location
- Warsaw, Poland
- Posts
- 80
Thanked: 48
Jemmo, these are new bamboo scales, because I didn't know how to fix this crack

-
04-10-2015, 03:35 AM #10Senior Member
- Join Date
- Jul 2014
- Location
- Pennsylvania
- Posts
- 100
Thanked: 36
Wow, amazing work!!!


 Reply With Quote

