
Results 21 to 30 of 30
 106Likes
Thread: Junkyard Dawg II
 LinkBack URL
 About LinkBacks
Threaded View
-
04-24-2015, 05:36 PM #1Razor Vulture


- Join Date
- Oct 2010
- Location
- Lone Star State
- Posts
- 25,899
Thanked: 8591 Junkyard Dawg II
Once again, diving into the pile. Sometimes, I like to take the worst of the worst. The busted, broken, and hopelessly wrecked things and make something of them. After a slow week at work, I have hammered this thing out.
I think the blade was etched to commemorate John Jay. Quite a man; John Jay - Wikipedia, the free encyclopedia
I don't know the maker, it looks German, possibly Boker to my eye. I do know Union Cutlery made some John Jay's, but they are much different than this one.
Cannot find much on them, so I suppose John Jay was a cool thing to put upon a razor for a while? Probably was made back when folks studied history more.
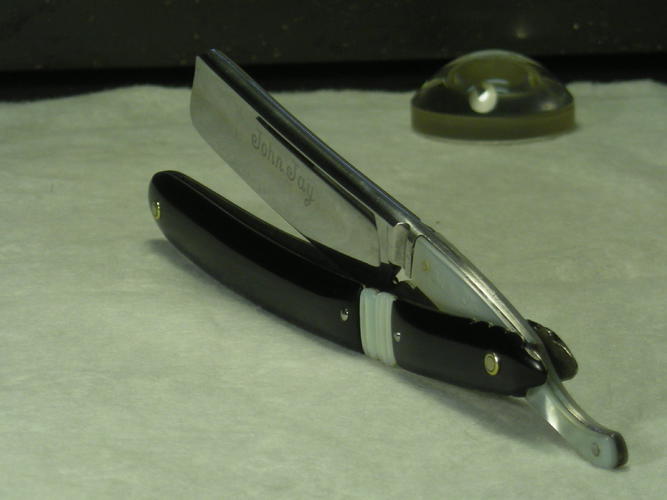
The blade was loose in the scales. Someone had pounded on the pivot and had broken the pearl bits.
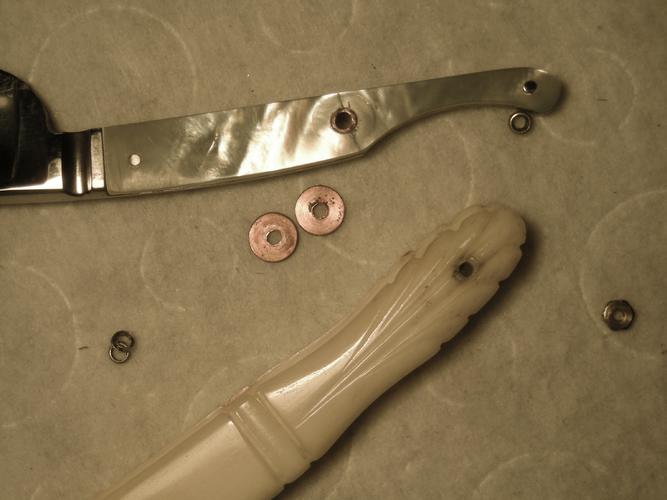
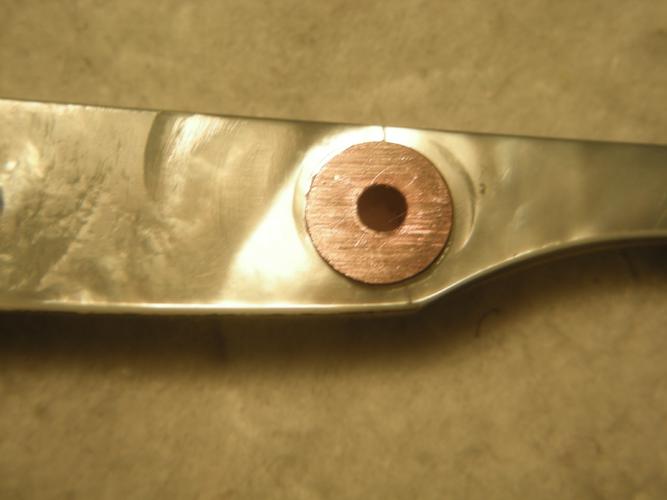
I cleaned it all up and CA'ed the pearl back together. Then, I adhered them back on the tang with goop and made some little pins with 1/16 rod using a drill motor and a bench grinder. I then oversized the pivot hole and made a bushing of copper tube, CA holds it in. Roughed up some copper spacers and superglued them on.
No more pressure or wear on the pearl!
The bone scales which it came with did not go right with the pearl tang to me. Pearl tangs need pearl, or black IMO.
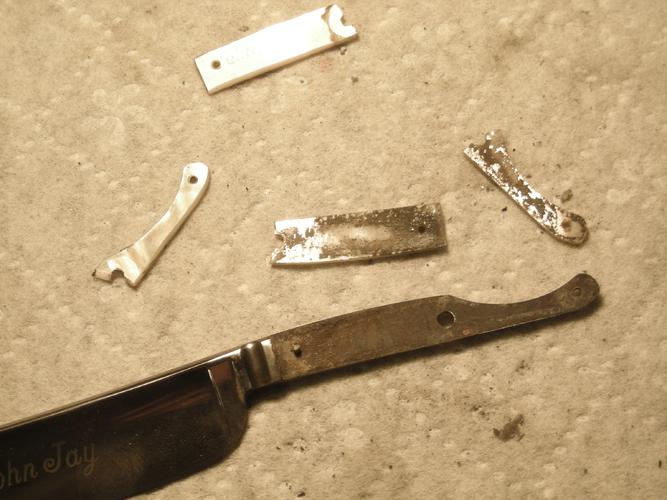
I began with two halves of broken pearl scales with silver liners from 2 different razors and some busted bakelite scale halves. Rough stuff!

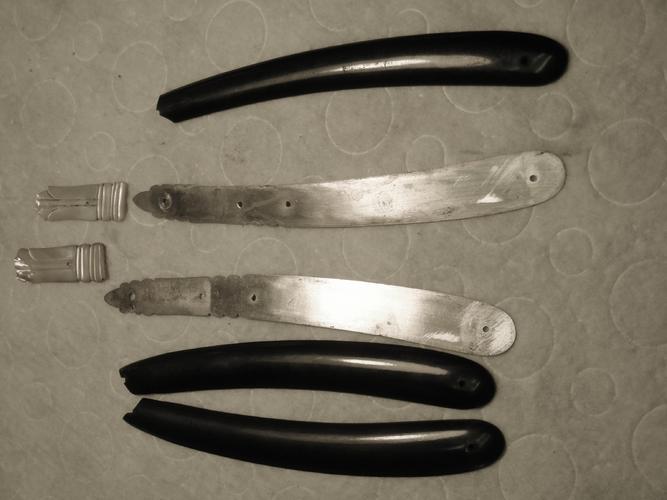
I decided to go with pearl in the middle and black top and bottom. Since the pearl would have to rely on adhesive only, I began with many tiny drill divots and used epoxy. I figured if they survived the rest of this mess, they would be good forever. After a while of pounding, one fell off. I saw then that epoxy sticks great to the metal, not so much to the pearl. Since CA sticks to pearl very well, I left the layer of epoxy on the liners and CA'ed the pearl to it. Seems to have done the trick. All manner of sanding, polishing, filing, grinding, peening and they are still stuck tight.
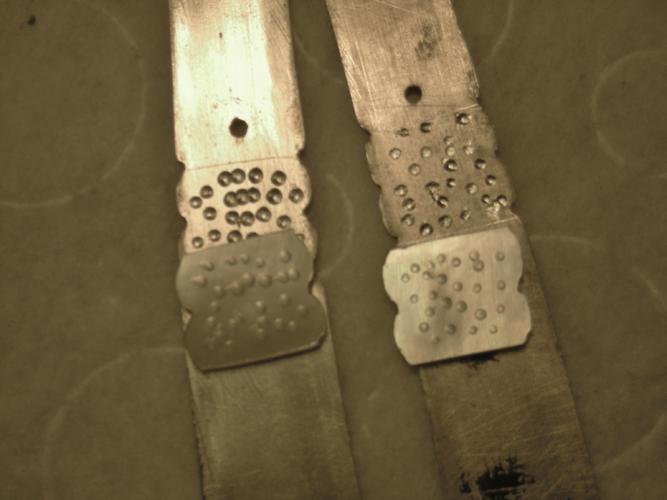
I then sized and cut my bakelite pieces somewhat close and adhered them to the liners with 'Goop' using more divots to hold the adhesive. Man, the Goop held those pieces awesomely while I beat, filed, and sanded, and polished on them off and on for a few days! I then used pre-peened pins countersunk a bit to pin the black in the middle and reinforced collars to the liners at each end with a black plastic wedge.

Big pile of work, not perfect, but turned out pretty good.
At least it is something different!
I will add some pics in another post as I am out here. Thanks for looking!Last edited by sharptonn; 04-25-2015 at 03:13 AM.
"Don't be stubborn. You are missing out."
I rest my case.
-
The Following 16 Users Say Thank You to sharptonn For This Useful Post:
Chevhead (07-01-2016), engine46 (01-08-2016), Geezer (04-26-2015), HARRYWALLY (04-26-2015), Hirlau (04-25-2015), jumissa (04-26-2015), MikeB52 (05-09-2015), MikeT (07-01-2016), ObiDon (04-26-2015), RezDog (04-24-2015), silverloaf (04-26-2015), spazola (04-24-2015), Substance (04-27-2015), Tarkus (04-28-2015), WW243 (04-25-2015), xiaotuzi (11-25-2017)


 Reply With Quote