
Results 11 to 20 of 24
 20Likes
 LinkBack URL
 About LinkBacks
-
03-18-2016, 02:35 AM #11Junior Member

- Join Date
- Mar 2016
- Posts
- 17
Thanked: 1 Much obliged
 Originally Posted by TwistedOak

-
03-25-2016, 02:05 AM #12Junior Member
- Join Date
- Mar 2016
- Posts
- 17
Thanked: 1
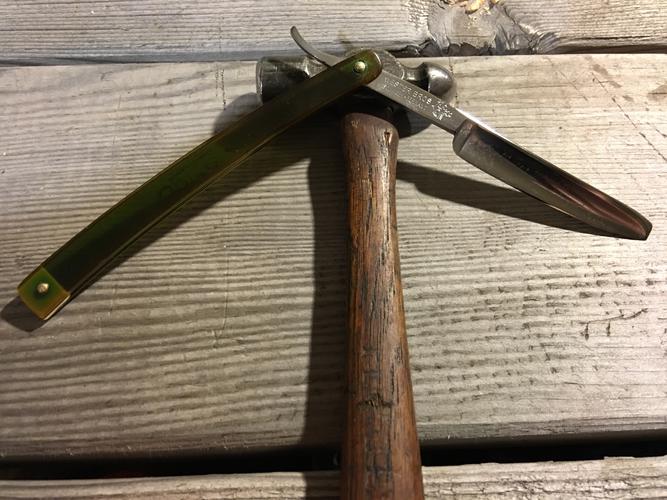
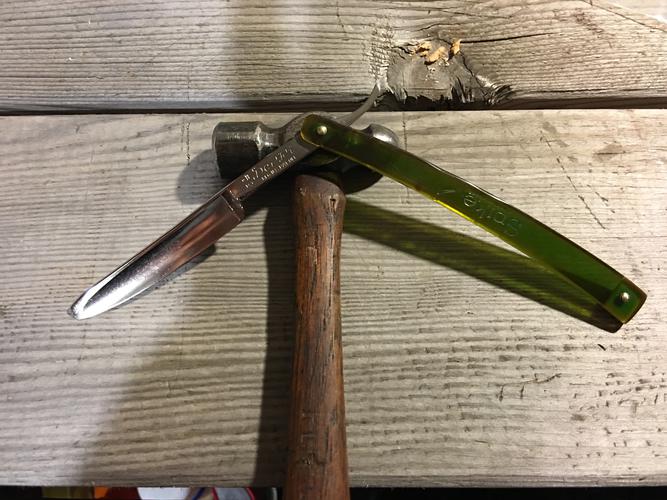
I ordered scale material from bell forest products. In the mean time i cleaned up this one and put it back together today. Came out good, i did not remove all the pitting on this one and you can see that. This blade has been ground down more towards the end but i got it sharp and shaving.
-
03-25-2016, 03:16 AM #13Junior Member
- Join Date
- Mar 2016
- Posts
- 17
Thanked: 1
Originally Posted by matt9923
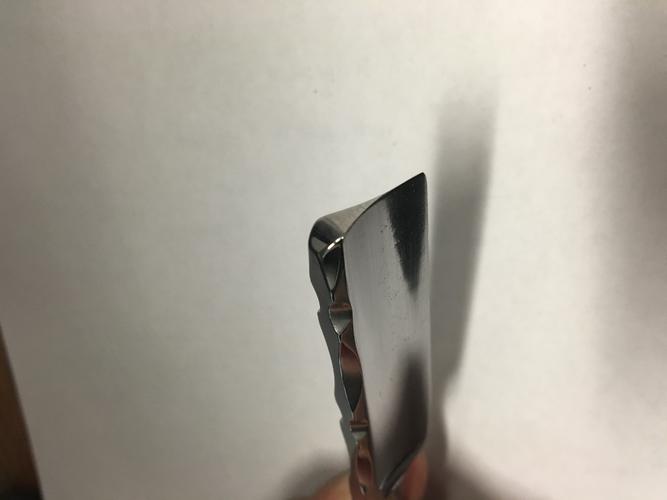 Was having truble with this picture
Willisf likes this.
-
03-29-2016, 08:01 PM #14Junior Member
- Join Date
- Mar 2016
- Posts
- 17
Thanked: 1
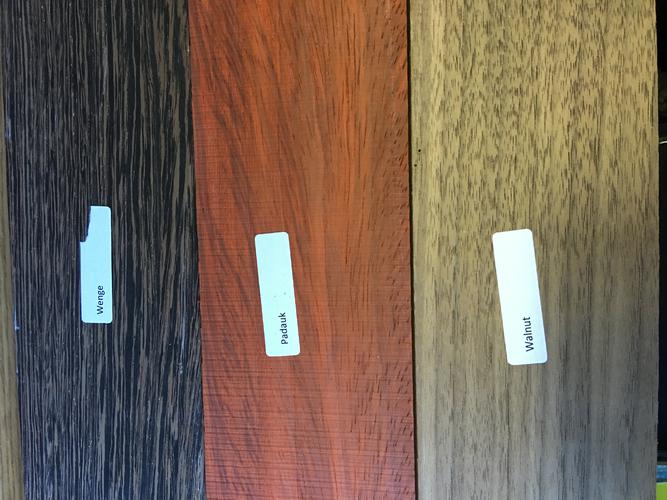
Got the wood, havent decided whitch to use.
-
03-29-2016, 09:04 PM #15Junior Member
- Join Date
- Mar 2016
- Posts
- 17
Thanked: 1
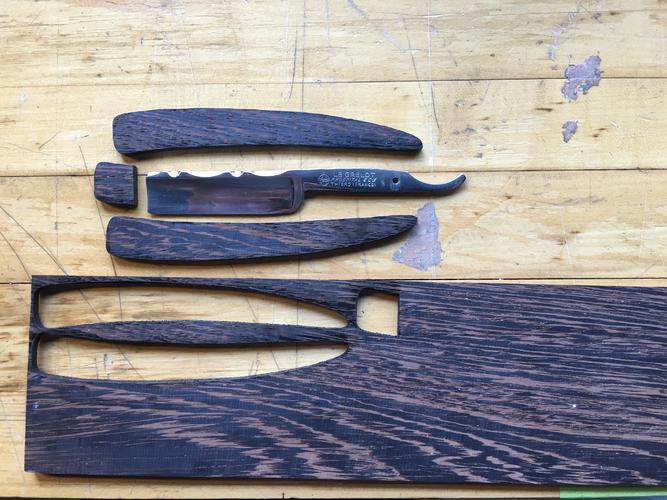
I went with the wenge, since i had to remove material from the blade tip i made the scales shorter so they would fit correctly.
Can somone explain why some razors have a stop pin. The one razor i have handled with a stop pin didnt even stop the blade befor the blade contacted the scales? Should i use on on this razor?
Last edited by matt9923; 03-29-2016 at 09:06 PM.
-
03-29-2016, 09:42 PM #16Senior Member


- Join Date
- Jun 2013
- Location
- Gladstone QLD AUSTRALIA
- Posts
- 3,246
Thanked: 804
the third pin is not a stop pin mate, they are only to keep the scales spread.
I have a couple also & none do (or should) actually hit the blade
often on blades with gold wash etc to stop it rubbing offSaved,
to shave another day.
-
03-30-2016, 07:27 AM #17Junior Member
- Join Date
- Mar 2016
- Posts
- 17
Thanked: 1
Thanks for the info, i recall reading that on here a while back now that you mention it. Originally Posted by Substance
CheersSubstance likes this.
-
03-30-2016, 08:02 AM #18Truth is weirder than any fiction..

- Join Date
- Jun 2012
- Location
- Land of the long white cloud
- Posts
- 2,946
Thanked: 581
Very nice work matt9923. The only thing I would add is to spend a bit more on the blade you choose to restore, there are so many better candidates worthy of your obvious talent and patience.
matt9923 likes this.Into this house we're born, into this world we're thrown ~ Jim Morrison
-
03-30-2016, 12:33 PM #19Junior Member
- Join Date
- Mar 2016
- Posts
- 17
Thanked: 1
Thank you for the support. I agrre but these are just to better understand what is involved. I have some reserch to do on what blades are worth more. If you have any resources in mind for that please share! Or i will just sift through the posts on here.
-
04-05-2016, 05:31 PM #20Junior Member
- Join Date
- Mar 2016
- Posts
- 17
Thanked: 1
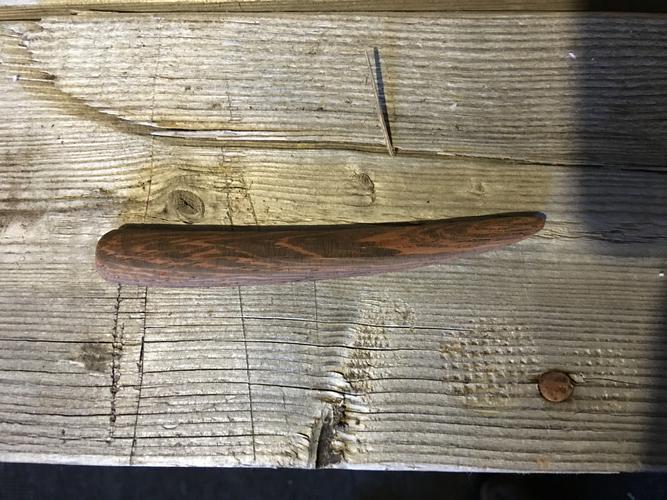
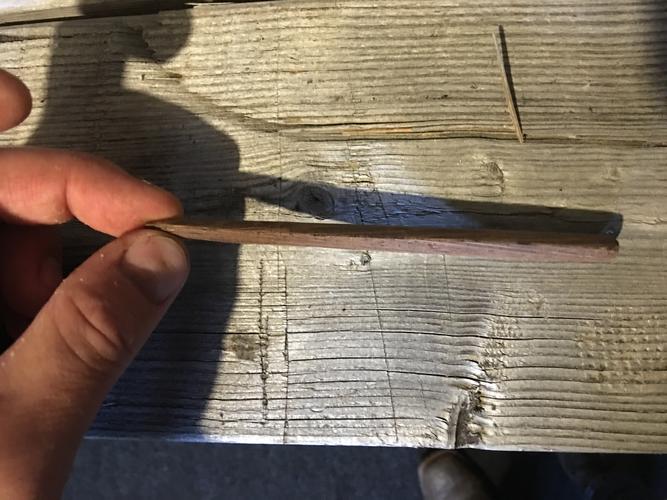
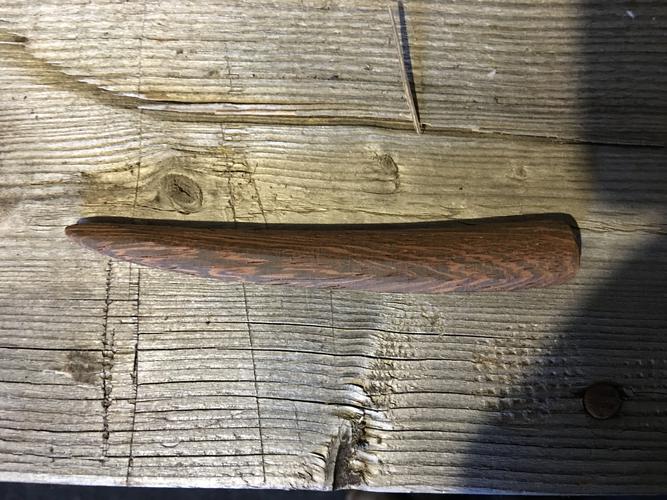
Started by glueing the two scales together with a couple dabs of glue. Roughed out the shape with the 1" belt. Started with 220 thru 1200 by hand. Came out pretty good for a first attempt. Im not sire how to finish them, i was thinking epoxy? Also do yall think one pin in the back is enough? Guess looking at it, i can only use one, my original idea was to use two but its not as wide as i planned.
Last edited by matt9923; 04-05-2016 at 05:44 PM.
Willisf likes this.


 Reply With Quote