
Results 1 to 10 of 24
 20Likes
 LinkBack URL
 About LinkBacks
-
03-17-2016, 04:09 AM #1Junior Member

- Join Date
- Mar 2016
- Posts
- 17
Thanked: 1 Sheffied LE Grelot restoration w/pics
Hello,
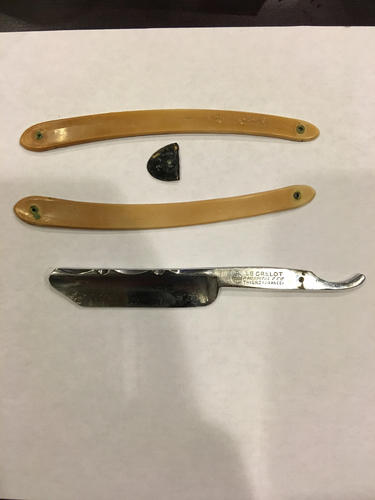
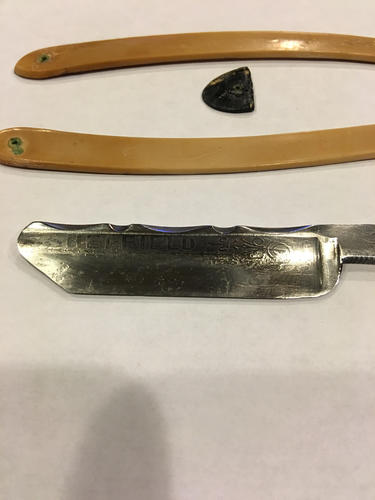
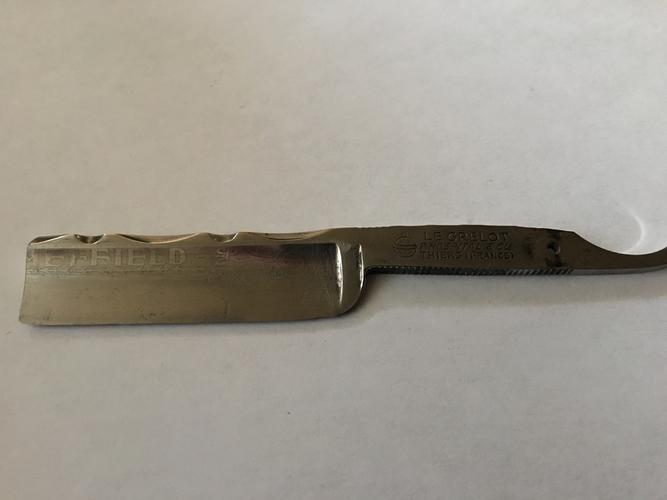
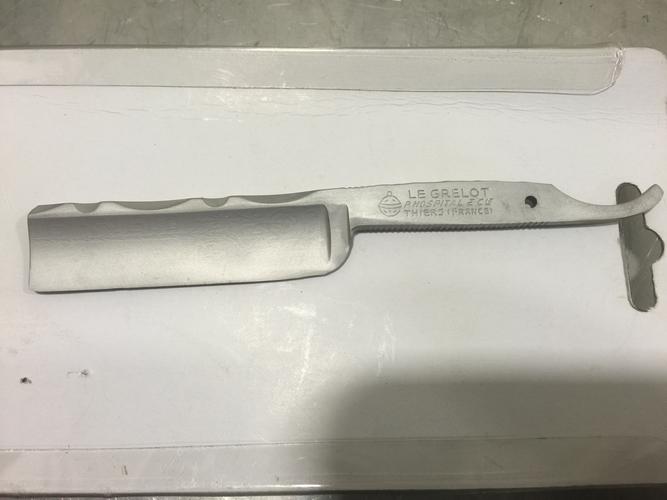
New here but I been trying my hand at cleaning up some ebay find razors. I found this razor and really like the spine. Prolblem is the tip is broken off, i have a full beard and dont completley shave with any type of razor so I don't have the best idea of what to do with this thing. Debating shortining it up.
The scales are shot. Not sure what happened to this poor thing. Im looking for some ironwood or cocobolo wood to make new scales. Blade has some pitting but ill clean most of it up.
Not sure how to post a picture but i took a bunch...
-
03-17-2016, 04:31 AM #2Junior Member
- Join Date
- Mar 2016
- Posts
- 17
Thanked: 1
-
03-17-2016, 05:34 AM #3Senior Member

- Join Date
- Dec 2013
- Location
- Texas
- Posts
- 1,568
Thanked: 269
The file work is nice, but that is probably not your best choice for your first restore job because shortening a blade is not as simple as it seems! As for the wood, you can get thin stock wood from various woodworking and craft stores. However, those scales in your post will work fine unless there is a flaw I can't see from your pictures...
Spend some time looking at the threads in this section to get some ideas, and maybe consider project razors that just needs sanding and polishing and not cutting and grinding until you get a few under your belt
Good luck!rolodave likes this.
-
03-17-2016, 11:40 AM #4Junior Member
- Join Date
- Mar 2016
- Posts
- 17
Thanked: 1
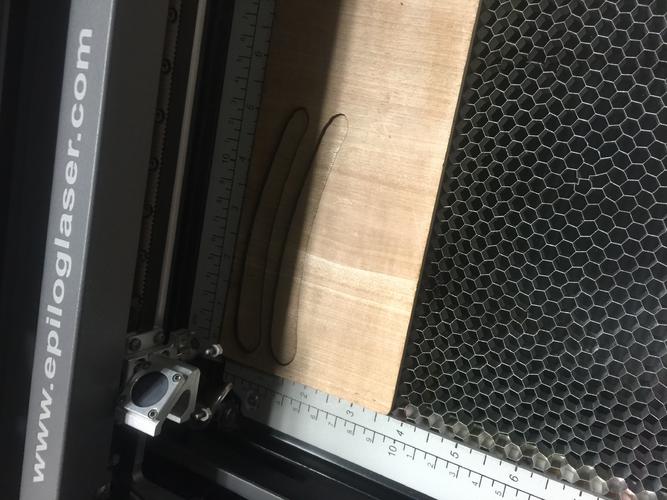
Thanks for the advice. The scales are both cracked. Theres not much around my area for woodcraft type places so i will prolbably order some online. I plan on using my lazer macine to cut the scales and make some sort of texture/ logo. I will take pictures of the process. Its mostley an expiriment on this one.
-
03-17-2016, 04:37 PM #5Senior Member


- Join Date
- Sep 2008
- Location
- Crossville, TN
- Posts
- 1,711
Thanked: 304
Good candidate for experimenting but for shaving I would look for something in better condition. Its a shame the blade is broken, love that spine work!
Some guys will draw an outline of the blade on a piece paper then draw (design) scale shape they want, cut the scale design out of the paper, lay the pattern on the wood/acrylic, etc. and trace the outline of the pattern onto the scale material. Have done that myself and came up with some nice designs."If You Knew Half of What I Forgot You Would Be An Idiot" - by DoughBoy68
-
03-17-2016, 06:05 PM #6Junior Member
- Join Date
- Mar 2016
- Posts
- 17
Thanked: 1
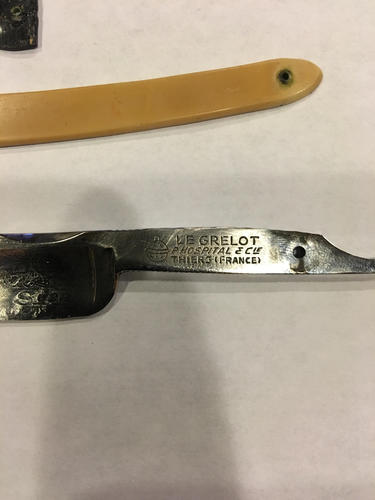
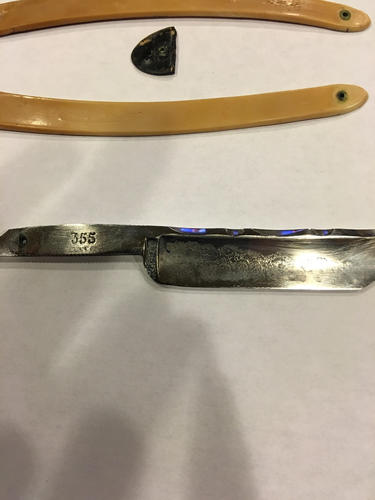
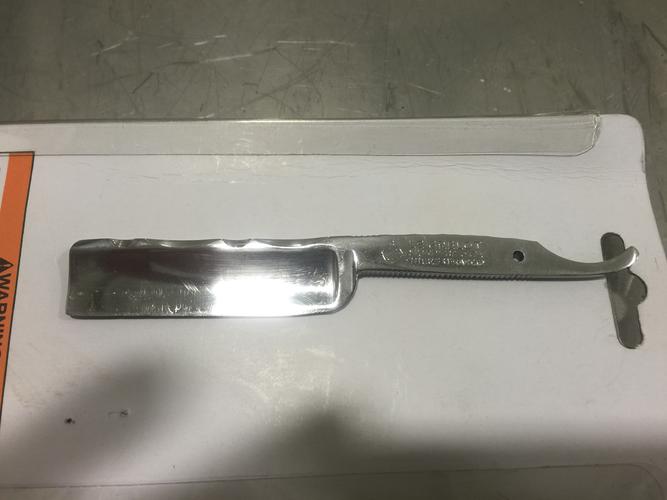
I shortened the blade up. unfortunately I couldn't cut it in a way to save the Sheffield logo. I think at this point i will just remove the logo on the blade and polish it. If i can find an image of there logo i will etch it back on but i didnt see any with a google search. The spine still looks good. This is just rough cut and quick shapeing.
Last edited by matt9923; 03-17-2016 at 06:08 PM.
Hirlau likes this.
-
03-17-2016, 10:52 PM #7Senior Member


- Join Date
- Jun 2013
- Location
- Gladstone QLD AUSTRALIA
- Posts
- 3,245
Thanked: 804
Nice clean up mate.
But I hope the mark in the pic about 1/3 from the heal is just from the pic and not a crack that it looks likeSaved,
to shave another day.
-
03-18-2016, 01:28 AM #8Junior Member
- Join Date
- Mar 2016
- Posts
- 17
Thanked: 1
Cleaned the razor up and gave it a quick buff.
I cheated alot on cleaning this up. As you can see theres some scratches from sanding. I will finish cleaning it up another day.
I cut out some scales from some cheep wood, just as an experiment.i think that will work out well. It takes a tenth of the time the scroll saw does. Once it is set up, but i saved the template for future projects. I may actually use a different style for this razor...
Looks like a crack in the picture but its not.

Last edited by matt9923; 03-18-2016 at 01:35 AM.
-
The Following User Says Thank You to matt9923 For This Useful Post:
Hirlau (03-18-2016)
-
03-18-2016, 01:32 AM #9Junior Member
- Join Date
- Mar 2016
- Posts
- 17
Thanked: 1
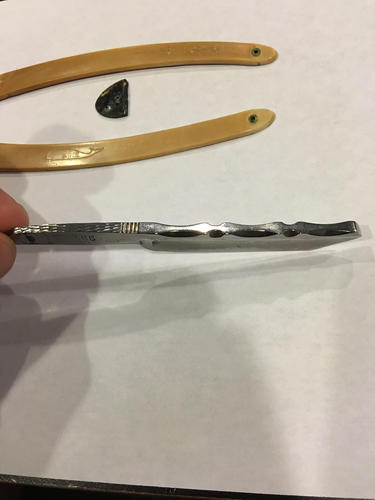
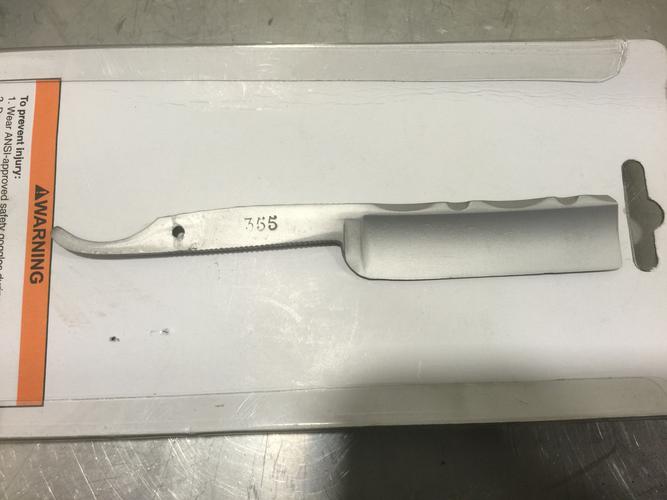
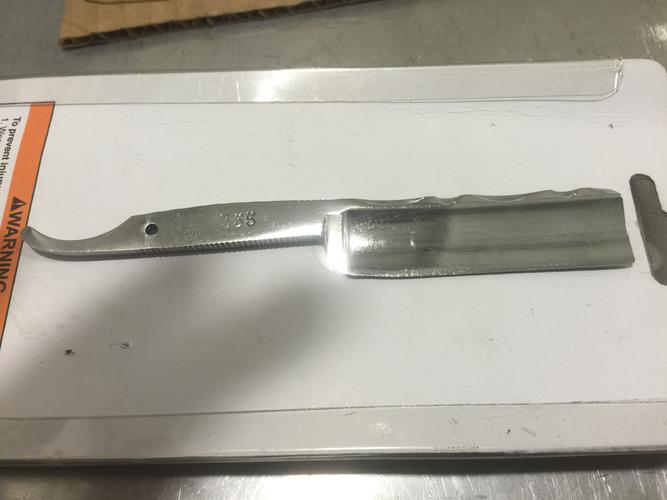
Re contoured the end
Attachment 231886Last edited by matt9923; 03-18-2016 at 01:51 AM.
-
03-18-2016, 01:48 AM #10the deepest roots


- Join Date
- Feb 2011
- Location
- Seattle
- Posts
- 1,221
Thanked: 169
Looks very good for a first shortening attempt!


 Reply With Quote