Results 1 to 10 of 11
Hybrid View
-
11-29-2020, 06:10 AM #1Senior Member


- Join Date
- Aug 2020
- Location
- Roseville, CA (30 minutes north of Sacramento)
- Posts
- 246
Thanked: 7 Custom Scales For a Wade & Butcher (Heavy Pix and Explanation)
O-Tay folks. Just wanted to share my very first scales design and install with y'all.
I'm nothing special, so no pride here if I am mistaken in some method or steps taken.
Just me, my psycho-babble, and a bunch of pictures to share with y'all.
So I had an old 1837ish Wade & Butcher that I acquired and restored.
I believe I paid something like $25 or $30 for it.
The scales were cracked, pieces had broken off the scales, and the steel was super rough.
Perfect for a vintage razor restore!
So the blade was cleaned, but left a bit rough, as it had a super faint etching on one side. And if I polished the other parts of the razor, the etched-side would look different than the rest. So I left it in a way that it all matched. (Gives it character as well).
The next part were the scales. I wanted a darker "old wood" look.
I do not like bright bling-bling colors...ever...on anything...period!
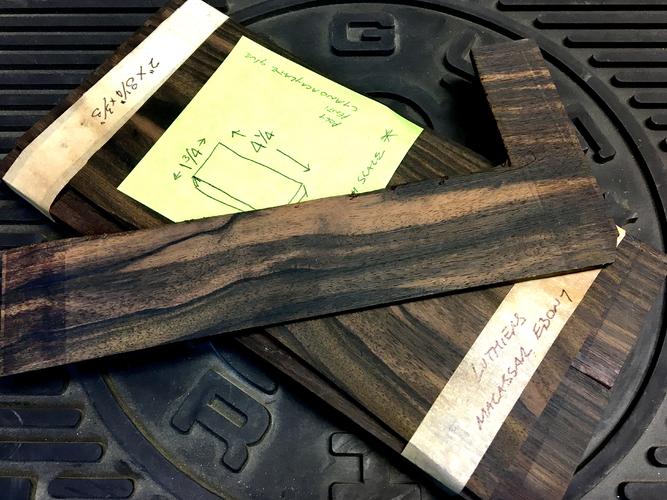
So I grabbed some 1/8" inch thick "Luthiers Macassar Ebony" that I had been saving for a knife handle.
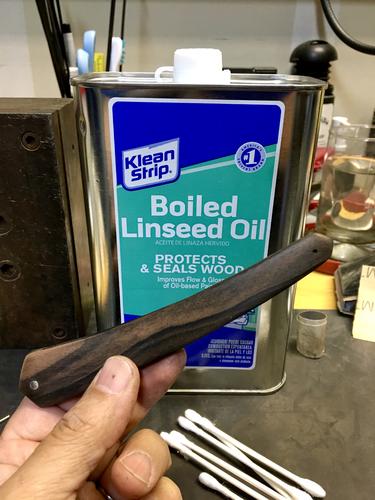
It was a good choice, as I knew it would get a little deeper and darker after I treated it with linseed oil.
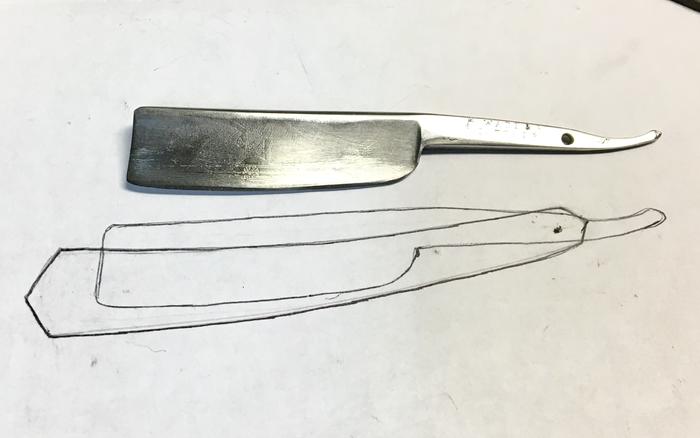
Below you can see how I traced the blade and designed the scales like I wanted them.
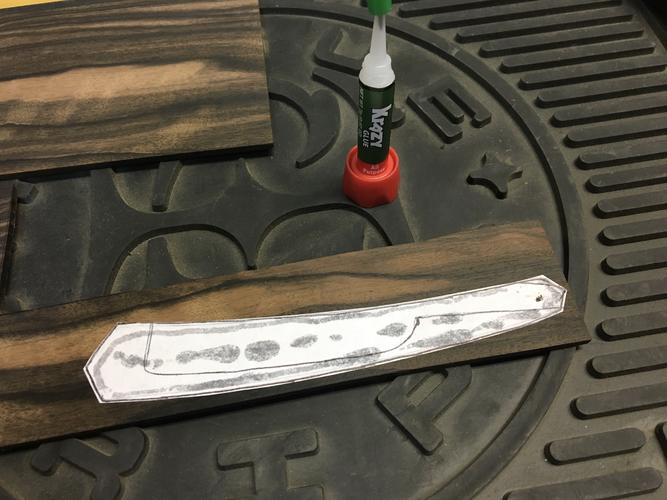
The next pictures show the wood I used, how I cut-out the pattern I drew and Crazy Glued it to the wood, and then how I cut it out on the scroll saw.
By the way, a good note. Always attach the design securely with Crazy Glue or some other type of thin-layered adhesive. If the pattern is loose, it will "shift/come off/peel up on the sides" when you are cutting it, sanding it, or just handling it. The pattern sands off easily afterwards.
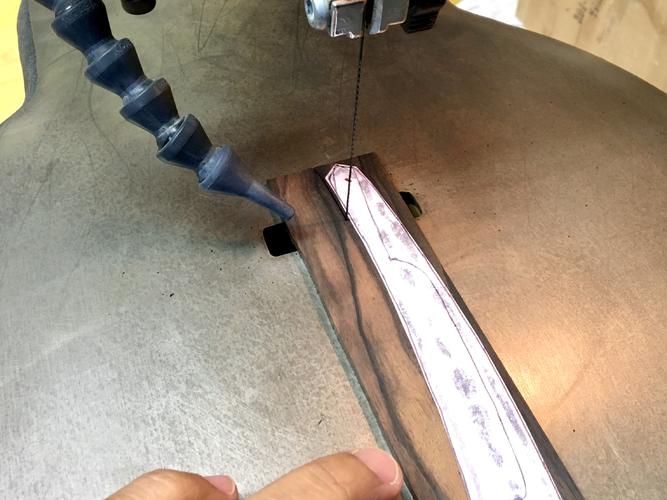
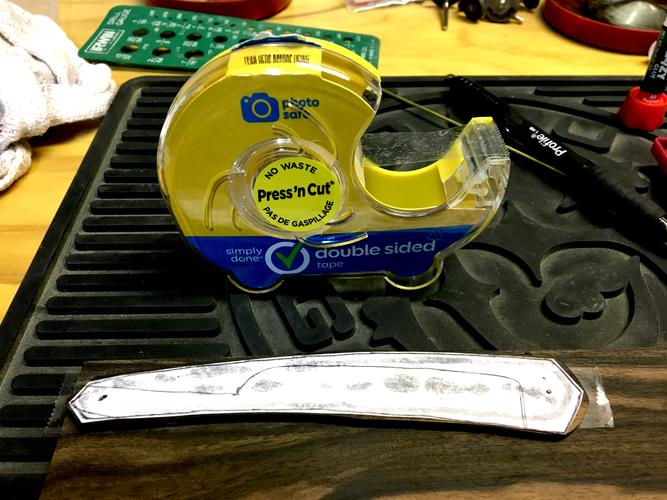
After it is rough cut, I laid it on the other half of the wood, and attached it using double-sided tape. (Which I will never do again. More on this in a minute).
After the two pieces of wood were securely fastened together, I did one more thing. I placed the pieces on my drill press, drilled two 1/16" inch holes, and placed a brass pin in each hole. This will hold the two pieces securely. (Which is why I did not need the double-sided tape). The brass pins are not even an issue when sanding the scales, as they sand down super easily with any powered sander. (If you are going to HAND SAND the scales, then this may pose an issue for you, so stick to double-sided tape or some other means).
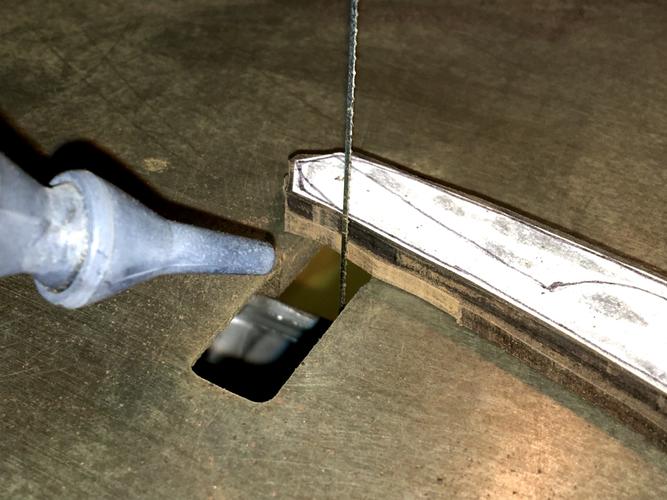
After they are attached, I went to my scroll saw and cut them out. And then I went to my small 1x30 Rikon belt sander and sanded it down. Notice how the brass pins were not an issue, and sanded down without a problem. At this point the pattern was also sanded away, as it was not needed any longer.
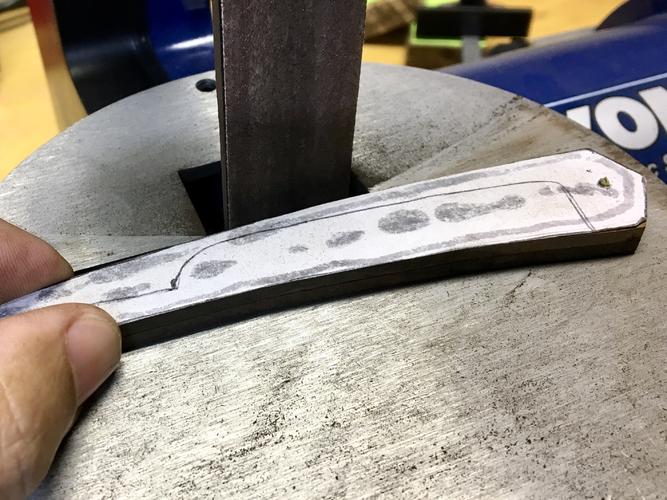
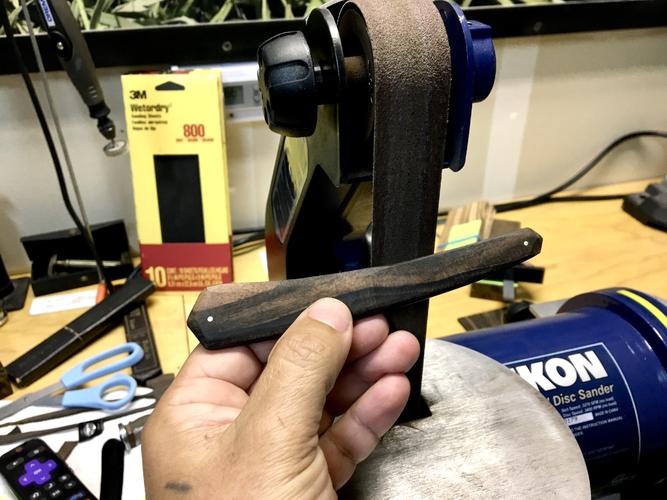
I got the shape right to where I wanted it on the belt sander, then proceeded to hand sand it to its final shape and finish. I started hand sanding it with 120 grit, then 200 grit, then I finished with 400 grit...which was kinda overkill. Once again, notice how the brass pins were never an issue.
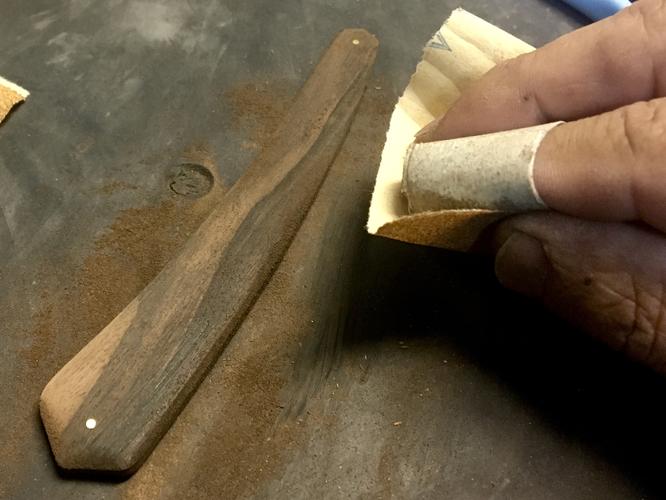
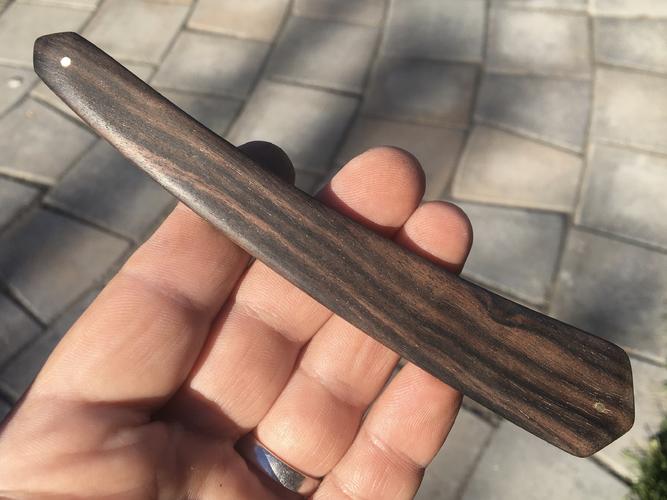
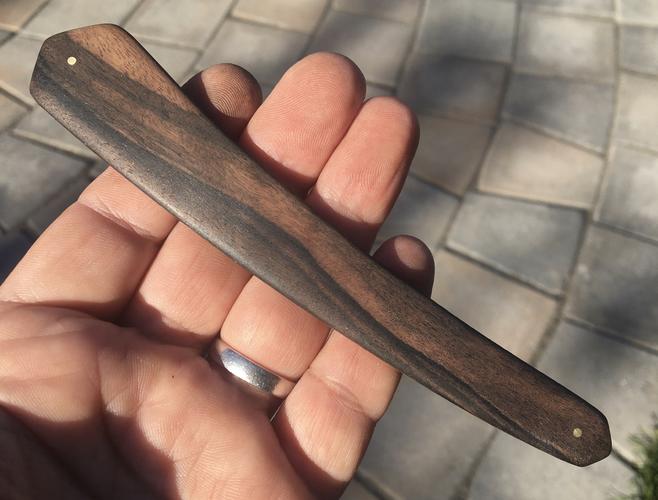
After the sanding was done, it was time to separate the two pieces. The pins were super easy to remove. Light tapping with a finishing nail popped them out easily. No issues whatsoevah. But this is where I HATED using the double-sided tape. (Which I will never use again). After I peeled-off the lining (which you can see attached to my metal peening block), it left a nasty reside, which I needed an adhesive remover to remove. Blagh! Nothing overly hard. But I hated the smell, rubbing a solvent on the wood, and then having to discard the nasty-smelling solvent wad with the adhesive residue.
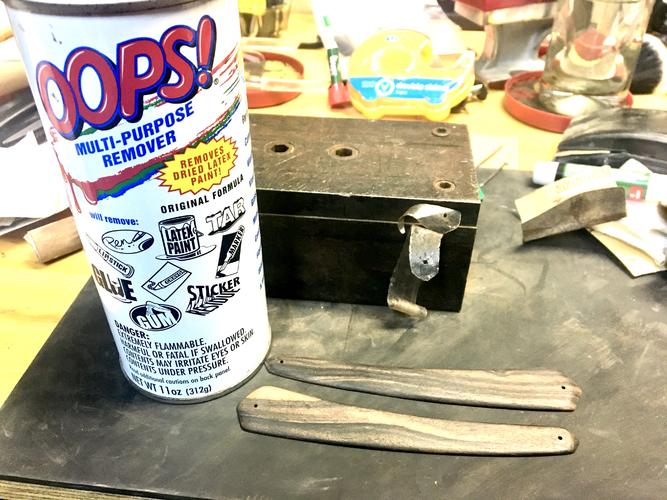
continued on next page...Last edited by RaymondMillbrae; 11-29-2020 at 08:00 AM.
-
The Following User Says Thank You to RaymondMillbrae For This Useful Post:
JBHoren (11-29-2020)
-
11-29-2020, 06:39 AM #2Senior Member


- Join Date
- Aug 2020
- Location
- Roseville, CA (30 minutes north of Sacramento)
- Posts
- 246
Thanked: 7
continuing...
So here is a tip I got from communicating with "Dr Matt". (Look up his YouTube videos)!!
The Wade & Butcher has a LARGE pivot hole. I was told that it was because they used to "punch" the pivot holes back in the day, and not drill them.
But if I used a 1/16" inch pin, the blade would wobble around and feel nasty. So following the lead that Dr Matt gave me, and I learned this technique.
Go to the Ace Hardware store because they carry all the parts you will need for this. I purchased a "3/32 x .014 round brass tube" that my 1/16" pin fits perfectly into. (I could also have used a 3/32" brass pin...but it would have been a large peen on the outside of the scales). I used the round tube because I only wanted a 1/16" inch pin to peen on the outside scales More on this in a few.
Anyhoo...here are a few pictures for you to see the tube and pin, the large stamped size of the pivot hole, and how small the actual brass tube needed to be, and why.
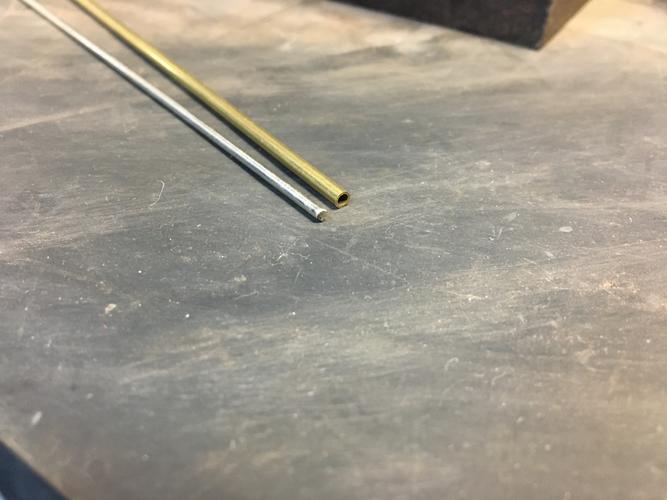
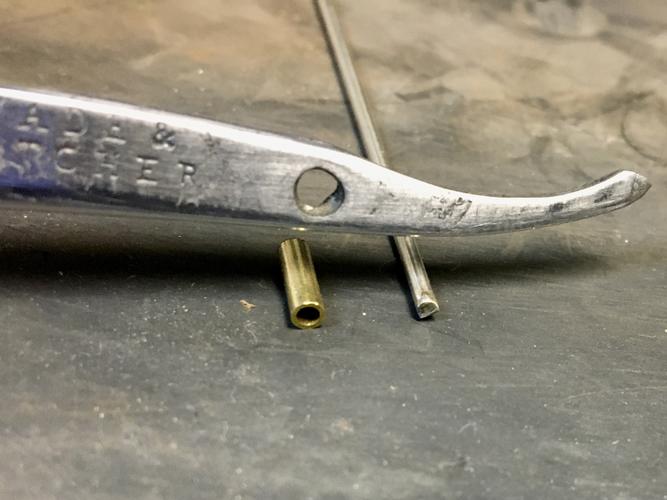
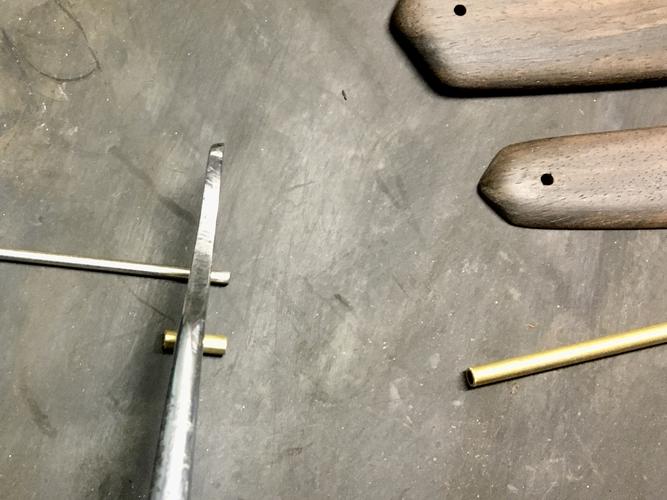
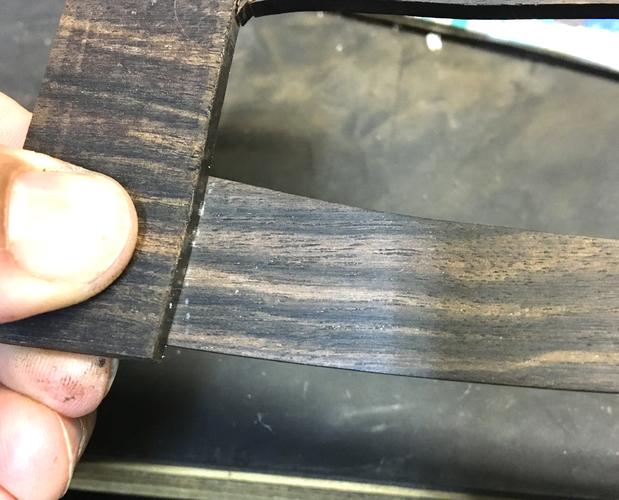
What I did was cut a piece of the tube larger than needed, and placed the 1/16" inch pin in it. Then I grabbed the rod (not the tube) with some grips, and sanded-down the brass tube to the size I wanted. When it was done, you can see the tube was barely the thickness of the width of the hole. And then you can see the brass tube placed in the blades hole.
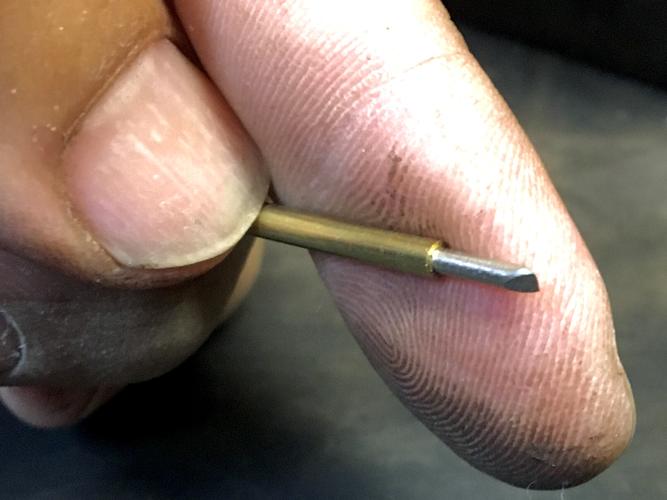
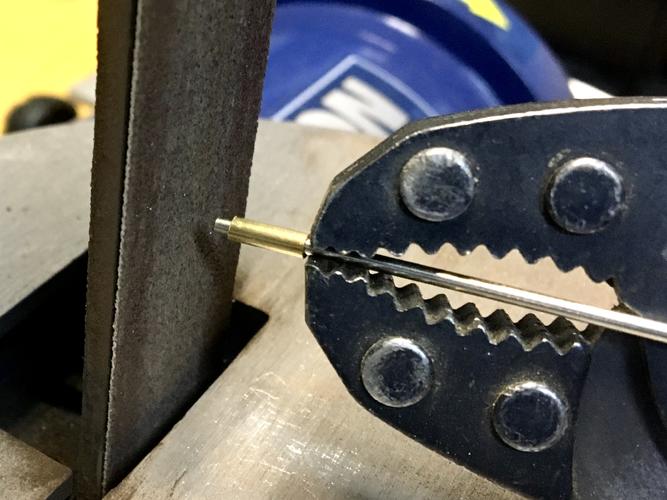
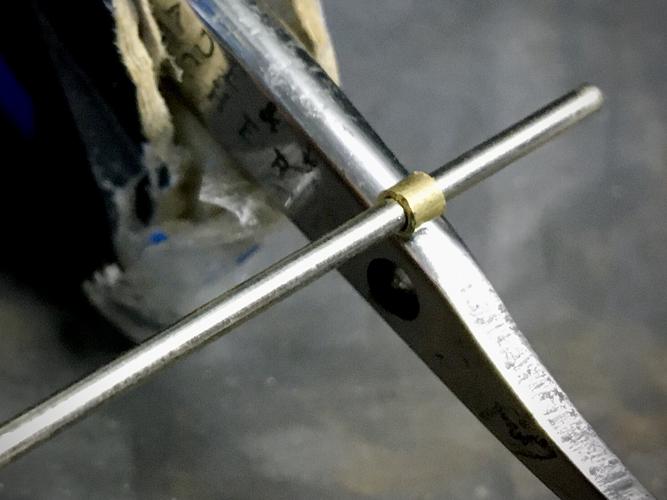
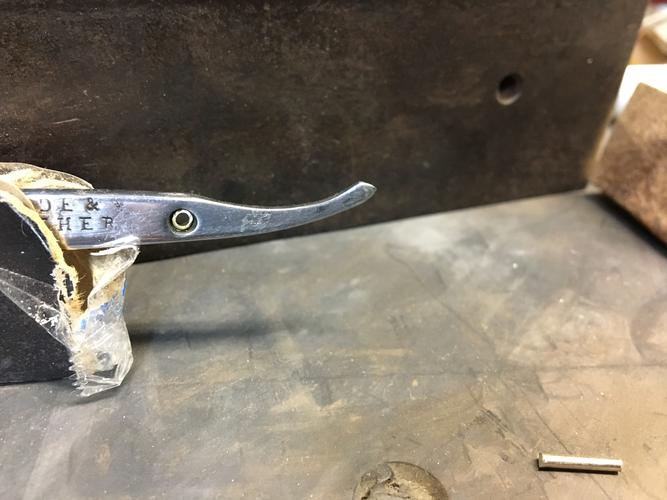
The latter steps needed to be done because I needed to have the blade EXACTLY where it will finally be positioned, so I could find out where to place my wedge. Also notice because I used the brass tube, only the 1/16" inch pin was showing on the outside of the scales, which made for a smaller peen footprint.
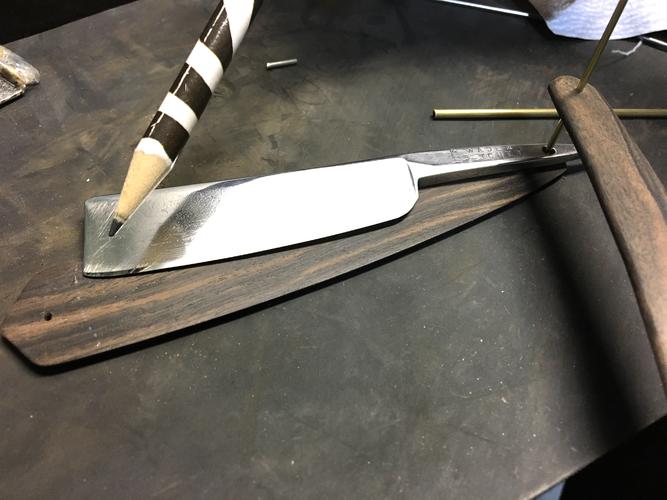
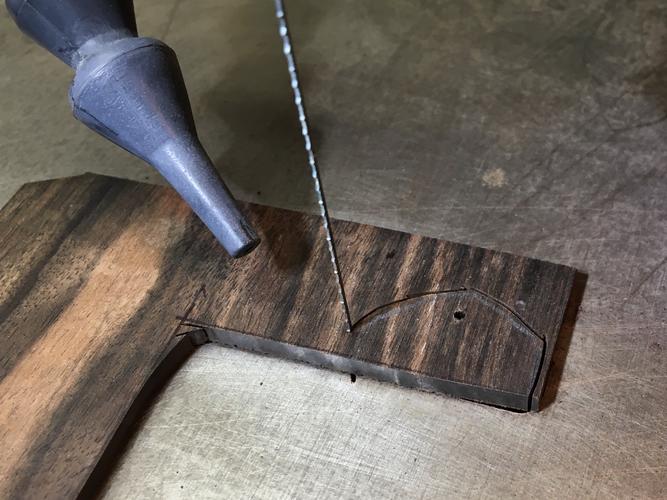
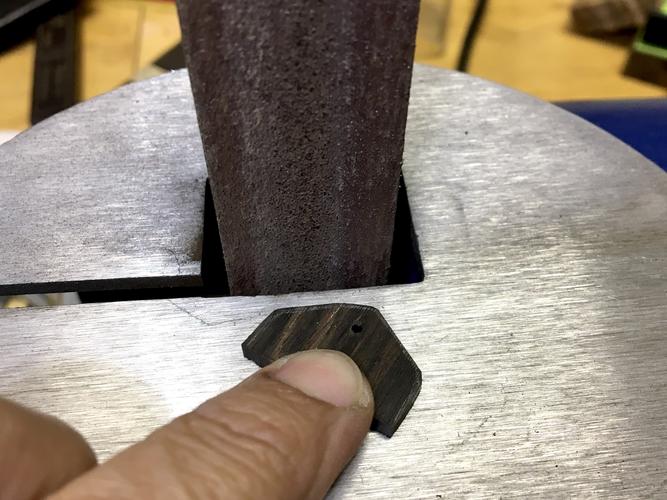
After the wedge was marked, I cut out the shape on the scroll saw and sanded it down to its "almost shape". It needs to be larger than it needs to be, as it will eventually be sanded down flush with the scales. Once it was to the size I wanted, I beveled it down on 100-grit sandpaper so it was a wedge shape that would keep the scales opened when installed.
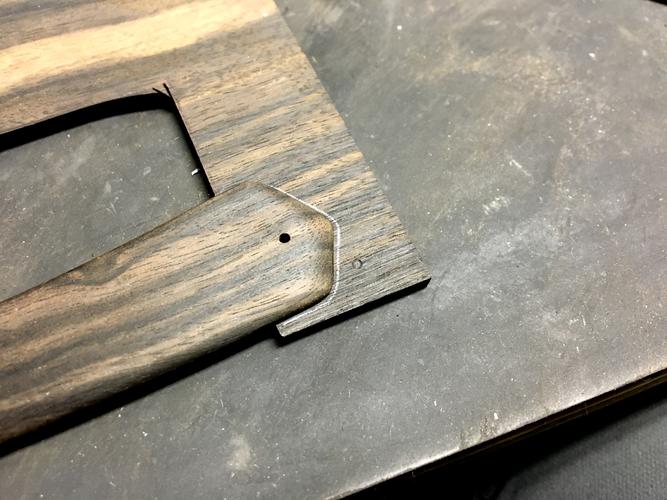
Then I added some Crazy Glue to the scale, and glued-on the wedge.
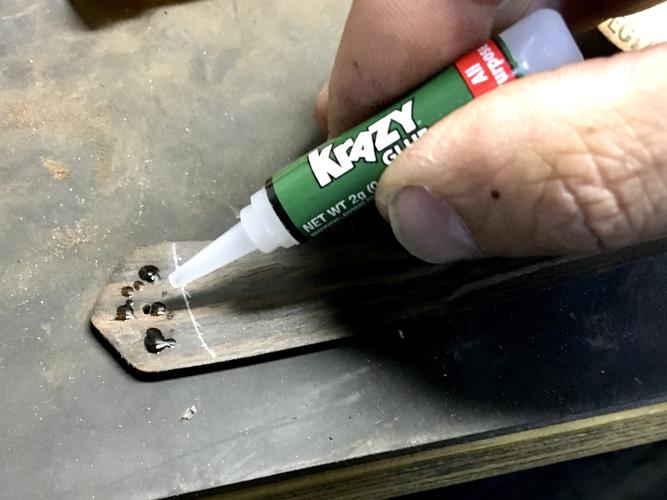
continued on next post...Last edited by RaymondMillbrae; 11-29-2020 at 07:30 AM.
-
The Following User Says Thank You to RaymondMillbrae For This Useful Post:
JBHoren (11-29-2020)
-
11-29-2020, 07:02 AM #3Senior Member


- Join Date
- Aug 2020
- Location
- Roseville, CA (30 minutes north of Sacramento)
- Posts
- 246
Thanked: 7
continuing...
Once the wedge was glued in place, I took it to the drill press and laid the scale perfectly flat like in the picture. (I did it this way because the wedge was sanded in a wedge-shape, and the drill press would not have made a perfectly straight hole). I went into the original hole in the scale, and drilled through the wedge.
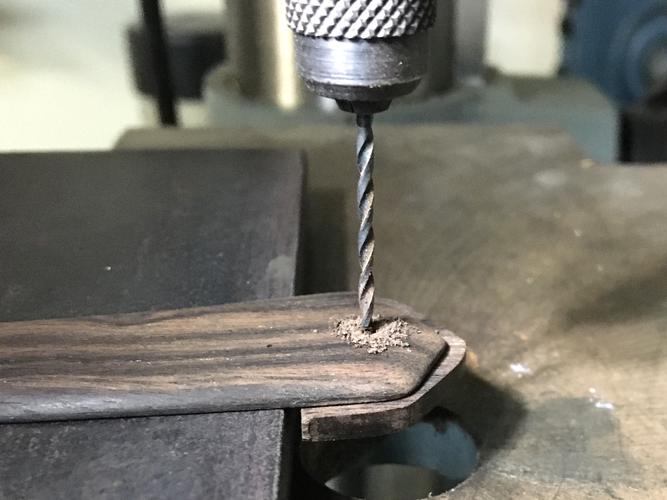
Once the wedge was drilled, I placed the pins and blade in place, and double-checked that:
a) the blade cleared the wedge when closed
b) the wedge was sufficiently wedge-shaped to hold the scales opened.
c) the wedge was the correct width to stop the blade when in the closed position
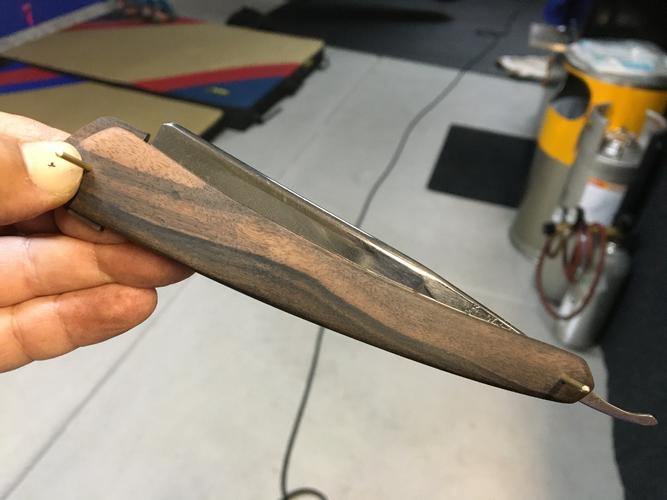
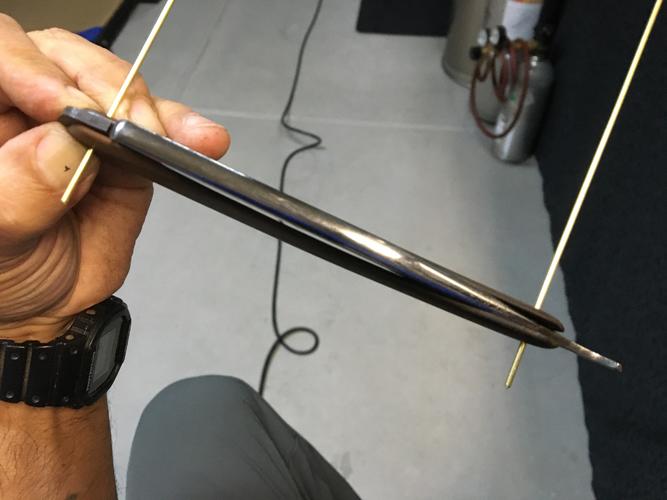
Once I knew everything was good, I glued the other scale to the wedge (I know, I know...not everyone glues the wedge in place), and then sanded the wedge to its final shape. A little 200-grit sanding again to make everything look delicious, and they are done. Then I installed the pin and peened it. (Wifey chose the nickel-silver pins instead of the brass ones.). Now it's time to apply the linseed oil.
Ah yes...another good tip I learned. Once everything was done, AND BEFORE THE PINS WERE SET IN PLACE, I placed Crazy Glue into the holes (without anything in the holes) and let it dry. This hardens and strengthens the holes to prevent cracking. Then I SUPER SLIGHTLY enlarged those 1/16" inch hole with a 5/64" bit. This makes the holes a super smidgen larger, and allows for a less squeeky-tight fit that can also crack the scales. Works perfectly!!
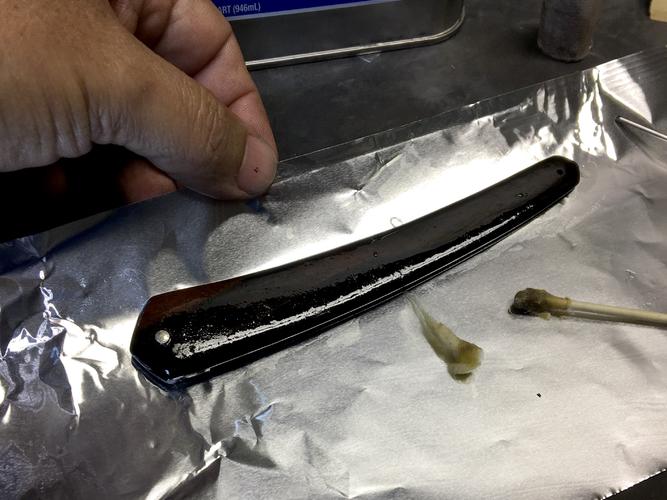
A quick note about linseed oil. ALWAYS open-up the wadded material you used to wipe it down with, and let it air dry in a non-folded position. Linseed oil does not dry like normal sealers. It uses chemicals that are mixed into the formula to generate heat to dry quicker. If left wadded-up, these solvent-soiled wads will actually self-combust and start a fire. (Google it)!!
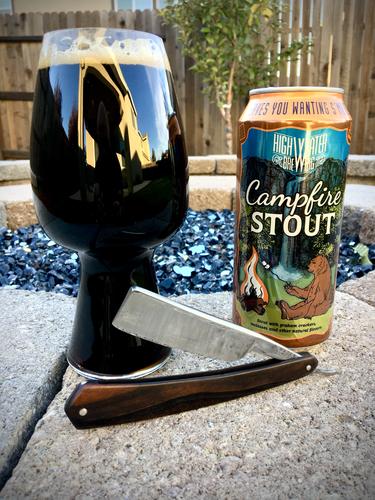
Anyhoo...here is the finished scales with the linseed oil I used. Follow the directions to the "T"!!
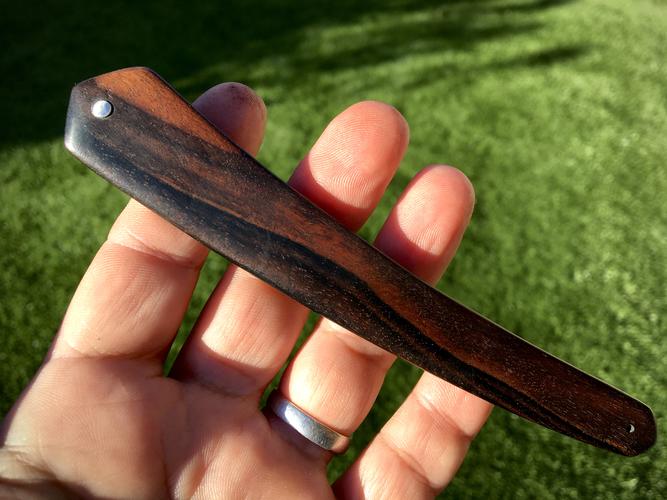
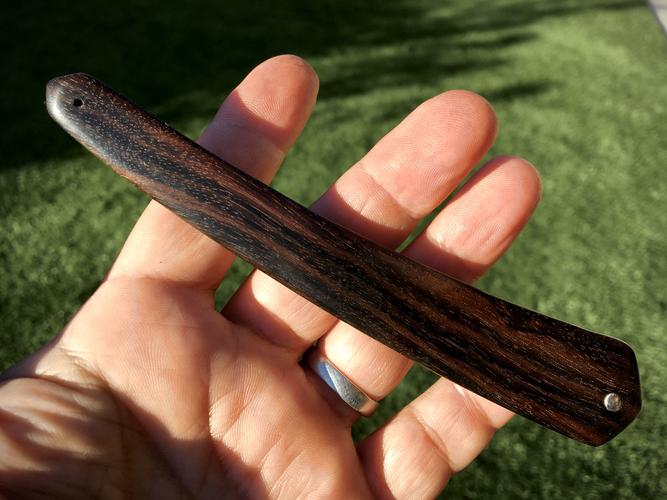
Then I installed the blade, peened it securely, and made sure to do my magic to ensure the blade was centered in the scales.
Wa-Laaaa!
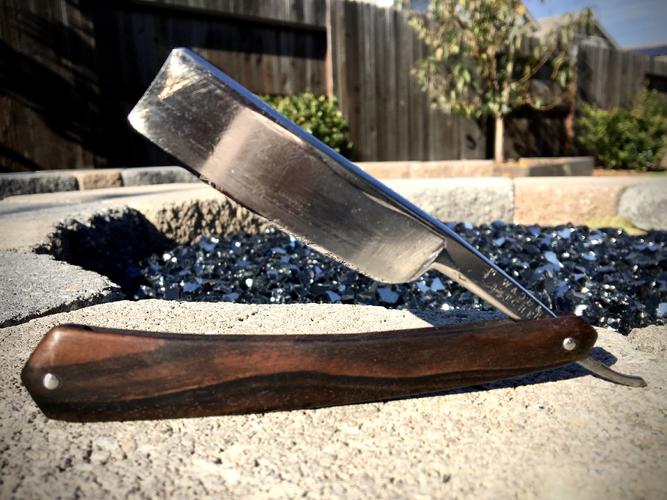
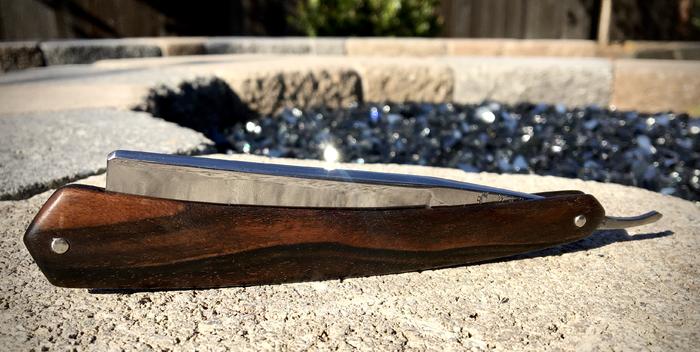
A restored and finished 1837ish Wade & Butcher that looks "Mah-velous".
As a side note, I was having some issues getting a good edge on this "kinda smiling" blade, so I sent it to Dr Matt to get it honed.
He did a KILLER job with the blade. Look at the very edge of the blade. That edge is so shiny and evenly honed, that it is acting like a mirror and reflecting the bricks in the fire pit. Sha-weet!
Anyhoo...that's my story, and I'm sticking to it.
Oh yeah...by the way. What an exceptionally smooth shaver.
It is a near wedge, if not a full wedge, and feels absolutely incredible.
Till next time.
Toodle-Loo!Last edited by RaymondMillbrae; 11-29-2020 at 09:30 PM.
-
The Following 5 Users Say Thank You to RaymondMillbrae For This Useful Post:
BobH (11-29-2020), JBHoren (11-29-2020), markbignosekelly (11-29-2020), planeden (11-29-2020), RussellR5555 (11-29-2020)
-
11-29-2020, 08:58 AM #4

Nice little pictorial, well done.
“Wherever you’re going never take an idiot with you, you can always find one when you get there.”
-
11-29-2020, 10:20 AM #5

Very nice.
Instead of double sided tape, I like to use a piece of paper, with 3-4 drops of Elmer's glue on the inside of each scale.
Clamp the paper between the scales to dry. Once dried, u can drill, sand, and shape, with no restrictions.
To separate the scales, just slide a SE razor blade between the scales. Any glue residue can be removed with a damp rag.
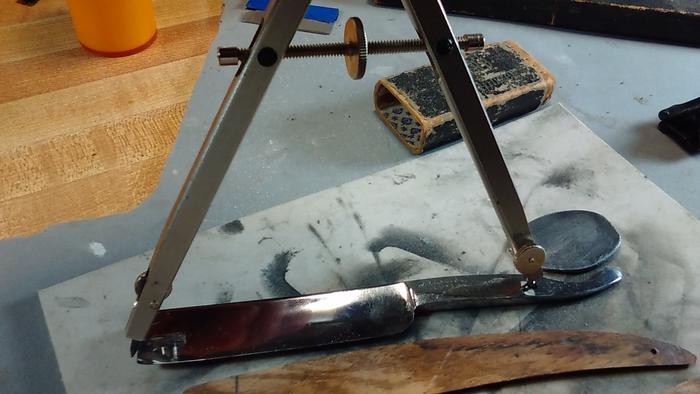
Also....a drafting compass, is the bee's knees, for wedge placement.
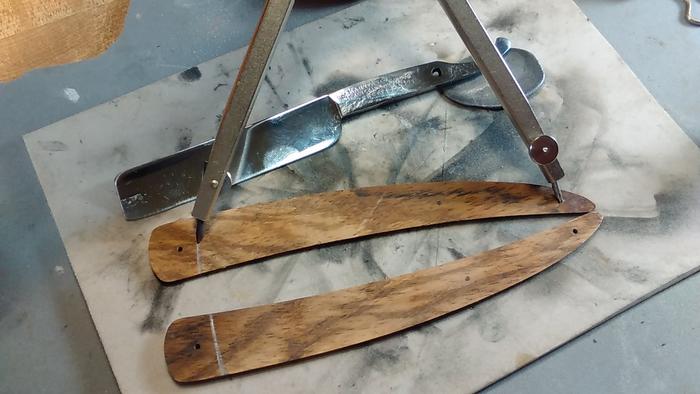 Mike
Mike
-
-
11-29-2020, 10:53 AM #6

Nice work and some fine looking wood. A do a couple steps differently but the outcome is what matters.
It's just Sharpening, right?
Jerry...
-
11-29-2020, 01:33 PM #7Senior Member


- Join Date
- Jun 2013
- Location
- Pompano Beach, FL
- Posts
- 4,048
Thanked: 636
Great job. You sure this is your first try?
Love the wood.
-
11-29-2020, 07:00 PM #8Senior Member


- Join Date
- Aug 2020
- Location
- Roseville, CA (30 minutes north of Sacramento)
- Posts
- 246
Thanked: 7
Thanks, everyone.
I also considered the glue and paper method. And it is a better method than the double-sided tape.
I was told a razor easily cleaned-up the Elmer's glue after separation.
But lazy me didn't want to wait for the glue to dry, so I went the double-sided tape way. (Which I regretted.
I'll only use pins next time. It was a super good way to connect the scales together tightly while sanding and working on them.
The drafting compass was also a great idea! (I have a few laying around in my office somewhere).
Onto my next project.


 33Likes
 LinkBack URL
 About LinkBacks


 Reply With Quote

