
Results 1 to 10 of 18
 65Likes
Thread: Brittain Wilkinson & Brownell
 LinkBack URL
 About LinkBacks
-
05-18-2021, 05:57 PM #1www.edge-dynamics.com


- Join Date
- Feb 2013
- Location
- London
- Posts
- 3,066
Thanked: 512 Brittain Wilkinson & Brownell
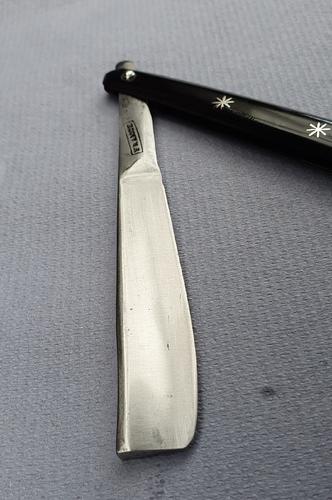
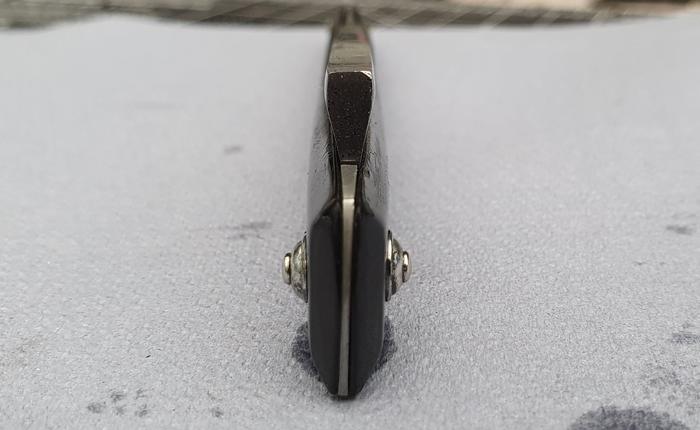
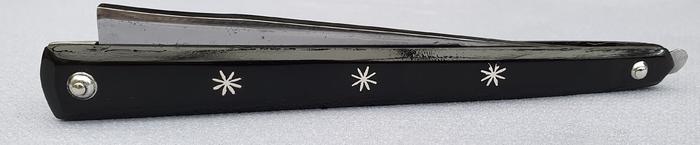
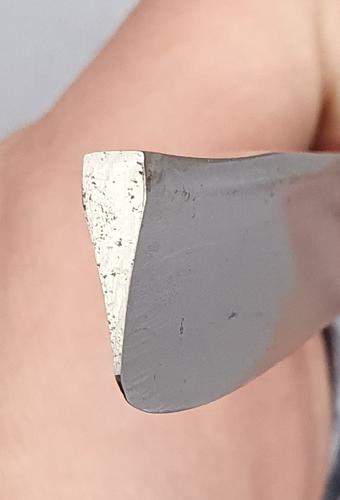
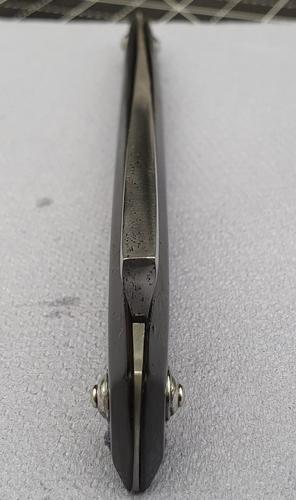
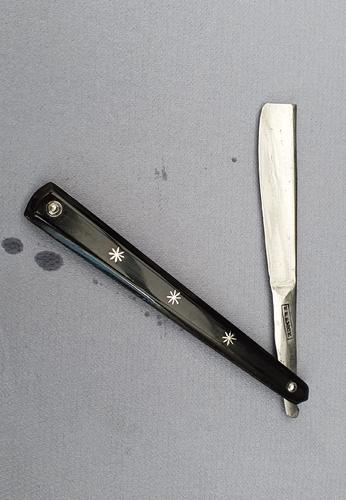
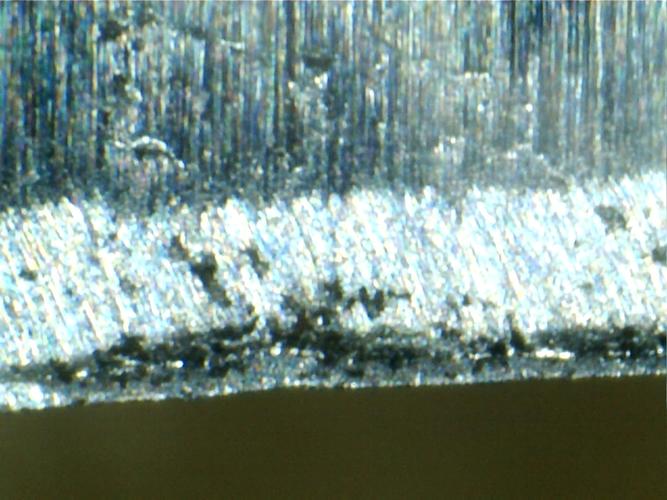
Restored this today "Brittain Wilkinson & Brownell". ("France" Tang Stamp) It is a "Dip-at-Toe" 1780 ish.
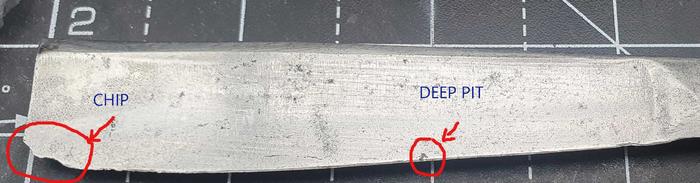
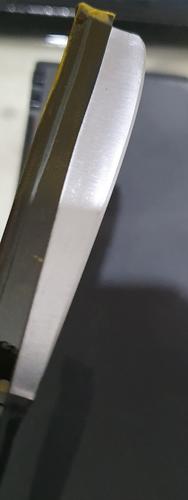
It has a satin finish and Silver collars. To be honed tonight. I made sure it has a pretty bevel.. It did have some severe chips at the toe end and a nasty pit on the edge. I have grinded it so that the pit should fade away with a 1k bevel set.
Cheers

-
05-18-2021, 06:44 PM #2Skeptical Member


- Join Date
- Nov 2016
- Location
- Colorado Springs
- Posts
- 10,548
Thanked: 2194
nice work. it fits very nicely in the scales too.
It's just Sharpening, right?
Jerry...
-
The Following User Says Thank You to Gasman For This Useful Post:
JOB15 (05-18-2021)
-
05-18-2021, 07:42 PM #3www.edge-dynamics.com
- Join Date
- Feb 2013
- Location
- London
- Posts
- 3,066
Thanked: 512
Thanks, I have about 10 days growth with this razors name on it.. Originally Posted by Gasman

-
05-18-2021, 10:11 PM #4www.edge-dynamics.com
- Join Date
- Feb 2013
- Location
- London
- Posts
- 3,066
Thanked: 512
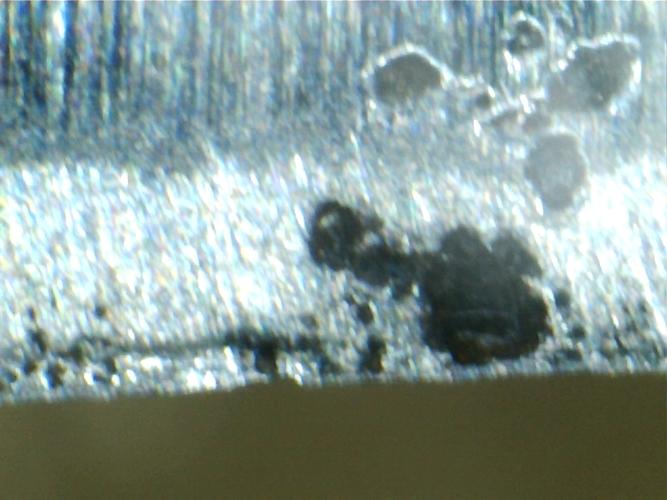
I've been at this for over an hour now, the bevel (whole blade) is pitted.. I am making progress with one handed rolling X's on the 1k . It has turned from a nightmare to enjoyment

-
05-18-2021, 11:06 PM #5Skeptical Member
- Join Date
- Nov 2016
- Location
- Colorado Springs
- Posts
- 10,548
Thanked: 2194
Gonna take some time to work thru all of that. But, I've been there. Just keep on keeping on. Kill the edge now and then and go more. And go more. And go...
It's just Sharpening, right?
Jerry...
-
05-19-2021, 05:40 AM #6Senior Member

- Join Date
- Jan 2015
- Location
- Pinole, ca
- Posts
- 1,526
Thanked: 339
That edge looks way better when you’re not looking at it with a scope. Glad you’re enjoying yourself, it will be worth it when you have a clean face and no weepers.
-
05-19-2021, 09:32 AM #7Senior Member


- Join Date
- Dec 2012
- Location
- Egham, a little town just outside London.
- Posts
- 3,850
- Blog Entries
- 2
Thanked: 1082
Beautiful razor
 JOB15 likes this.
-
05-19-2021, 10:16 AM #8www.edge-dynamics.com
- Join Date
- Feb 2013
- Location
- London
- Posts
- 3,066
Thanked: 512
It is 99% there. I knew it would come good, they always do, plus removing the chip showed me good steel not far away.
What i will do it take this opportunity to dismantle it before the bevel is 100%.
The blade won't tighten fully in the scales because i had to to use 200 year old extremely thin washers. I need new thicker washers to add some meat to the pinning area.
These scales have large bore holes which required tubing then the pin 1/16 sits inside that tube but this meant my modern washers would not fit. I do wanna buy washer a die cutting set... Trying to bore a larger hole in a washer is not really possible ..
After some thought i have a solution, just cut the tubing to fit inside each scale (maybe 3 parts, one for the razor), then i can add my modern washers and get a nice tight clamp on the razor.
My only real problem is disassembly .. I can salvage 200 year old collars no problem but my own work is difficult, the collars are silver and i only get 2 attempts , it has to be bang on dead center drilling..
If you don't hear from me then i have destroyed the razor ha ha.
-
05-19-2021, 12:48 PM #9Skeptical Member
- Join Date
- Nov 2016
- Location
- Colorado Springs
- Posts
- 10,548
Thanked: 2194
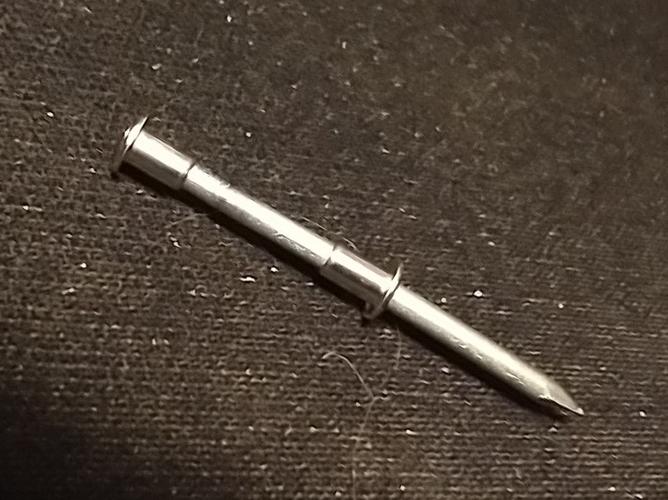
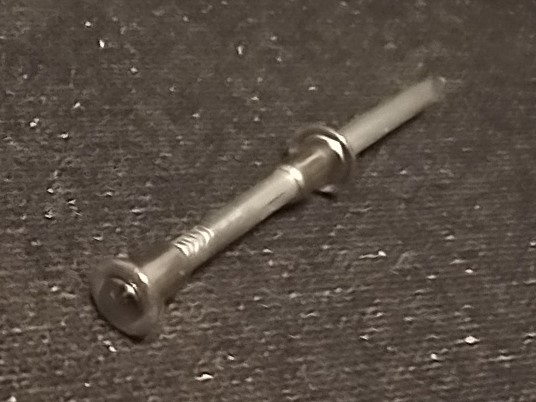
Good luck with the pinning. I think it was Shaun who sent me these little pieces when I first started out restoring razors. I still have one set so I won't part with them but he should know where to find them if you think they will help. It's a little thicker nail with two bushing collars for when a hole is bigger. Helps take up space. Sorta like a pop-rivet. Anyway, thought I'd just throw it out there as an option. Good luck.
 It's just Sharpening, right?
Jerry...
-
The Following User Says Thank You to Gasman For This Useful Post:
JOB15 (05-19-2021)
-
05-19-2021, 01:28 PM #10Senior Member
- Join Date
- Apr 2012
- Location
- Diamond Bar, CA
- Posts
- 6,553
Thanked: 3215
For real fussy work like that where you want to be extra careful unpinning, I use dental drills and a small Jacobs chuck for the Dremel flex shaft hand piece.
Once I get a good hole centered and started, I switch to a small carbide ball and eat away at the pin. I tape the razor to my pinning anvil, a 6-inch piece of polished small gage railroad track for stability. With a piece of rubber drawer liner between the razor and the anvil. Good light and a magnifying visor help.
When I have used a brass tube to shim the pin hole, I cut the tube the width of the tang. I have also filled the pin hole with epoxy and drilled, and glued in a brass pin and drilled the pin. All three methods work.
To drill the hole square, I lay the razor on a flat surface and measure the angle of the tang, then cut a wedge as close as possible test fitting on the flat surface. Then hot glue the wood wedge to the tang (hot glue will fill any small gaps) and glue the razor and wedge to a larger piece of wood for stability and drill on a drill press.
Nice pinning by the way.JOB15 likes this.
-
The Following User Says Thank You to Euclid440 For This Useful Post:
JOB15 (05-19-2021)


 Reply With Quote