
Results 1 to 8 of 8
Thread: My First attempt
 LinkBack URL
 About LinkBacks
-
09-17-2010, 01:39 AM #1
 My First attempt
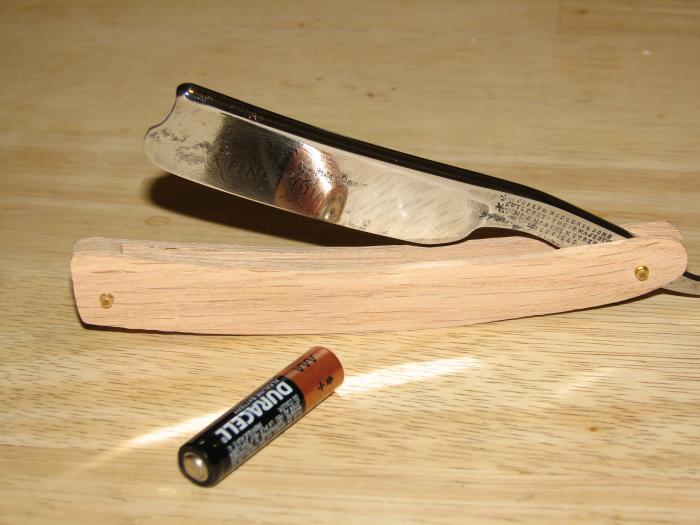
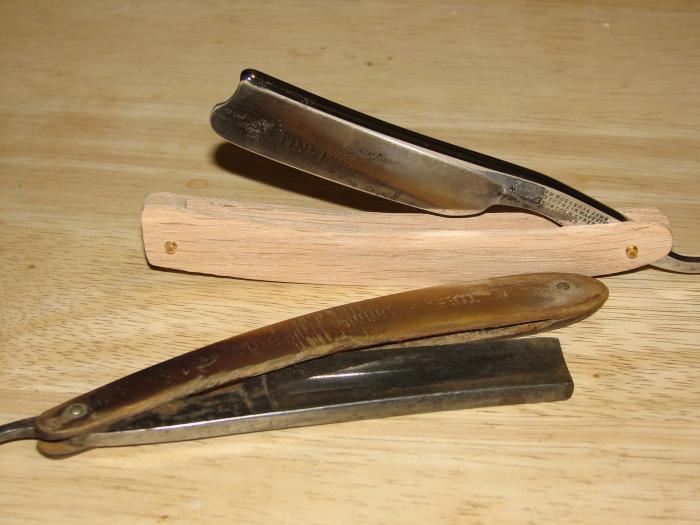
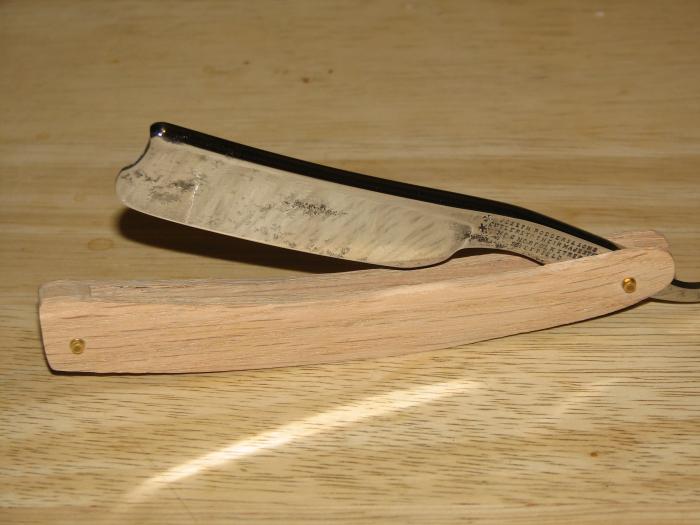
Not done, but here is my first resto attempt. It is an old Rodgers and Son. It had horn scales, but they were broken. I am using oak, cause it is the most readily available to me. The blade had severe rusting, I took off as much as I could without regrinding the whole thing.
Most of the blade resto was done by hand. The scales I did with a 'Dremel'.
It is not perfect but I learned alot.
Now to finish the scales.

-
09-17-2010, 03:02 AM #2
You are learning well! A guy once't told me that giving your best shot is important. You didn't go all out and remove all of the history from the blade. When you finish the scales, you will have a nice looking razor. Take a look at some of the wedges shown in other restorations, that tapered wedge will reduce the bulk of the scales. Remember to finish the inside of the scales! that will keep them from warping. Washers inside on the pins are important with that heavy blade.
You are doing very well!
~RichardBe yourself; everyone else is already taken.
- Oscar Wilde
-
09-17-2010, 03:06 AM #3Senior Member


- Join Date
- May 2009
- Location
- Reno, NV
- Posts
- 282
Thanked: 124
I personally prefer a blade that shows it's history a bit. Some hand sanding on those scales to smooth them out a but and you are golden. Congrats
-
09-17-2010, 03:31 AM #4 scale sanding
Yes, the sanding of the scales is the next.
As far as the wedge, I have considered sanding it thinner, but this blade is a monster.
I'll make another and taper it to see what it's like. The blade sits nicely at the width it currently is.
I will be finish sanding the whole thing, inside and out, and finishing with tung oil, as recommended by another member.Last edited by souschefdude; 09-17-2010 at 03:36 AM.
-
09-18-2010, 04:57 AM #5The Great & Powerful Oz


- Join Date
- May 2008
- Location
- Bodalla, NSW
- Posts
- 15,638
Thanked: 3751
Congrats on your first.
Don't believe a large blade requires a fat spacer. Most of those wedges sit fairly high in the scales with the Barber's notch somewhat exposed. Look at the original. It is likely a fairly slim but tapered pewter wedge.The white gleam of swords, not the black ink of books, clears doubts and uncertainties and bleak outlooks.
-
09-18-2010, 05:06 AM #6OlllllllO

- Join Date
- Jul 2010
- Location
- Germany
- Posts
- 4,192
Thanked: 4477
Congrats. Show us the scales after sanding, please.
-
09-18-2010, 05:12 AM #7Senior Member

- Join Date
- Aug 2010
- Location
- Milwaukee Wisconsin
- Posts
- 304
Thanked: 67
Nice job. What kind of time did you put into the blade?
-
09-18-2010, 05:37 AM #8 Time in the blade
Not sure exactly, I am doing most of the resto by hand. Didn't have all the right grits at first, sothe time was split up. If I had to guess I would say about 3-4 hours.
About the same with the scales. This is my first time, so everything is stop and go. I also don't have fancy tools. I am sanding by hand, cutting with a coping saw, and shaping with a 'Dremel'.
It sure is fun though.
I put together some unique tools to help my effort. O ne for shaping the wedge I thought was genius, I'll have to post a pic sometime.
I did finish the sanding today, just haven't taken the pics yet.
Thanks for the feedback.


 Reply With Quote


