
Results 1 to 10 of 18
Thread: A box for my beauty.
 LinkBack URL
 About LinkBacks
Hybrid View
-
12-29-2010, 03:23 PM #1Senior Member


- Join Date
- Feb 2010
- Location
- Yorkshire, England
- Posts
- 307
Thanked: 96 That's true, have a look at a map if you like bizarre place names
 Originally Posted by 32t

 "Chipboard" confused me for a moment there, because that's the UK word for what I think is known as particle board in the US - the stuff you walk on.
-
12-29-2010, 04:52 PM #2Senior Member


- Join Date
- Oct 2010
- Location
- 50 miles west of randydance
- Posts
- 9,575
Thanked: 1352
It confused me also because that is exactly what I thought of. I am not for certain but the name may be because it looks similar to the carboard of a potato chip box. Originally Posted by Arrowhead
Tim
-
12-30-2010, 10:59 AM #3Senior Member
- Join Date
- Feb 2010
- Location
- Yorkshire, England
- Posts
- 307
Thanked: 96
The fog has hardly lifted at all but it seems a bit brighter, good enough for some basic photos anyway. Since this box was just an experiment I didn't go to much trouble to make it pretty, and just finished it off with brown (Kraft?) paper:
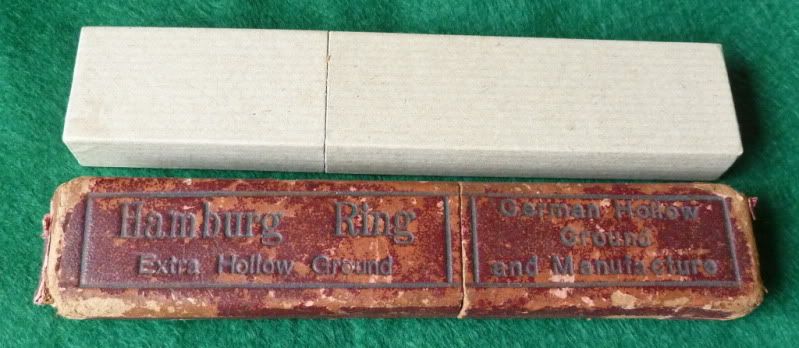
A coat of lacquer would cheer the job up! The vintage box for comparison is carefully chosen because it's the biggest one to hand - this is not a dainty item. The razor is a pretty good fit in it though because the cardboard is fairly thick at about 1.5mm (1/16"):
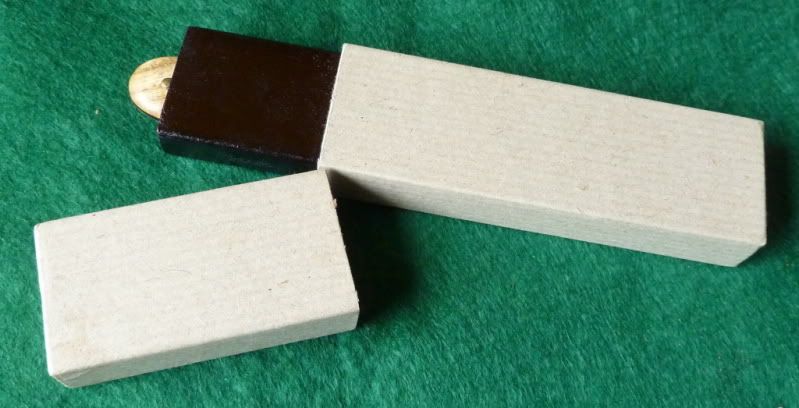
Once the outer tube was made, I thought better of using the mount board for the inner section and settled on some much thinner cardboard (can't remember where that came from, but it's about half the thickness). The colour was an unattractive greyish buff, so out with the magic marker:

I think it might have been you Tim, who recently mentioned making up problems as you go along. Well, I started out well by deciding to use a mitred construction to increase the gluing area - it's visible here:
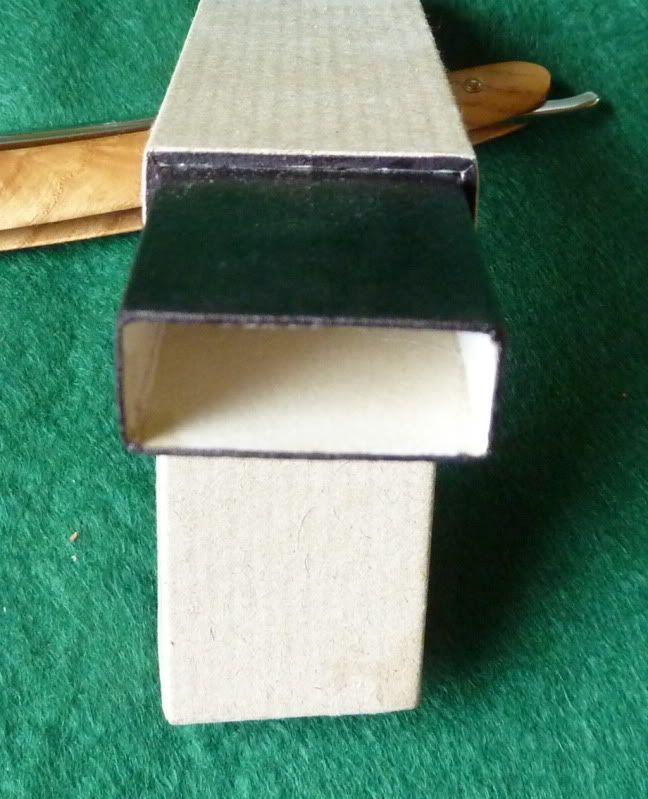
It worked rather nicely as it turned out, but it's probably completely unnecessary. I glued the tube up with plain PVA around a softwood blank liberally coated with silicone release spray, chopped the whole lot in half on a dimension saw and then added the ends, mitred again. After that it deteriorated into a process of improvisation.
When I revisit this, I'll 1) use a simpler construction, 2) round the edges a lot more, 3) cut the outer tube on an angle just for the fun of it, and 4) find a more interesting covering material - I really like the bookcloth.
-
The Following User Says Thank You to Arrowhead For This Useful Post:
32t (01-01-2011)
-
01-02-2011, 03:35 AM #4Senior Member
- Join Date
- Oct 2010
- Location
- 50 miles west of randydance
- Posts
- 9,575
Thanked: 1352
Thank you Andy for sharing your project. It looks great. I was tempted to borrow/steal your idea of a slanted cut in the cover but I have been creating enough challenges on my own.
I included the first picture because I think it would be a good candidate for your mitered construction technique. I like the look of the board and it wouldn't need any covering which adds thickness. I couldn't find my mat cutter and you can see the exposed edges are not very pretty. I ended up covering it with green bookcloth in the second picture. At first I tried the vinyl walpaper that I mentioned but the material I used was to thick and wouldn't bend well. Add to that the finished outside of the paper wouldn't hold glue well.
My father once told me that the difference between an apprentice and a journeyman was......... That a journeyman knew how to cover his mistakes.
In the second picture is one covered in leather and one covered in "kraft" paper thet my wife thought would look good. The leather also was hard to bend at the corners like the vinyl. The paper one was fun in trying to line up the pattern. Not showing in the picture the ends have a fun alterrnating light/dark pattern. The glue is still wet and it is going to need a sealer yet.
I am ready to put this venture aside for a while. I am getting to many boxes and need some razors to put in them! When I revisit this I am thinking of using postage stamps for covering. Depending how the sealing of the kraft paper one goes.
Does anyone know of any razor themed stamps?
Tim


 Reply With Quote