Results 1 to 10 of 12
Threaded View
-
10-08-2011, 03:43 AM #1At this point in time...


- Join Date
- Jun 2007
- Location
- North Idaho Redoubt
- Posts
- 27,085
- Blog Entries
- 1
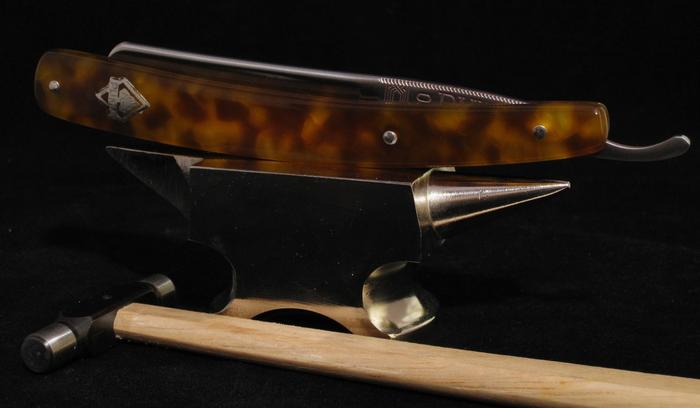
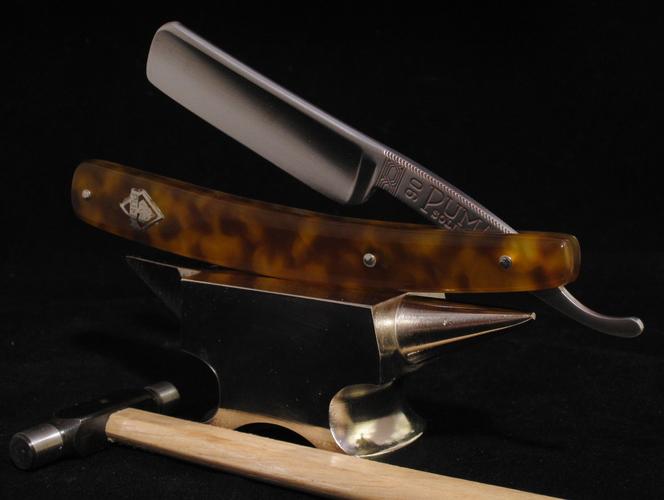
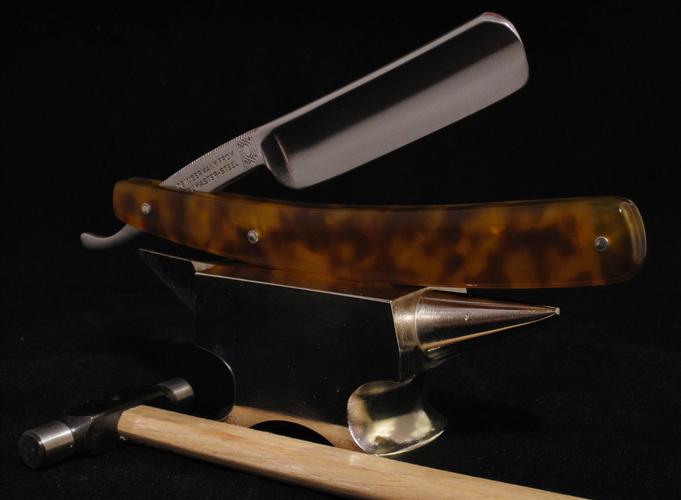
Thanked: 13249 Puma #90 Full Custom Rebuild w/Inlay Transfer
This one also came from Noswad here on SRP, it was in the first stages of cell rot before I started..
The original Faux Tortoise scales had warped out, as is very common on these Puma's, and the steel had just started to show the signs corosion..
I tore it down, polished the steel back to a near original satin finish on my buffers, then started on the scales..
I polished the Puma inlay with some Blue Magic metal polish before I cut off the portion holding the emblem and soaked that in Acetone to lift the inlay. I set that aside and built scales from Tortoise Acrylic to the exact size as the old ones, matched up the old holes and even used the old wedge..
After I polished the new acrylic scales using some of the new 3m Tri-m-ite paper to 8k. I scarred up the spot that the inlay was going, with an X-acto blade, then set it in place using slow cure Epoxy...the pins are Nickel Silver with SS washers outside, and Brass bearing washers inside..
The razor is back to as close as I can get it using today's materials


Last edited by gssixgun; 10-08-2011 at 04:26 AM.
-
The Following User Says Thank You to gssixgun For This Useful Post:
eTom (10-08-2011)


 12Likes
 LinkBack URL
 About LinkBacks


 Reply With Quote
