
Results 1 to 10 of 15
 17Likes
 LinkBack URL
 About LinkBacks
-
05-25-2013, 03:03 PM #1Senior Member


- Join Date
- Sep 2011
- Posts
- 1,650
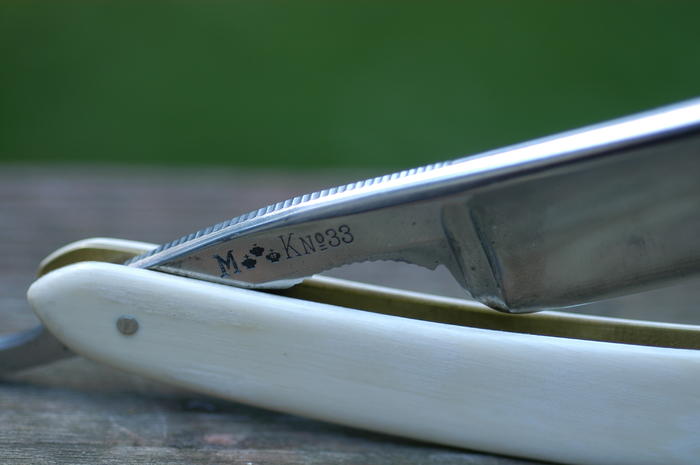
Thanked: 1341 Heljestrand MK33 in ivory and tortoise
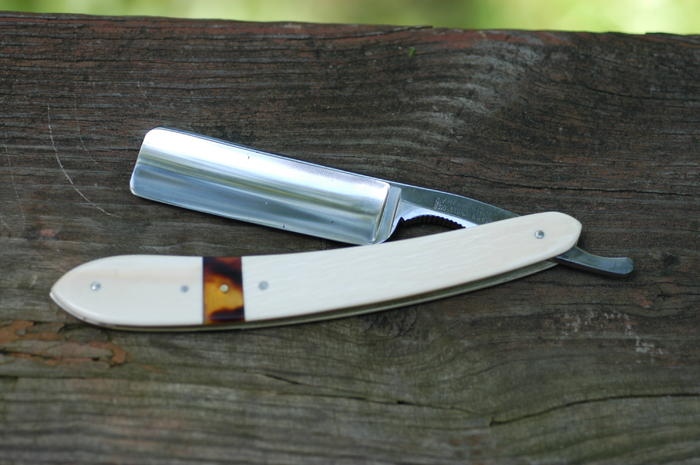
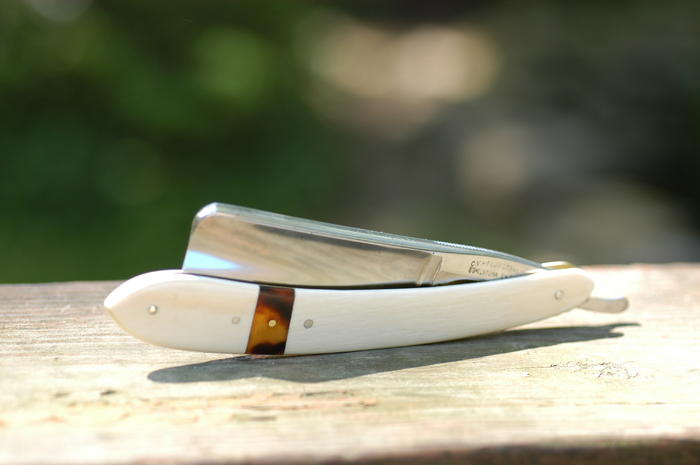
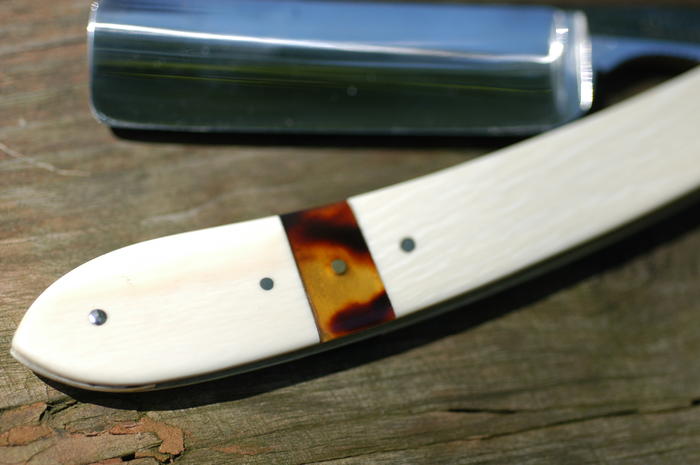
Nothing clever with the title. Finally got around to finishing this one, and it's definitely one of my favorites now. The scales are brass-backed paneled ivory and tortoise with a silver wedge. Project details in next post.
-
05-25-2013, 03:15 PM #2Senior Member
- Join Date
- Sep 2011
- Posts
- 1,650
Thanked: 1341
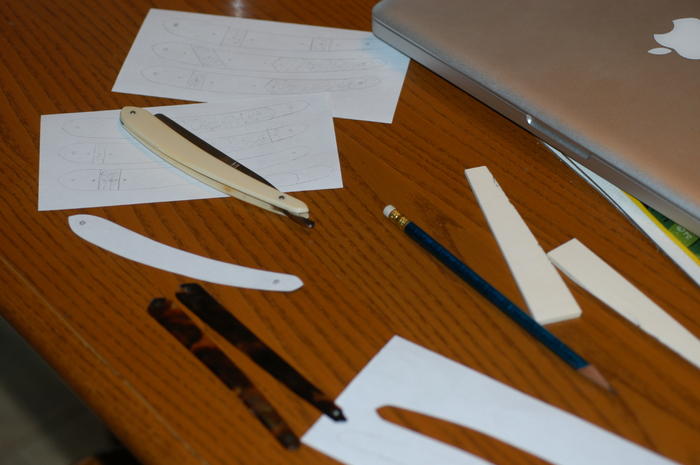
Ok here's the build details. This was my first attempt at lined scales so it was a little rough and took over 7 hours, but I'm pleased with the results. The ivory came from a bag of pre-ban scraps from a music instruments source here in the US.
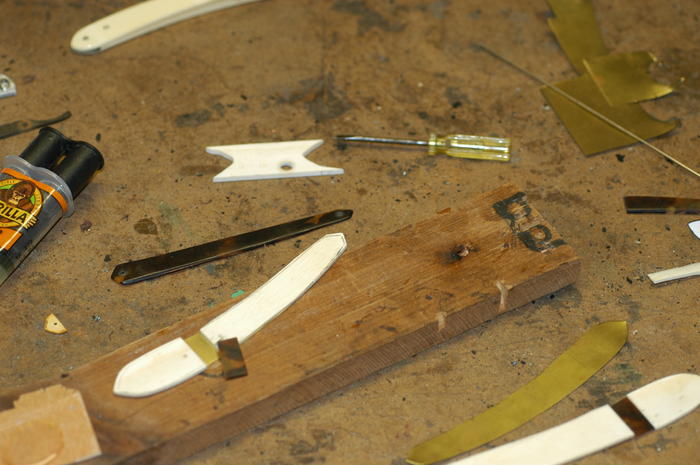
Original cheapy plastic scales. Also shown is the pair of tortoise scales I cannibalized to get the panels (it doesn't look like it, but these were too far gone with damage to be used as whole scales). LOTS of designs, but I settled on a simple 3-panel:
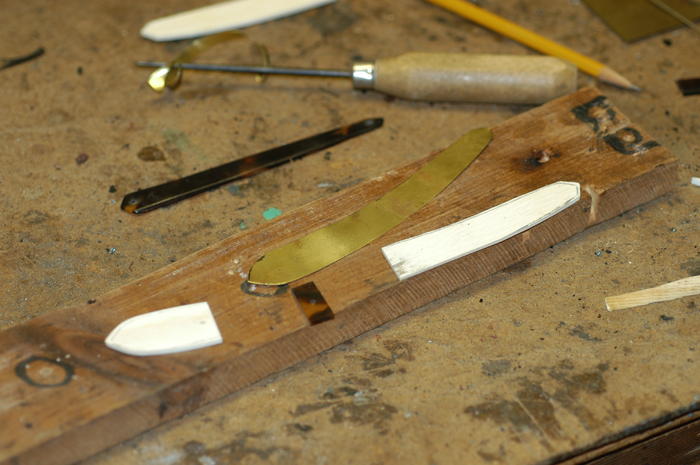
Brass liners cut out:

Ivory and tortoise panels cut and roughly shaped:
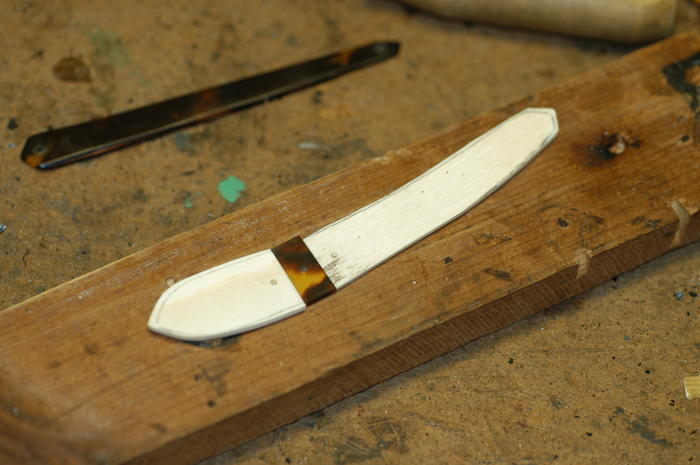
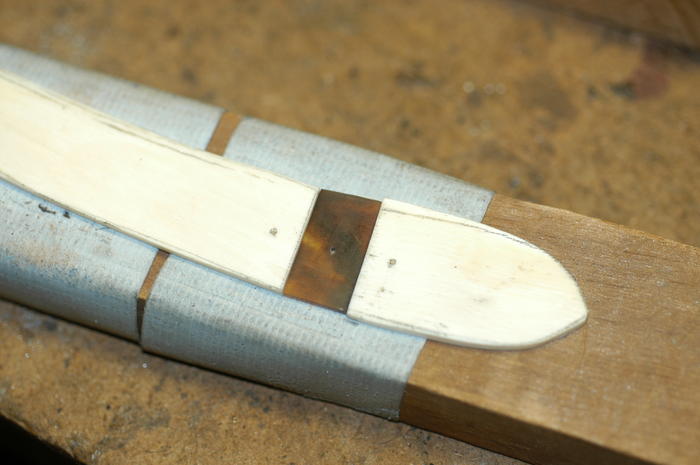
Holes drilled. The ivory was epoxied to the brass. The tortoise was not because it's transparent in parts:
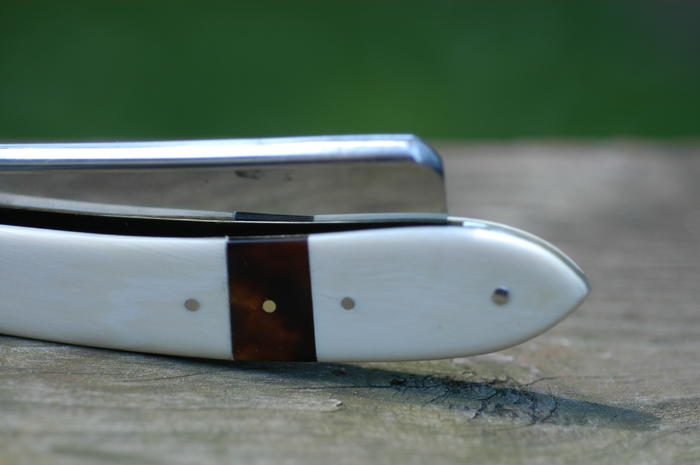
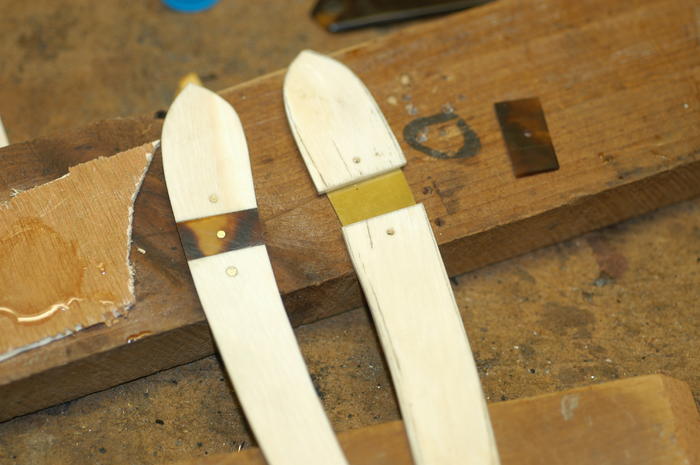
After everything was placed, the panels were riveted in with peened and sanded nickel silver or brass rod, and the scales were shaped and sanded. I did end up cracking one of the ivory panels but it's very small and should be stable in the long run:
Not shown: From an old beat up 'blank' I also cut down some (real) silver to use for the wedge. Cost me 25 cents, if you know what I mean. That was shaped and polished, and everything was test pinned. I had to mess with the alignments for about an hour as the scales didn't flex like normal scales due to the panelling. But finally everything came out alright and I finished everything up. I'm very pleased with how everything turned out, but I learned a lot and thankfully have enough materials to try it again on another razor, this time with knowledge.
-
05-25-2013, 03:18 PM #3Senior Member

- Join Date
- Jan 2011
- Location
- Roseville,Kali
- Posts
- 10,432
Thanked: 2027
Fantastic comes to mind,great work.
-
05-25-2013, 05:20 PM #4Poor Fit
- Join Date
- May 2010
- Posts
- 4,562
Thanked: 1263
Nicely done. The tortoise breaks up the ivory nicely and gives it a cool look.
-
05-25-2013, 11:33 PM #5Historically Inquisitive

- Join Date
- Aug 2011
- Location
- Upstate New York
- Posts
- 5,782
- Blog Entries
- 1
Thanked: 4249
Great look, thanks for sharing the built as well, Enjoy!
-
05-26-2013, 12:33 AM #6Razor Vulture


- Join Date
- Oct 2010
- Location
- Lone Star State
- Posts
- 26,128
Thanked: 8612
Oh! That is very nice work! Thanks for the build pics and description! It looks awesome!
 "Don't be stubborn. You are missing out."
I rest my case.
-
05-26-2013, 03:12 PM #7Senior Member

- Join Date
- Feb 2013
- Location
- Israel
- Posts
- 103
Thanked: 14
It came out beautiful IMO! I've always been curious about the process of attaching the nickel silver rods to the brass panels, been wanting to make my own custom made MOP over brass panels but I have no idea how the attachment process goes.
-
05-26-2013, 05:25 PM #8Captain ARAD.

- Join Date
- May 2011
- Location
- Pacifica, CA
- Posts
- 2,474
Thanked: 2226
Outstanding!
-Zak Jarvis. Writer. Artist. Bon vivant.
-
05-26-2013, 06:06 PM #9Senior Member

- Join Date
- Sep 2011
- Location
- stockholm,sweden
- Posts
- 567
Thanked: 100
I really like it, you gave it a classic look with classic materials and you kept it true to the original design, great job.
-
05-26-2013, 07:17 PM #10Senior Member
- Join Date
- Sep 2011
- Posts
- 1,650
Thanked: 1341
I can't say that I used any kind of proper process. I just tried peening the panels in like normal scales after I epoxied them and it seemed to work ok. If I were to do it again I'd use some thicker brass and either a) countersink the holes in the brass or b) solder the pins to the brass before attaching the panels. The problem that I had was that when peening the backside, to get it flat, it puckered the brass a little, bending the scales. They were a little finicky to get straight. Originally Posted by OrSh

Thanks! I love the design of the Heljestrand ivory scales. I need to take the toe of this one back to the sander to make the point a more shallow angle though. When I get around to it...I really like it, you gave it a classic look with classic materials and you kept it true to the original design, great job.


 Reply With Quote